MAKE YOUR OWN OFFICE PINBOARD

I moved into my Lausanne apartment two and half years ago and still haven’t finished decorating! It’s a little embarrassing considering the sector I work in, but I have just had so many decor projects for clients that this place hasn’t been a priority.
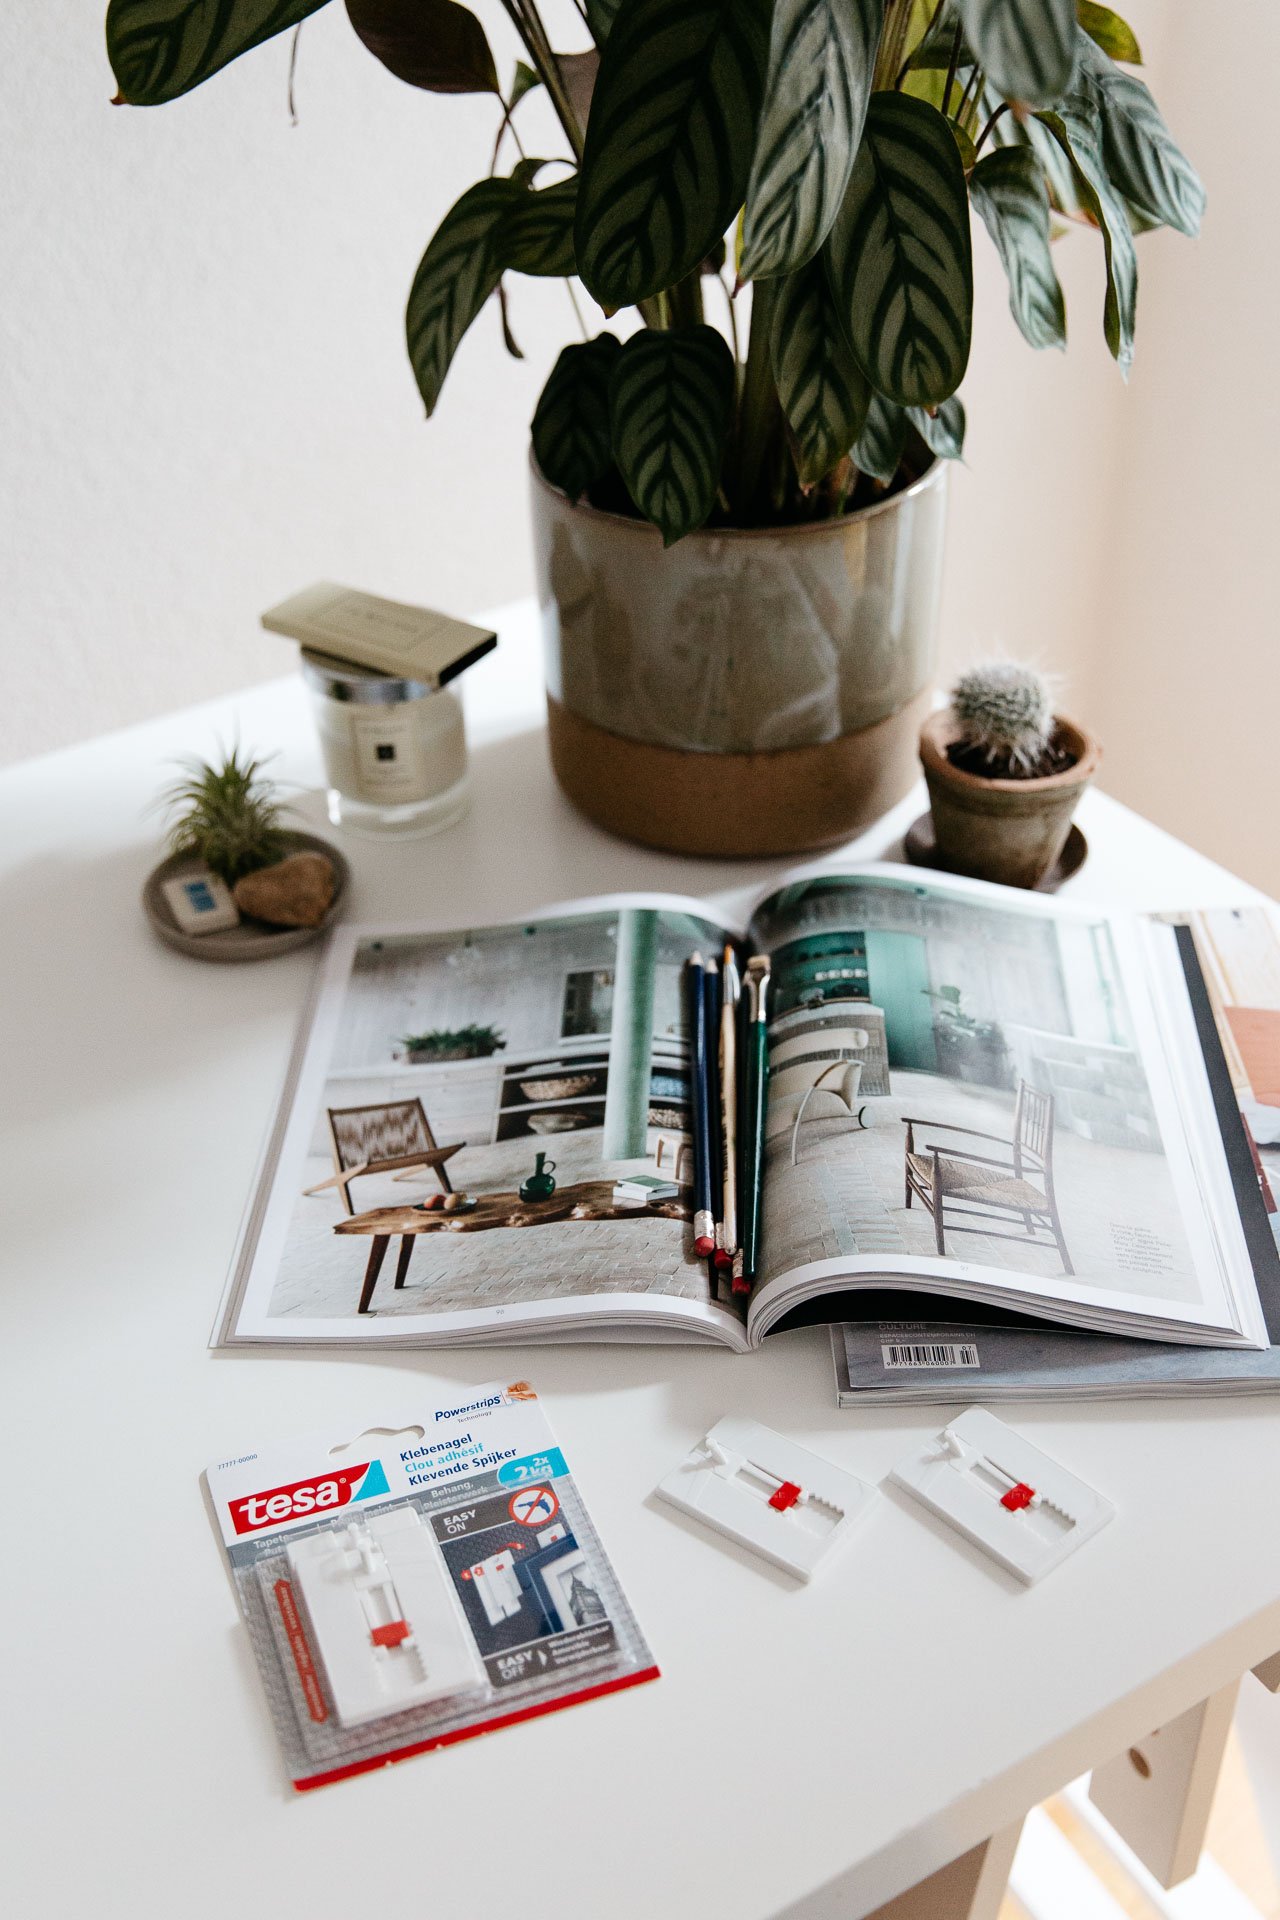
When Tesa got in touch asking if I would like to test out their brand new Adjustable Adhesive Nails made for wallpaper & plaster, I thought it was a great opportunity to finally make the office pinboards I have always wanted to hang above my desk without even having to nail into the wall. Any other fellow renters will know how much of a concern that is.
For any of you dubious about whether these actually work, I can confirm that I’ve had these pinboards up on the Adhesive Nails for over a week and they haven’t moved an inch.
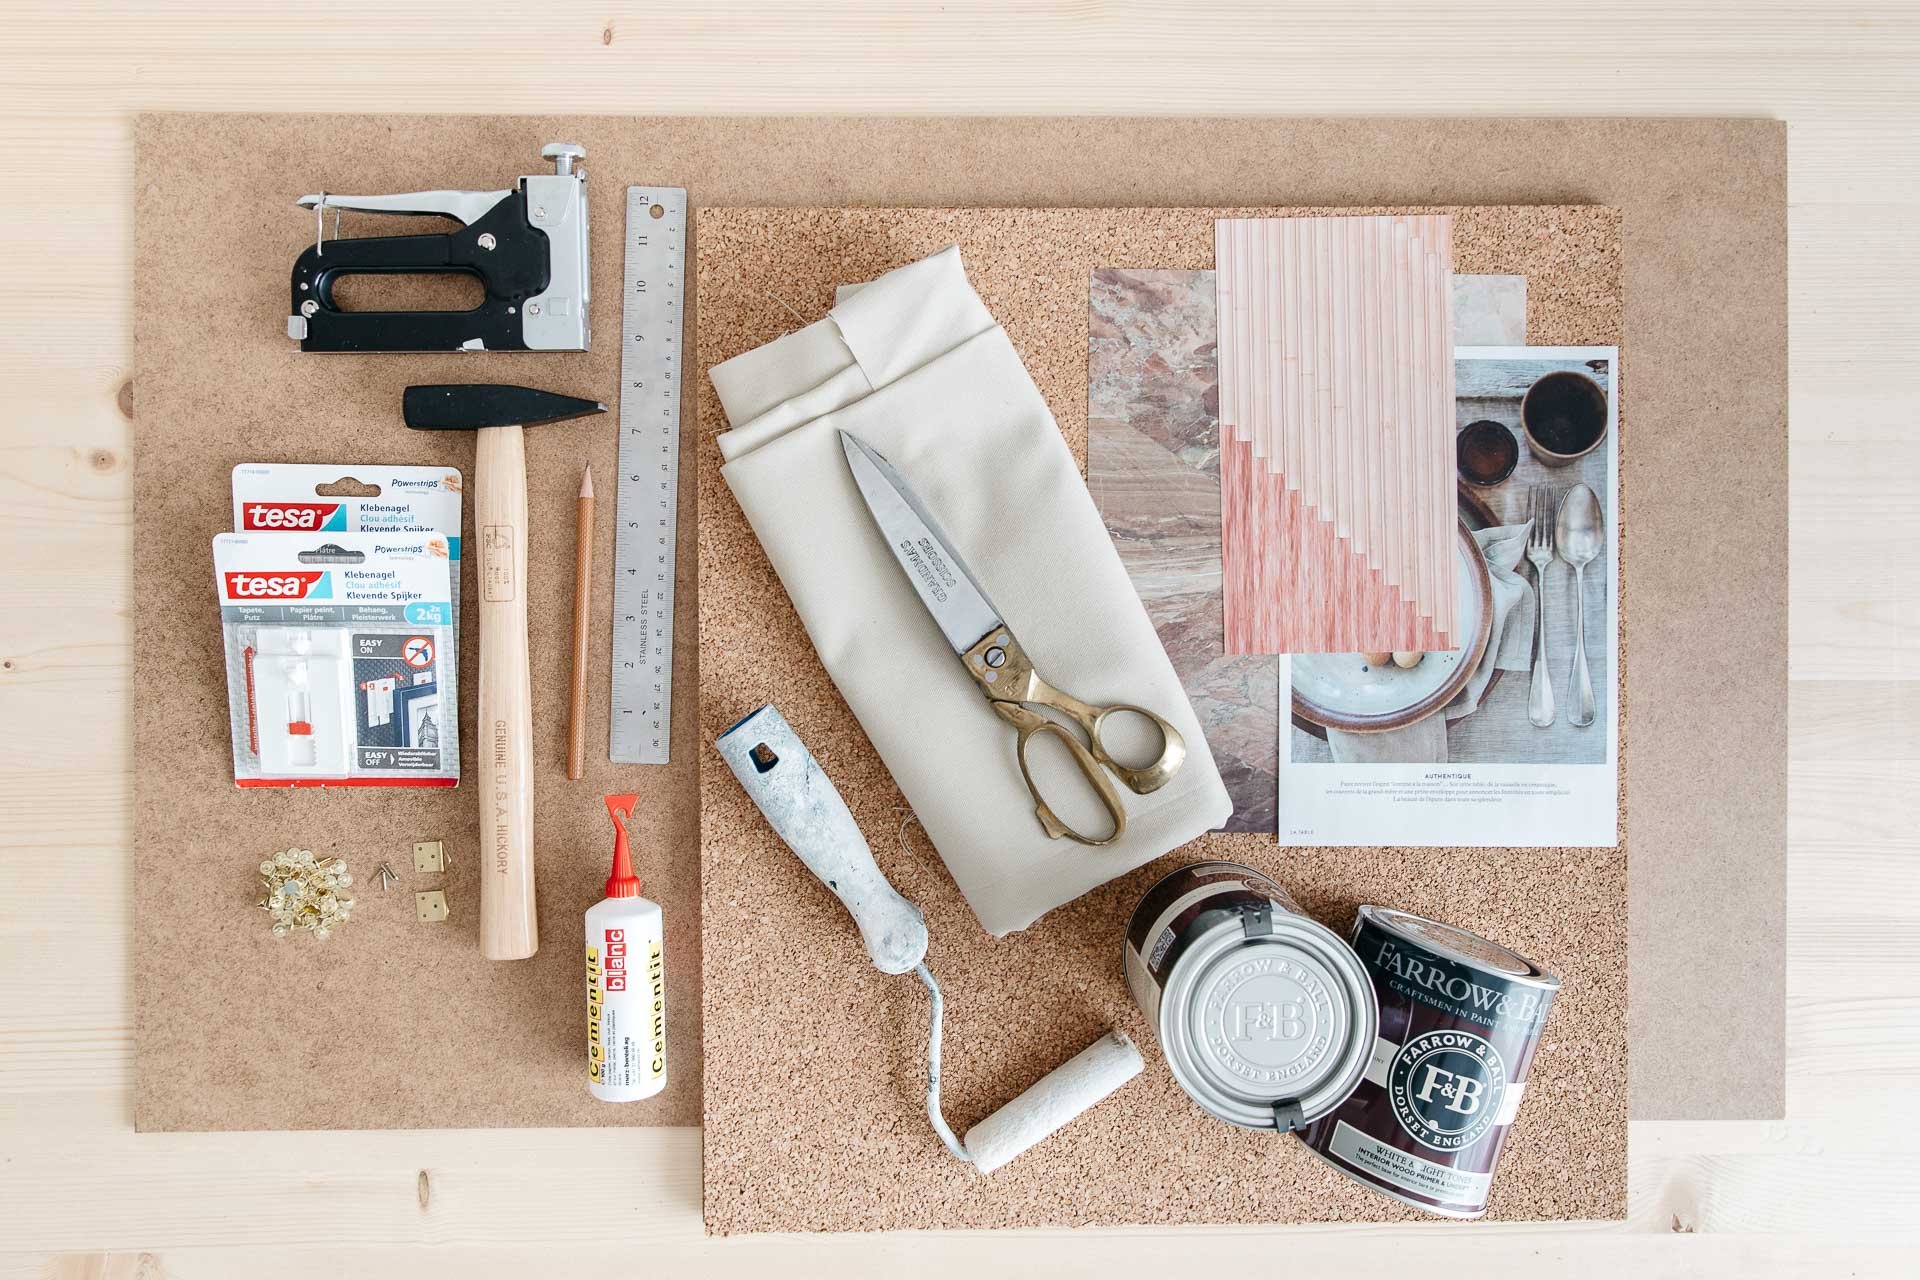
Here’s what you’ll need to make your own office pinboards:
2 x 3mm thick MDF boards (I used 90 x 55cm but you can pick the best size for your desk)
Cork roll (something like this)
Large scissors
Wood glue
Ruler
Pencil
Picture frame hangers (something in a set like this would work)
Fabric (I used a strong cotton with a tight weave)
Fabric scissors
Staple gun
Small paint roller
Paint primer (I used Farrow & Ball Interior wood primer and undercoat, white and light tones)
Paint (I used Farrow & Ball Modern Eggshell Elephants Breath no. 229)
Push pins
Inspiration cut-outs for your pinboard
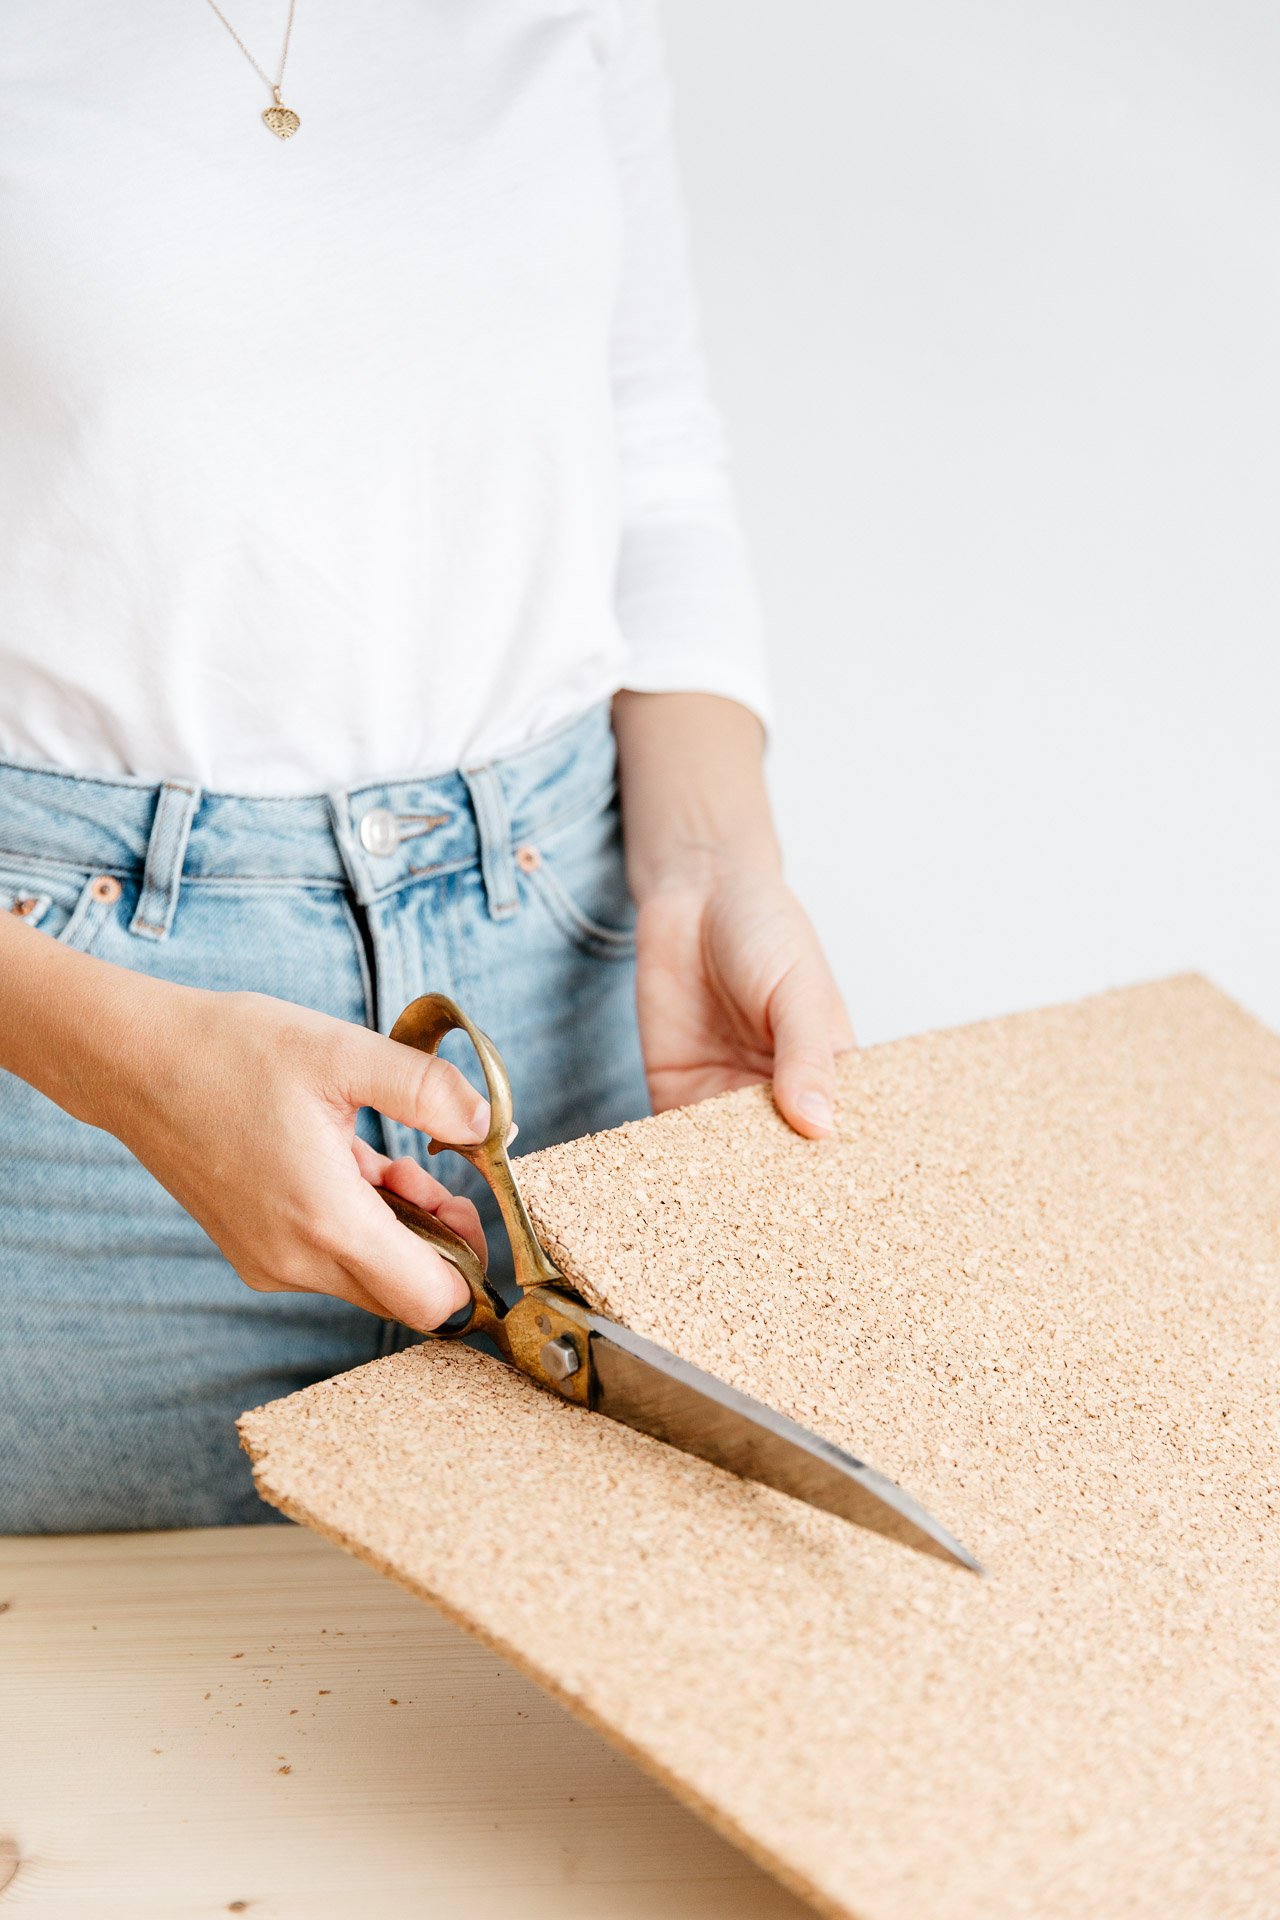
Step 1: Cut the cork roll to the same size as your MDF boards using large scissors.
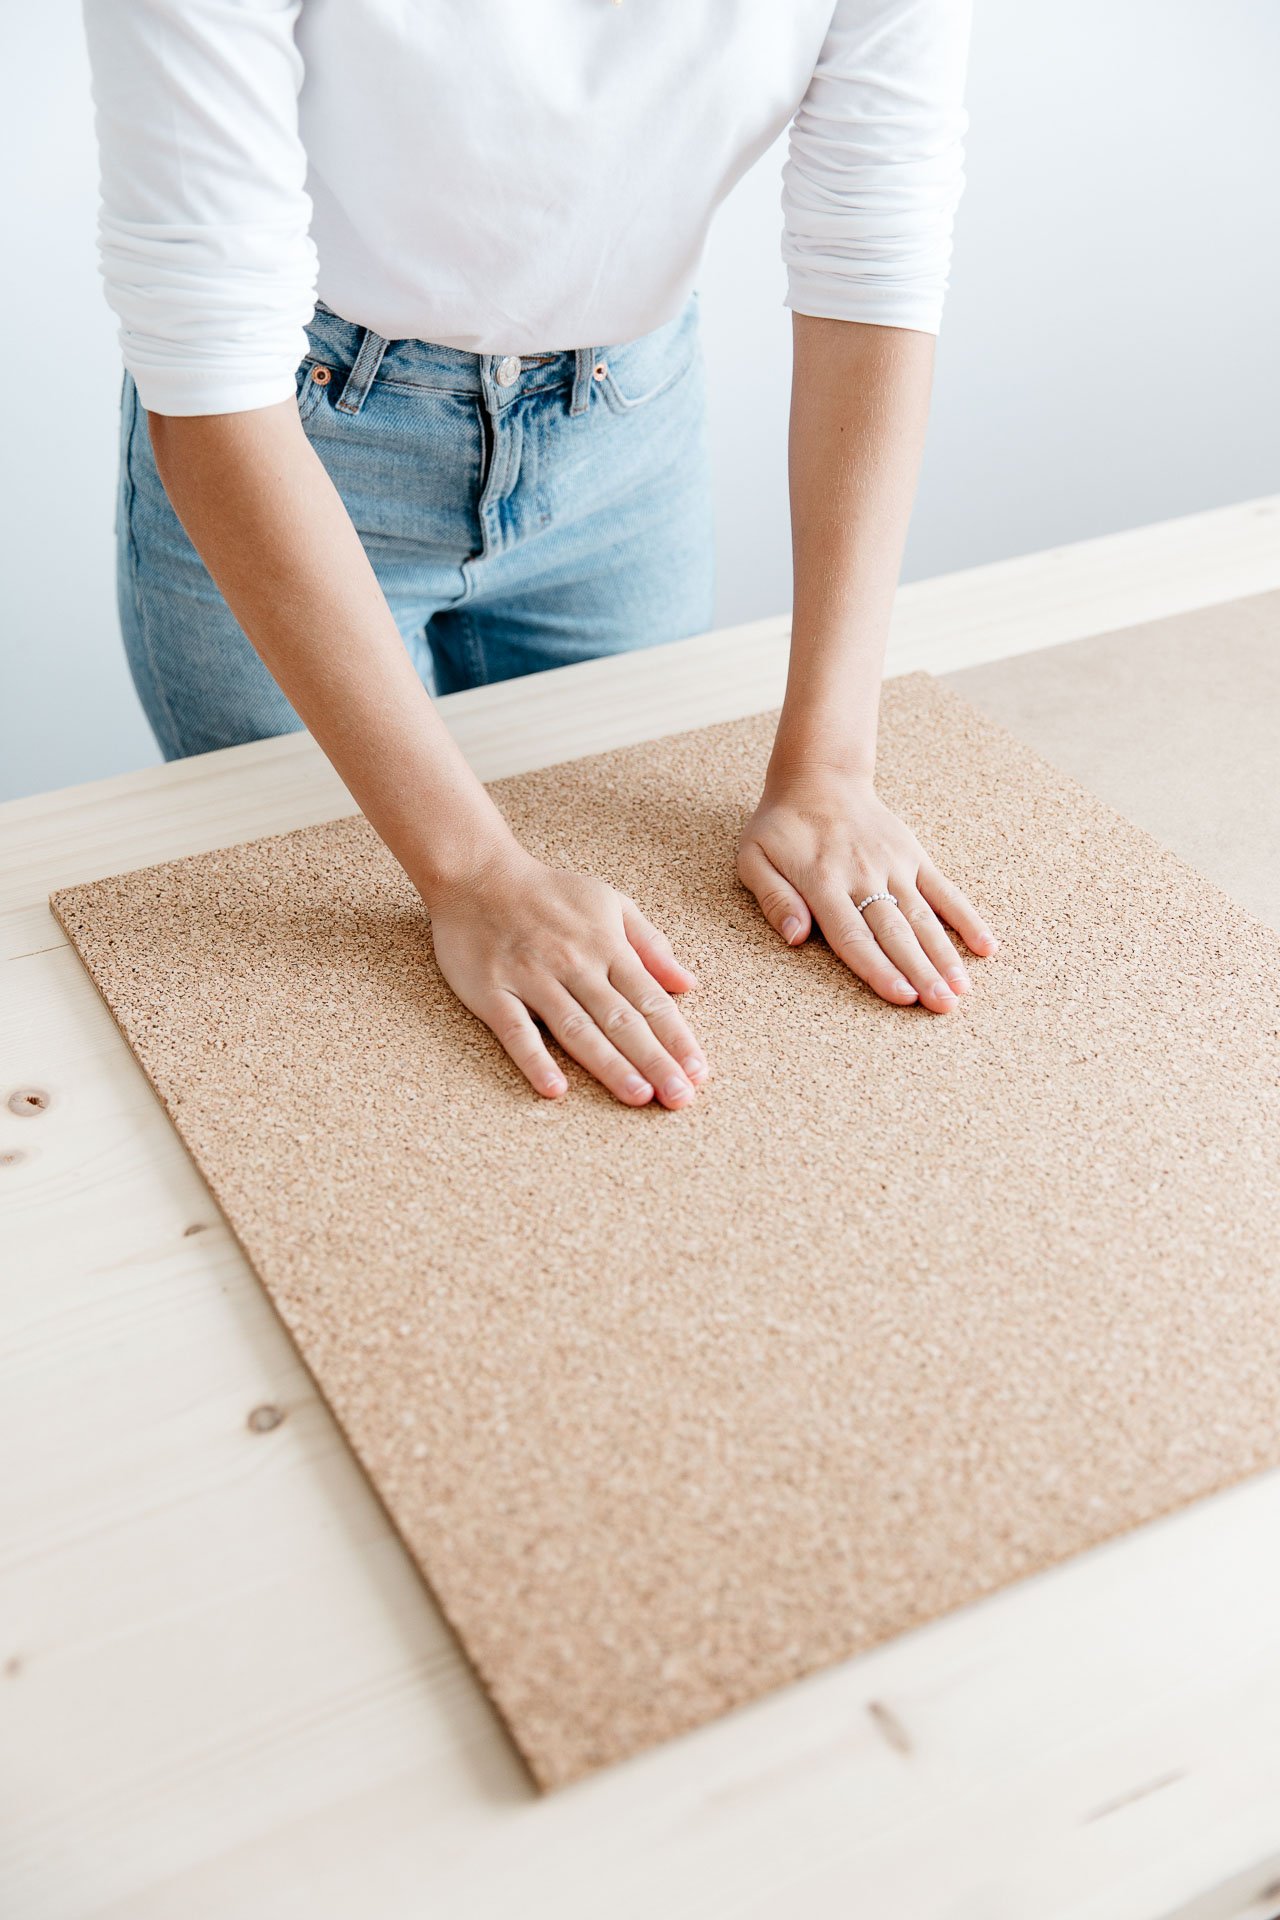
Step 2: Glue the cork on top of the MDF board using wood glue.
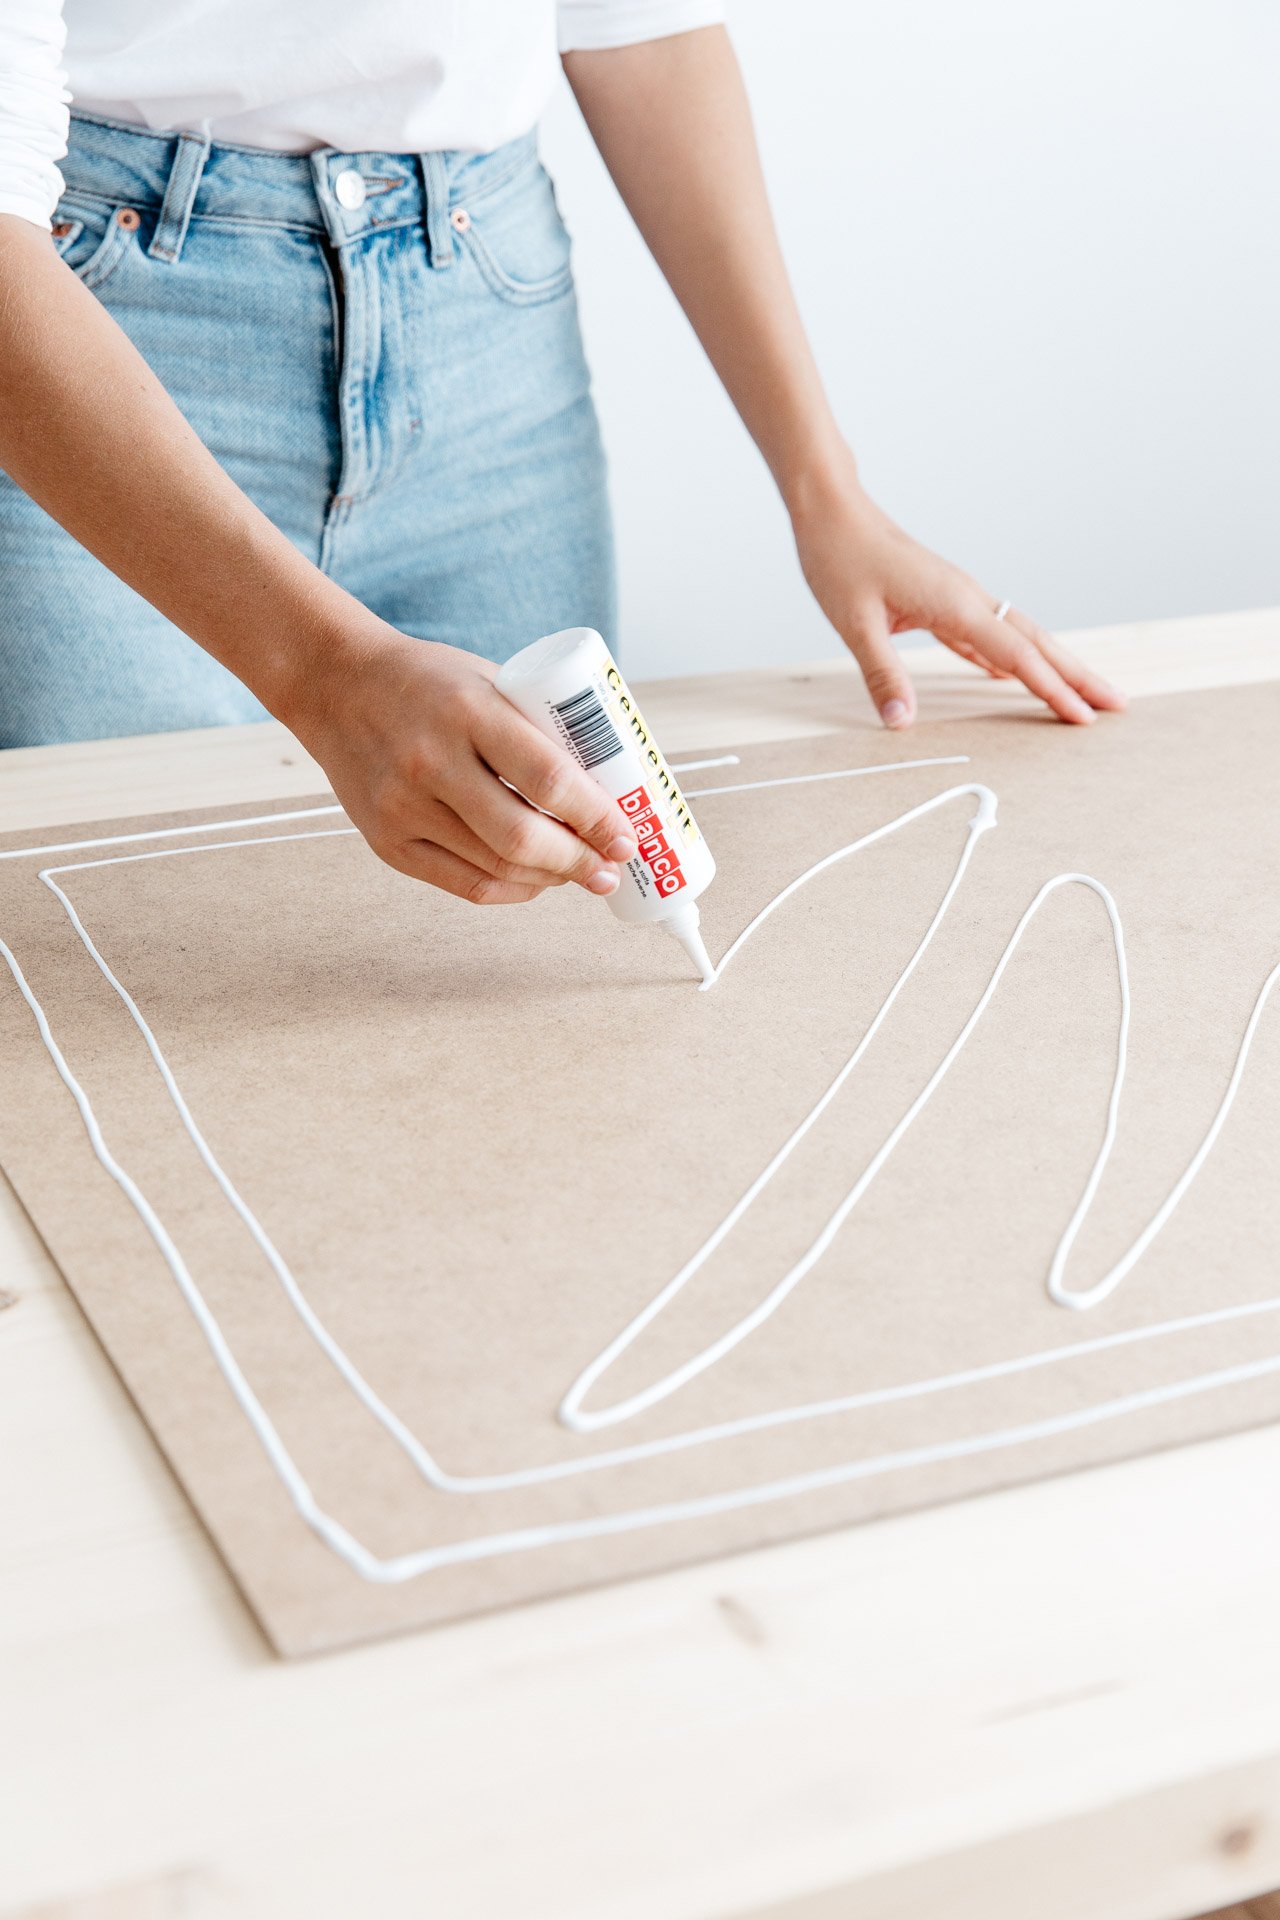
Step 3: Press down firmly and leave to dry following instructions on the glue tube. Tidy up any glue seeping out between the two layers.
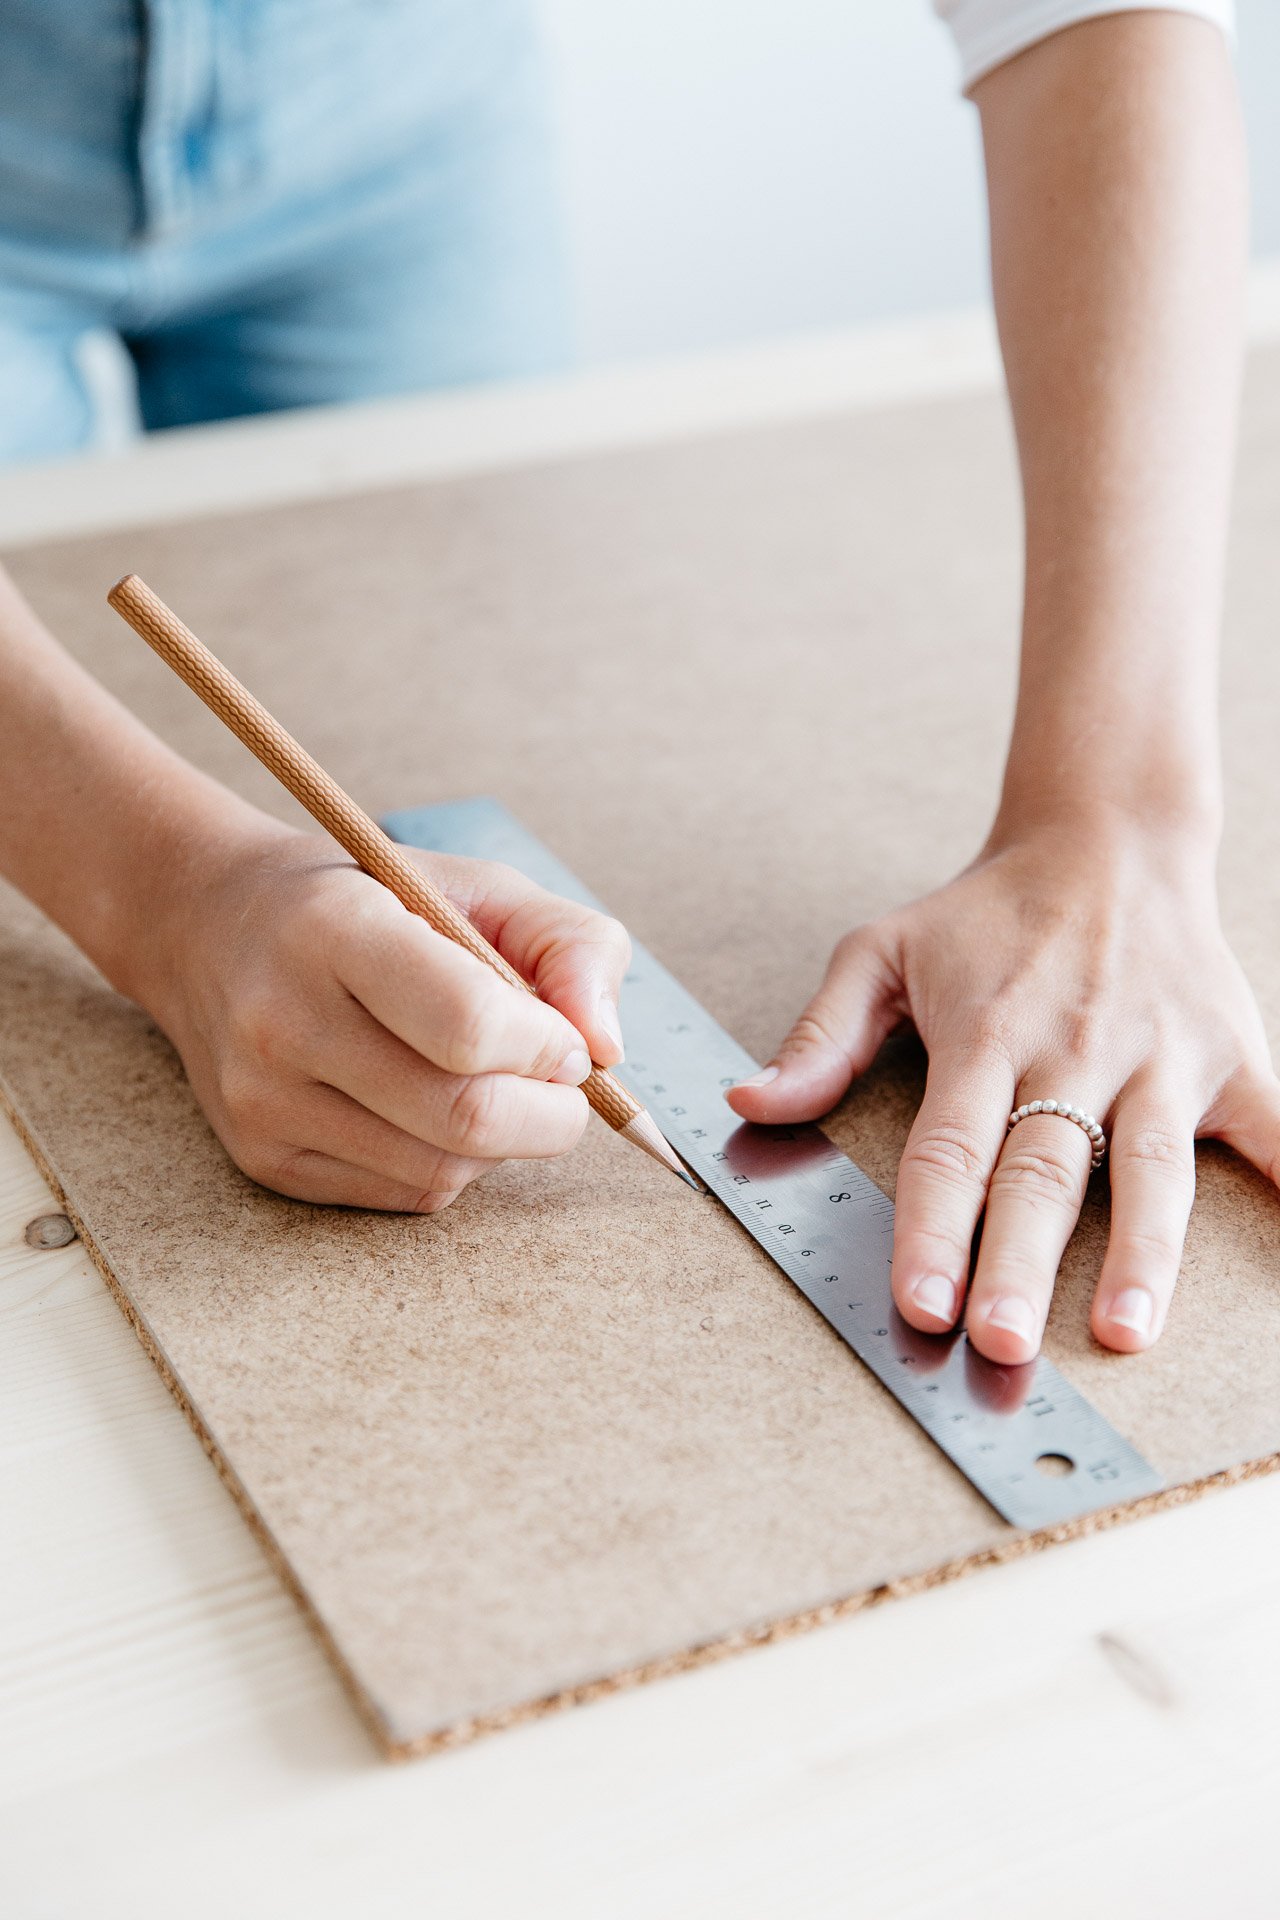
Step 4: Flip your board over and mark the points for the frame hangers in each top corner of your board. I put mine 12cm in from from both edges.
Step 5: Hammer your hook and nail into your board. You may want to use a pair of small pliers to help place the small nail.

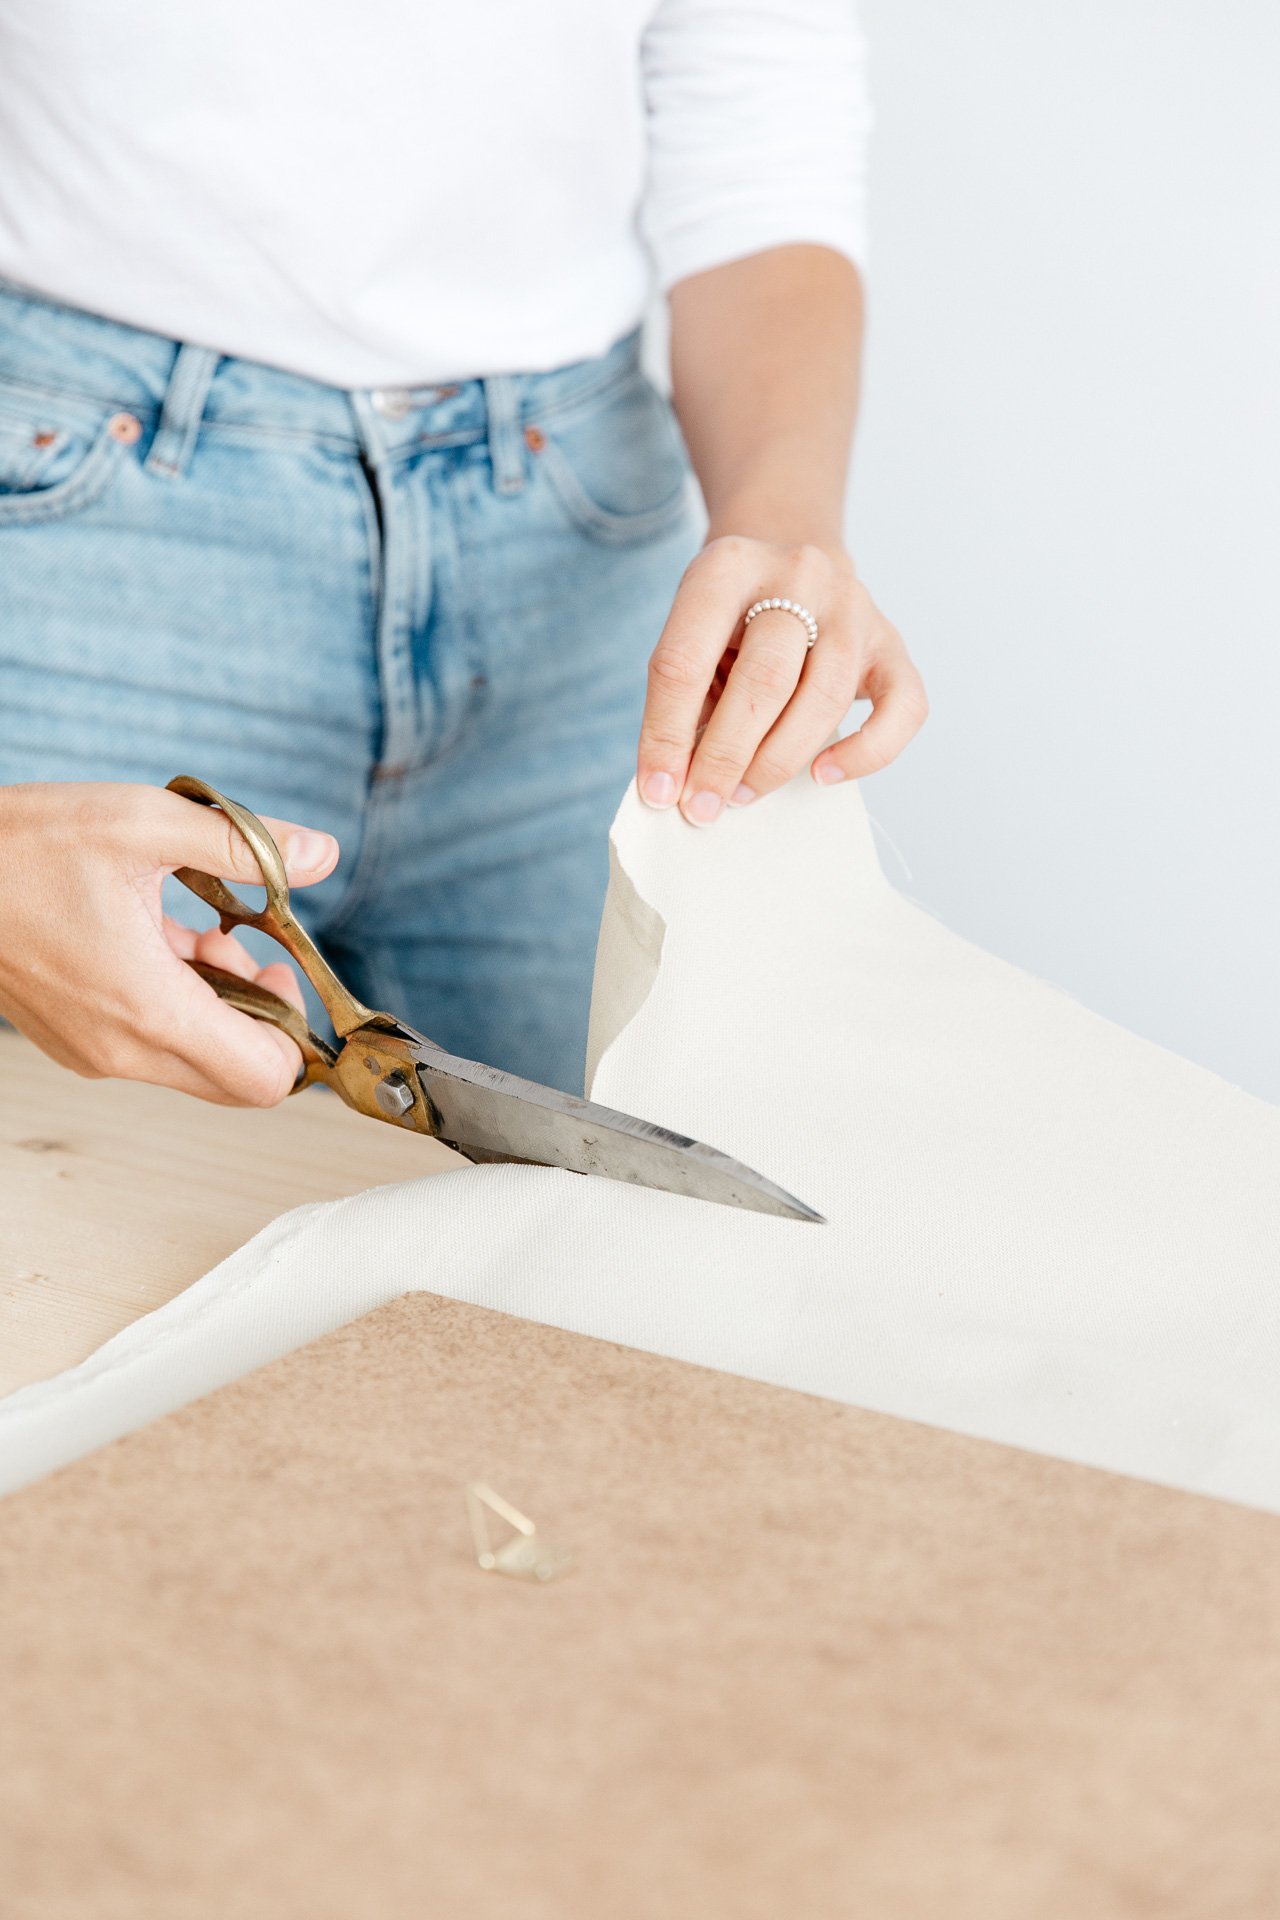
Step 6: Lay your fabric under the cork and board and cut to size. Leave about 4-5cm around the board to allow for stapling.
Step 7: Pull the fabric tight over the board and staple into place. I folded over the raw edge to make it look tidier.
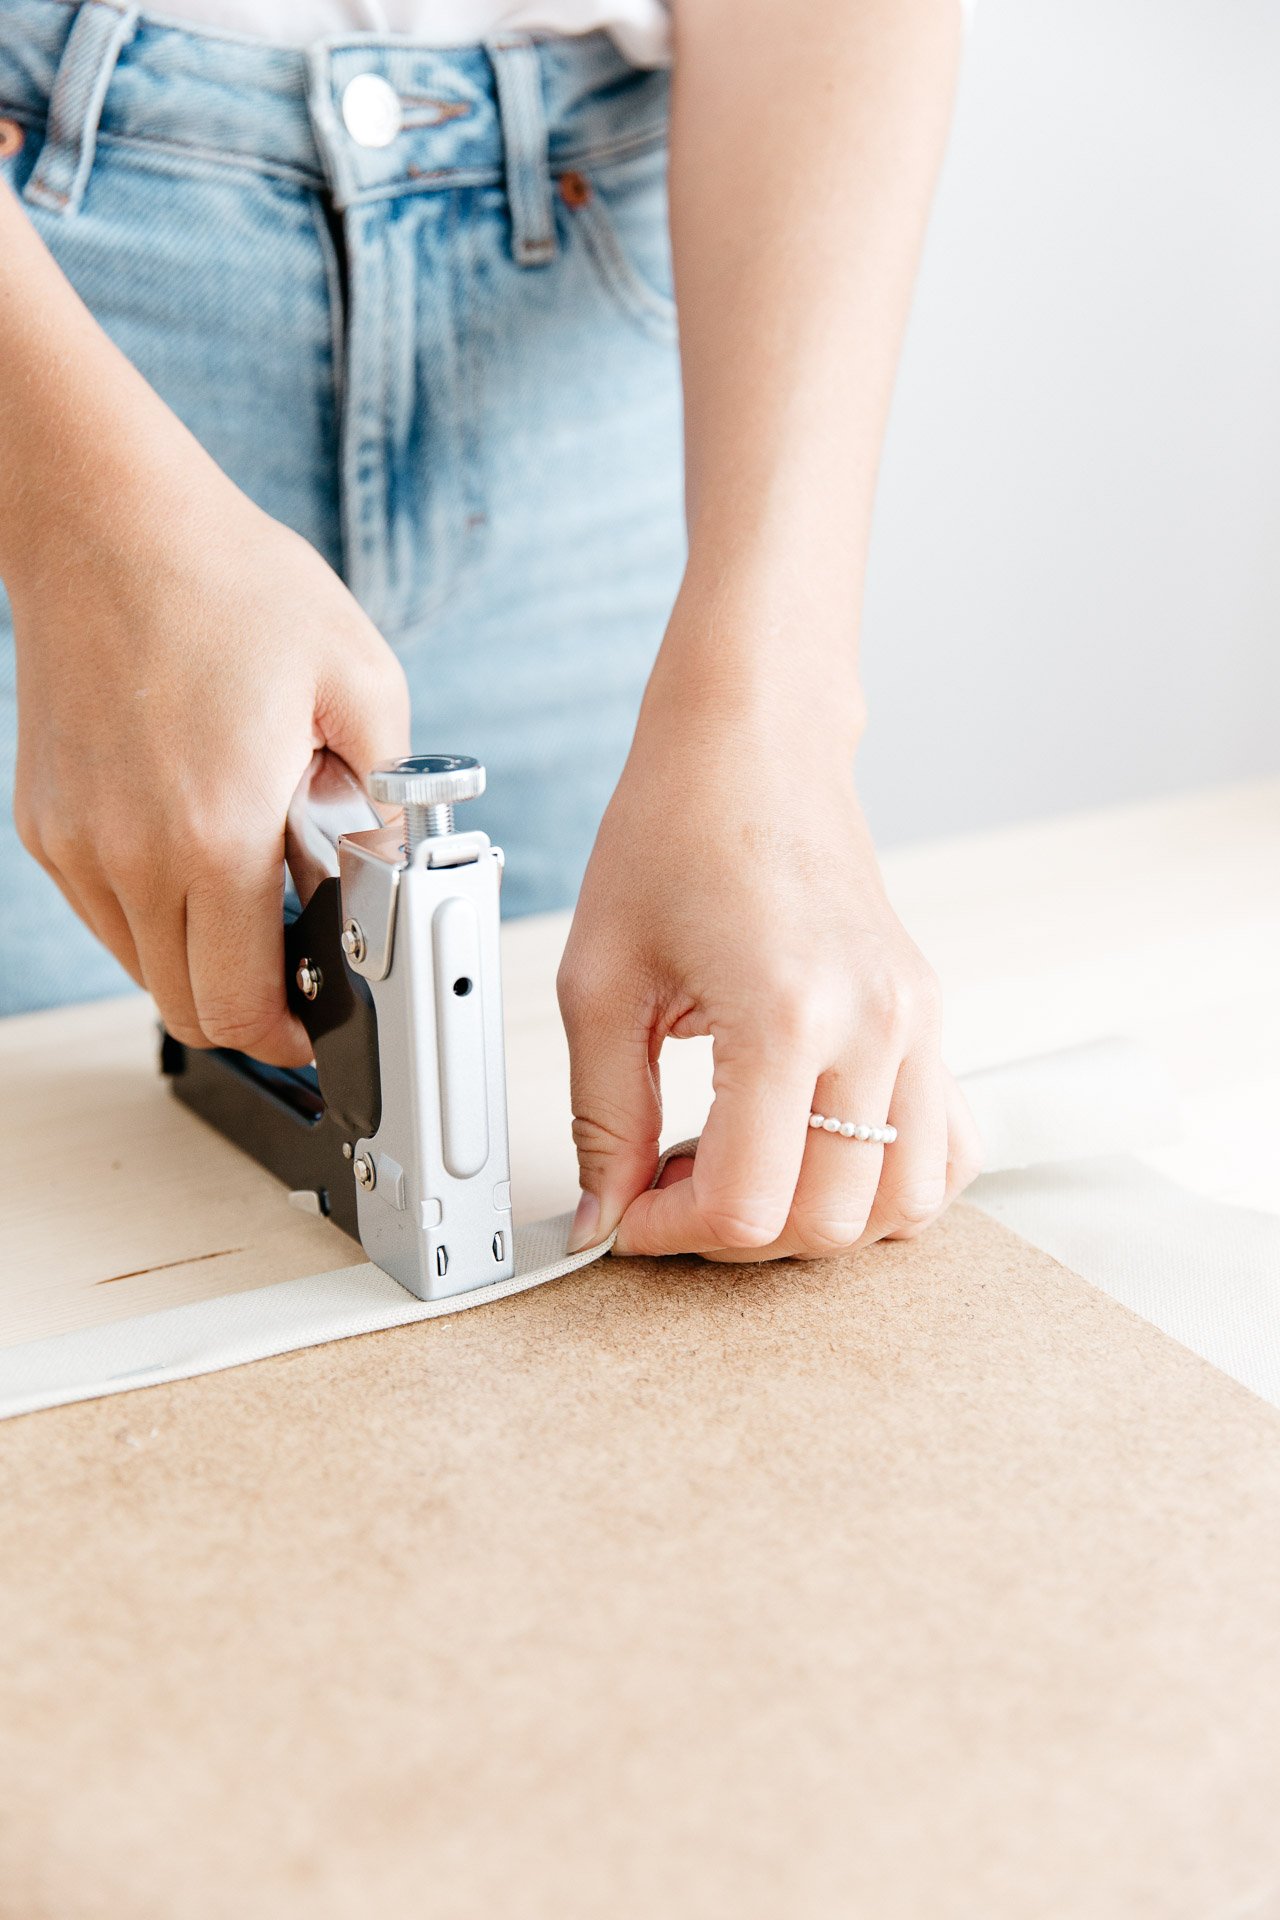
Step 8: Carefully and tidily staple the corners so they don’t bulge out too much. Always make sure you’re pulling the fabric taught.

Step 9: Prime your fabric with a white primer and leave to dry.

Step 10: Paint over the primer with the colour of your choice.

When your moodboards are ready, clean the wall where you want to stick the Tesa Ajustable Adhesive Nails making sure you have chosen the suitable nail for the weight of your board. I chose to use 2 x 2kg nails for each pinboard for stability, and also to give me a bit of freedom with what I pin onto the board, even though each board weighs less than 2 kg.

The steps to follow are explained very clearly on their website with a step-by-step tutorial but here’s a little look at how it works:
Step 1: Use a pencil to mark out where you want the adhesive nails to go on the wall. Keep in mind the distance between the picture hangers on the back of your pinboard.

Step 2: Taking care not to touch the adhesive surface, remove the adhesive strip from its backing. Press down firmly against the wall for 5 seconds along the length of the strip.
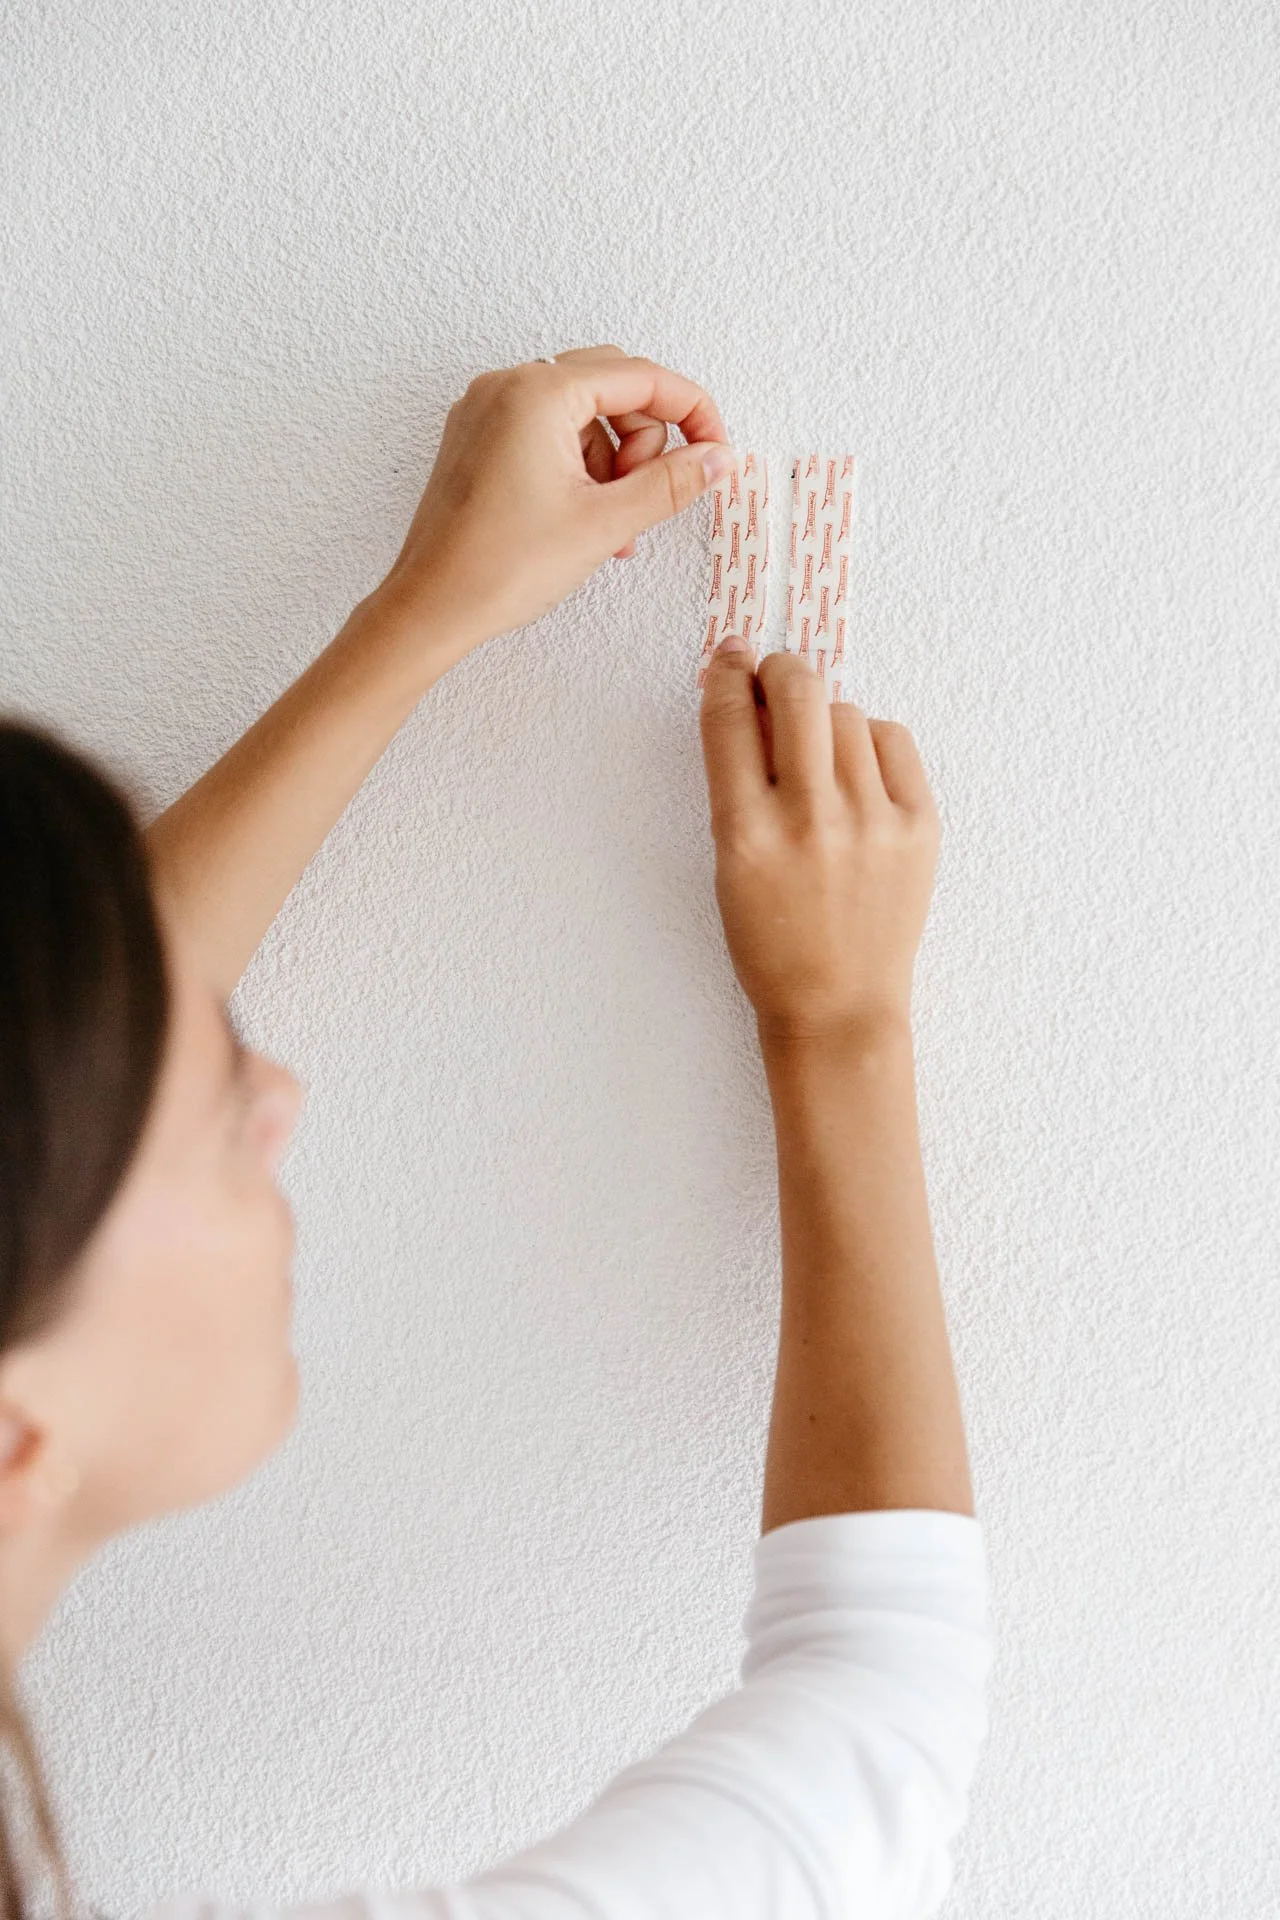
Step 3: Peel off the protective foil. Align the nail with the sticky tabs and stick on ensuring the nail head is at the top.

Step 4: Apply pressure on the entire surface of the rectangular nail cover for 5 seconds to ensure it bonds well.

Step 5: Check the height of the nail heads and adjust if necessary. Push the red lock down when ready.
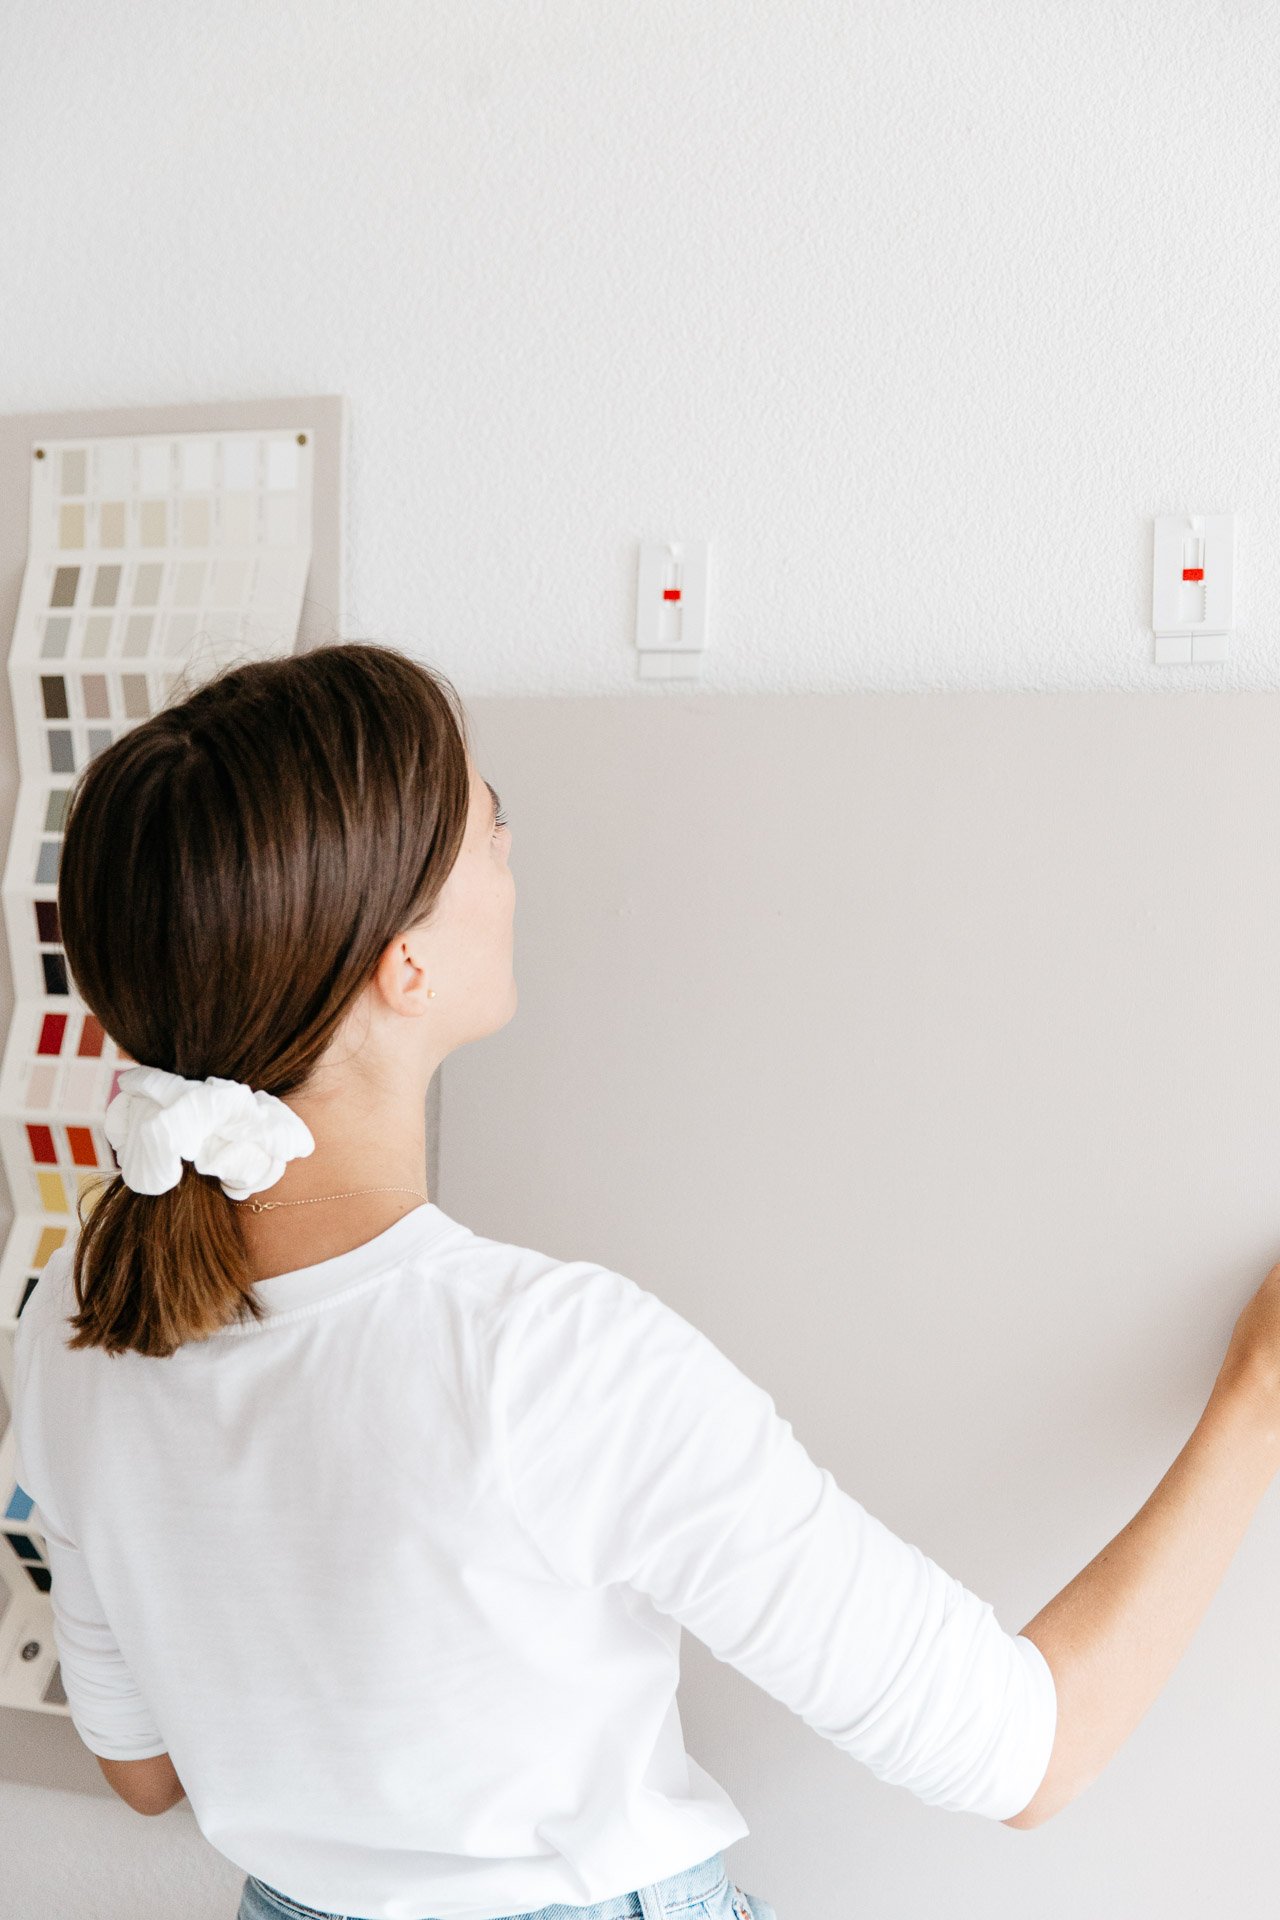
Step 6: Mount your pinboards hooking the picture hooks onto the Tesa Adjustable Adhesive Nails.

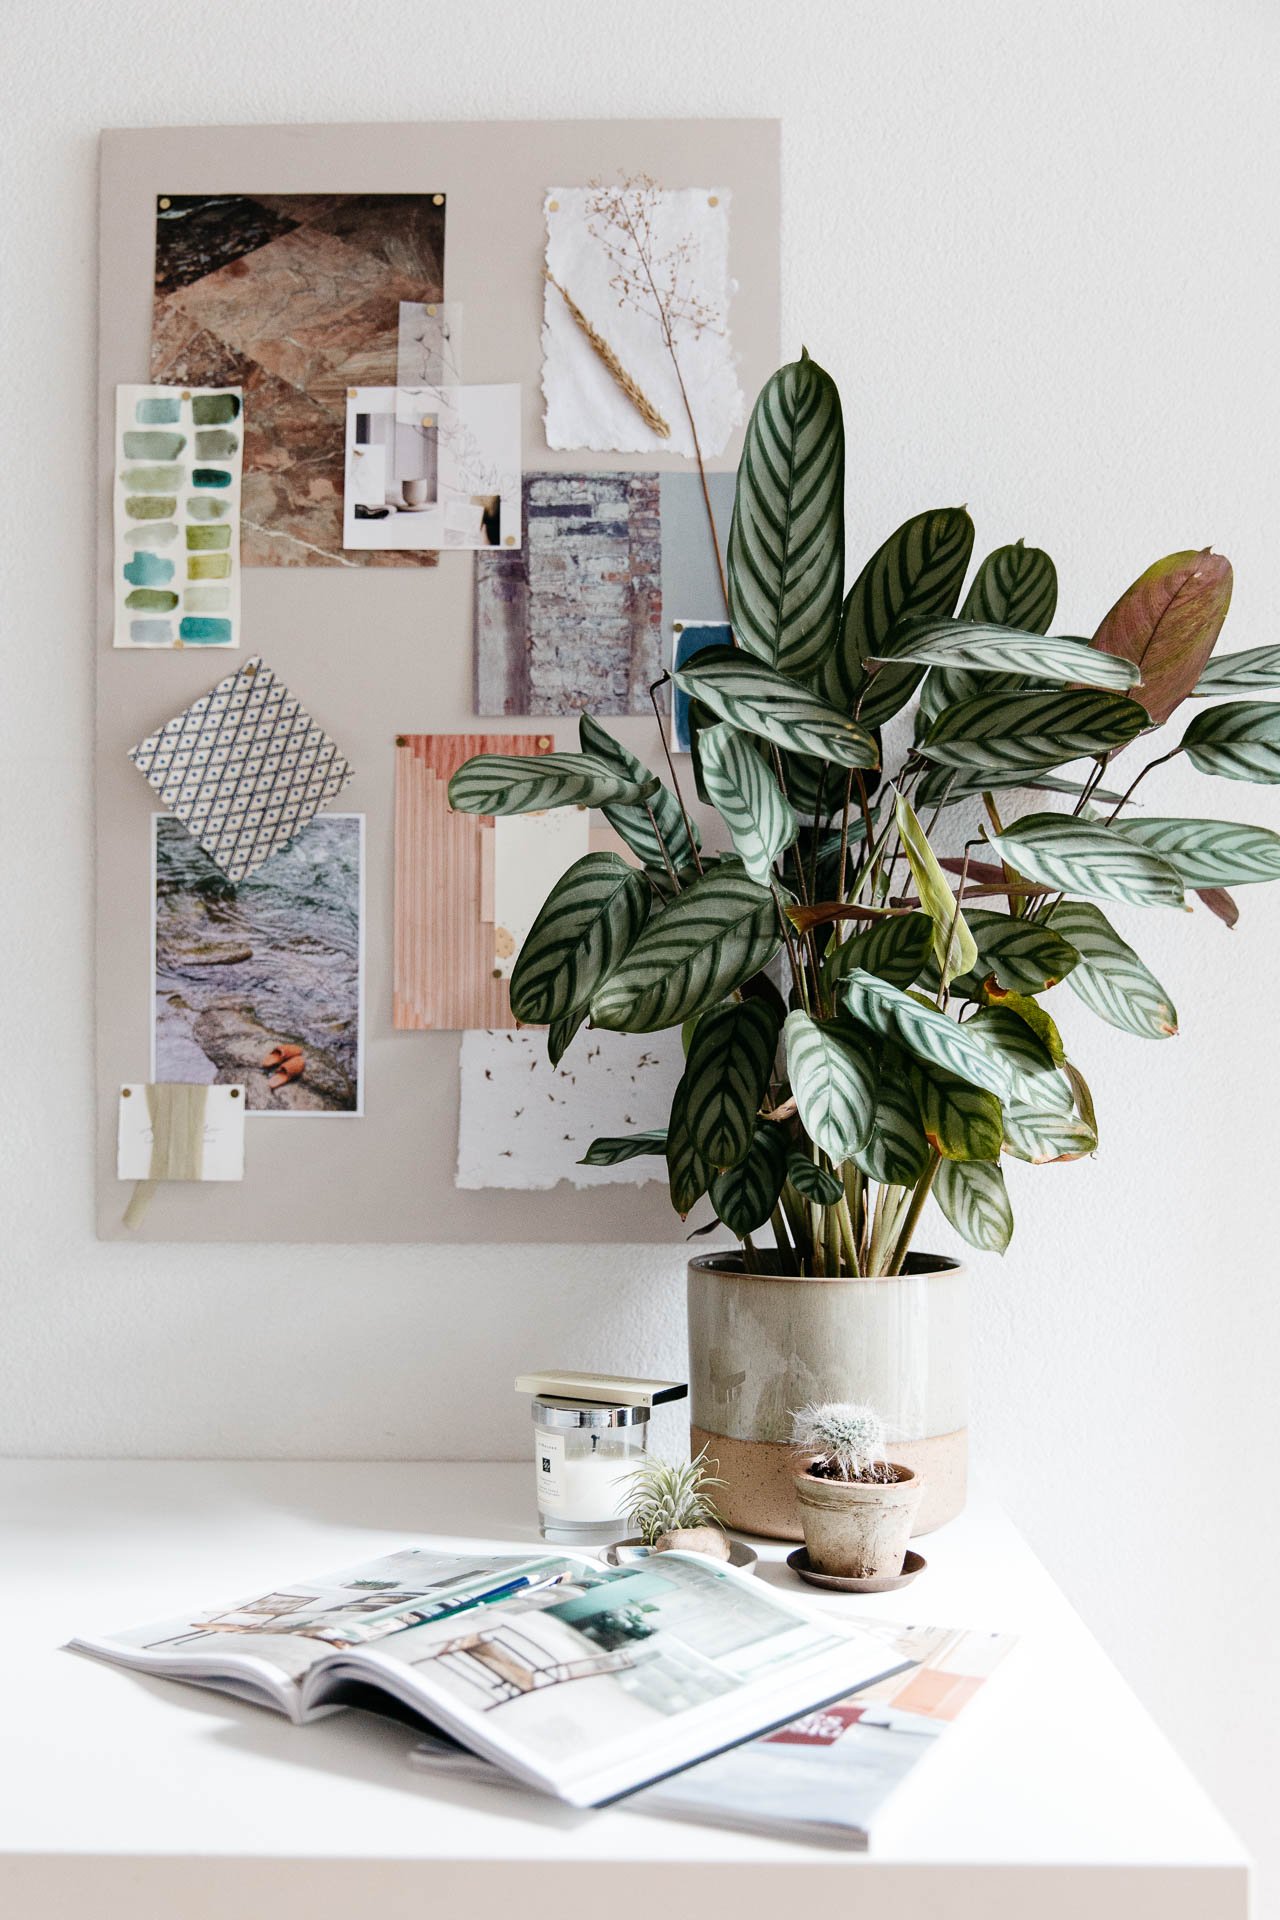
Once your boards are up, play around with what you put on them. I added all sorts of inspirational images and textures including the Farrow & Ball colour chart that I use regularly and a few other bits and bobs from projects I’m working on currently.
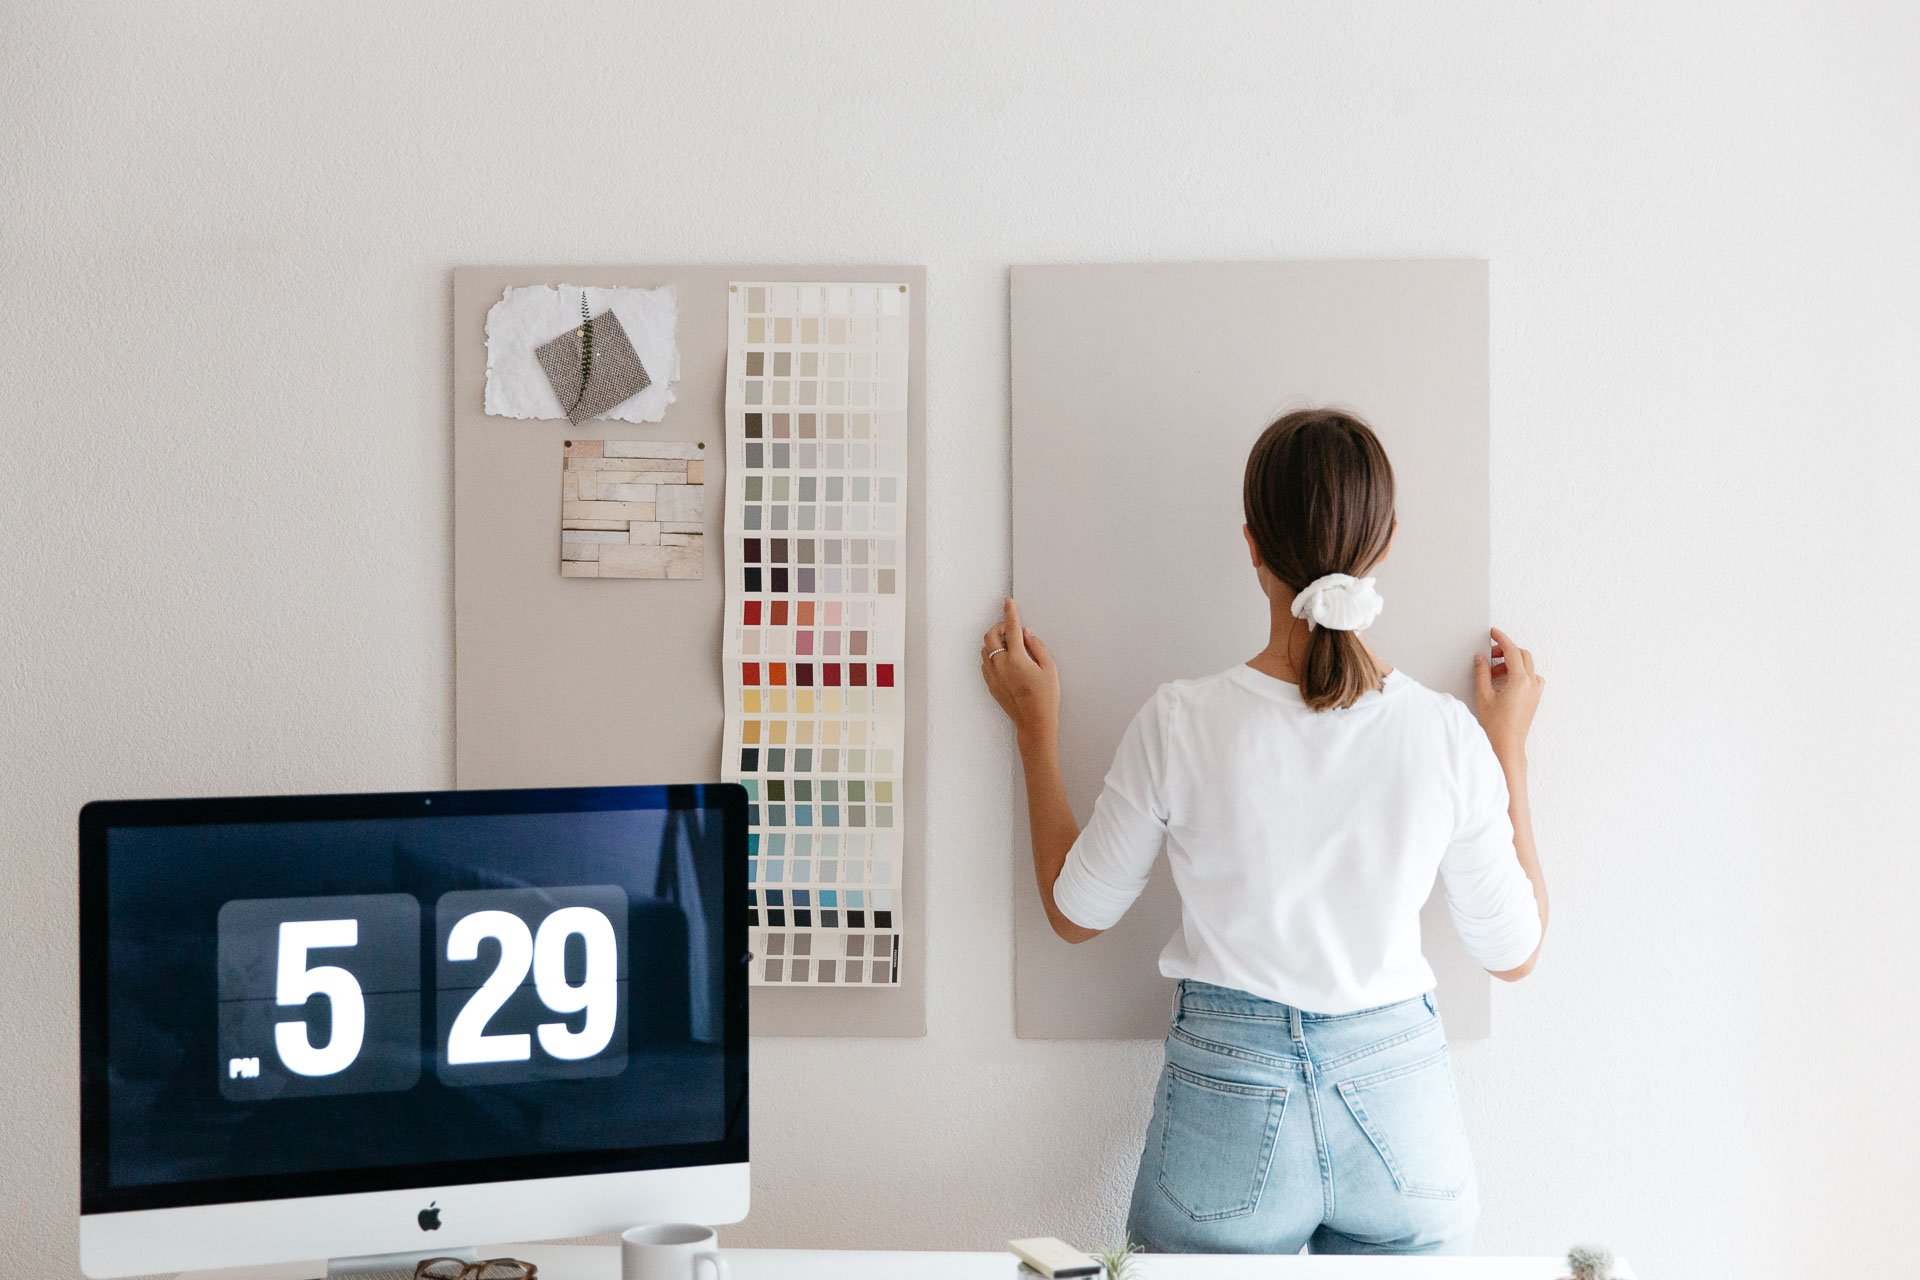
I absolutely love how these turned out. It’s one of those new additions to my home that makes me smile every time I walk in the door!


When you move out or are ready to remove the Adhesive Nails, remember to follow the instructions carefully. It is very important not to full away from the surface but to pull the adhesive strip down. This releases the adhesive bonds from the wall and separates the nail from the wallpaper or plaster without leaving a mark.
I haven’t tested this out yet but when I do remove the strips, I will be sure to show you! Thank you ever so much for stopping by for a read. I hope you love this DIY as much as I do and if you do make your own moodboards, make sure to tag me on Instagram so I can see all of your inspiration boards.
Big bisous xS

This is a sponsored post in collaboration with Tesa
Photos by Nicole Hertel