HOW TO MAKE YOUR OWN HANDMADE PAPER
I had been on the hunt for handmade recycled paper for a number of projects and I think I probably went to every stationery shop in London that I could think of to find some. It seemed that pretty much everywhere had sold out when I realised that the clue might just be in the name… handmade paper. I’m an idiot. :)
So we had a little play around and, as it happens, it’s actually really easy to make your own paper and it’s kind of therapeutic too. We played around with avocado dye, adding grains and dried flowers to the paper and I love them all. You can get all sorts of different textures and thicknesses and it’s exciting to think that all you need is scrap paper and water.


Here’s what you’ll need to make your own handmade paper:
Wooden frame inside dimension 148 x 210 mm (for an A5 sheet)
Mosquito net material
Scissors
Staple gun
Shredded paper
Water
Deep tray
Blender
Old rags & tea towels
Finely woven cotton material
Ruler
Dried flowers & seeds (optional)

Step 1: Cut your mosquito netting to go around your frame leaving enough space to staple it to the back
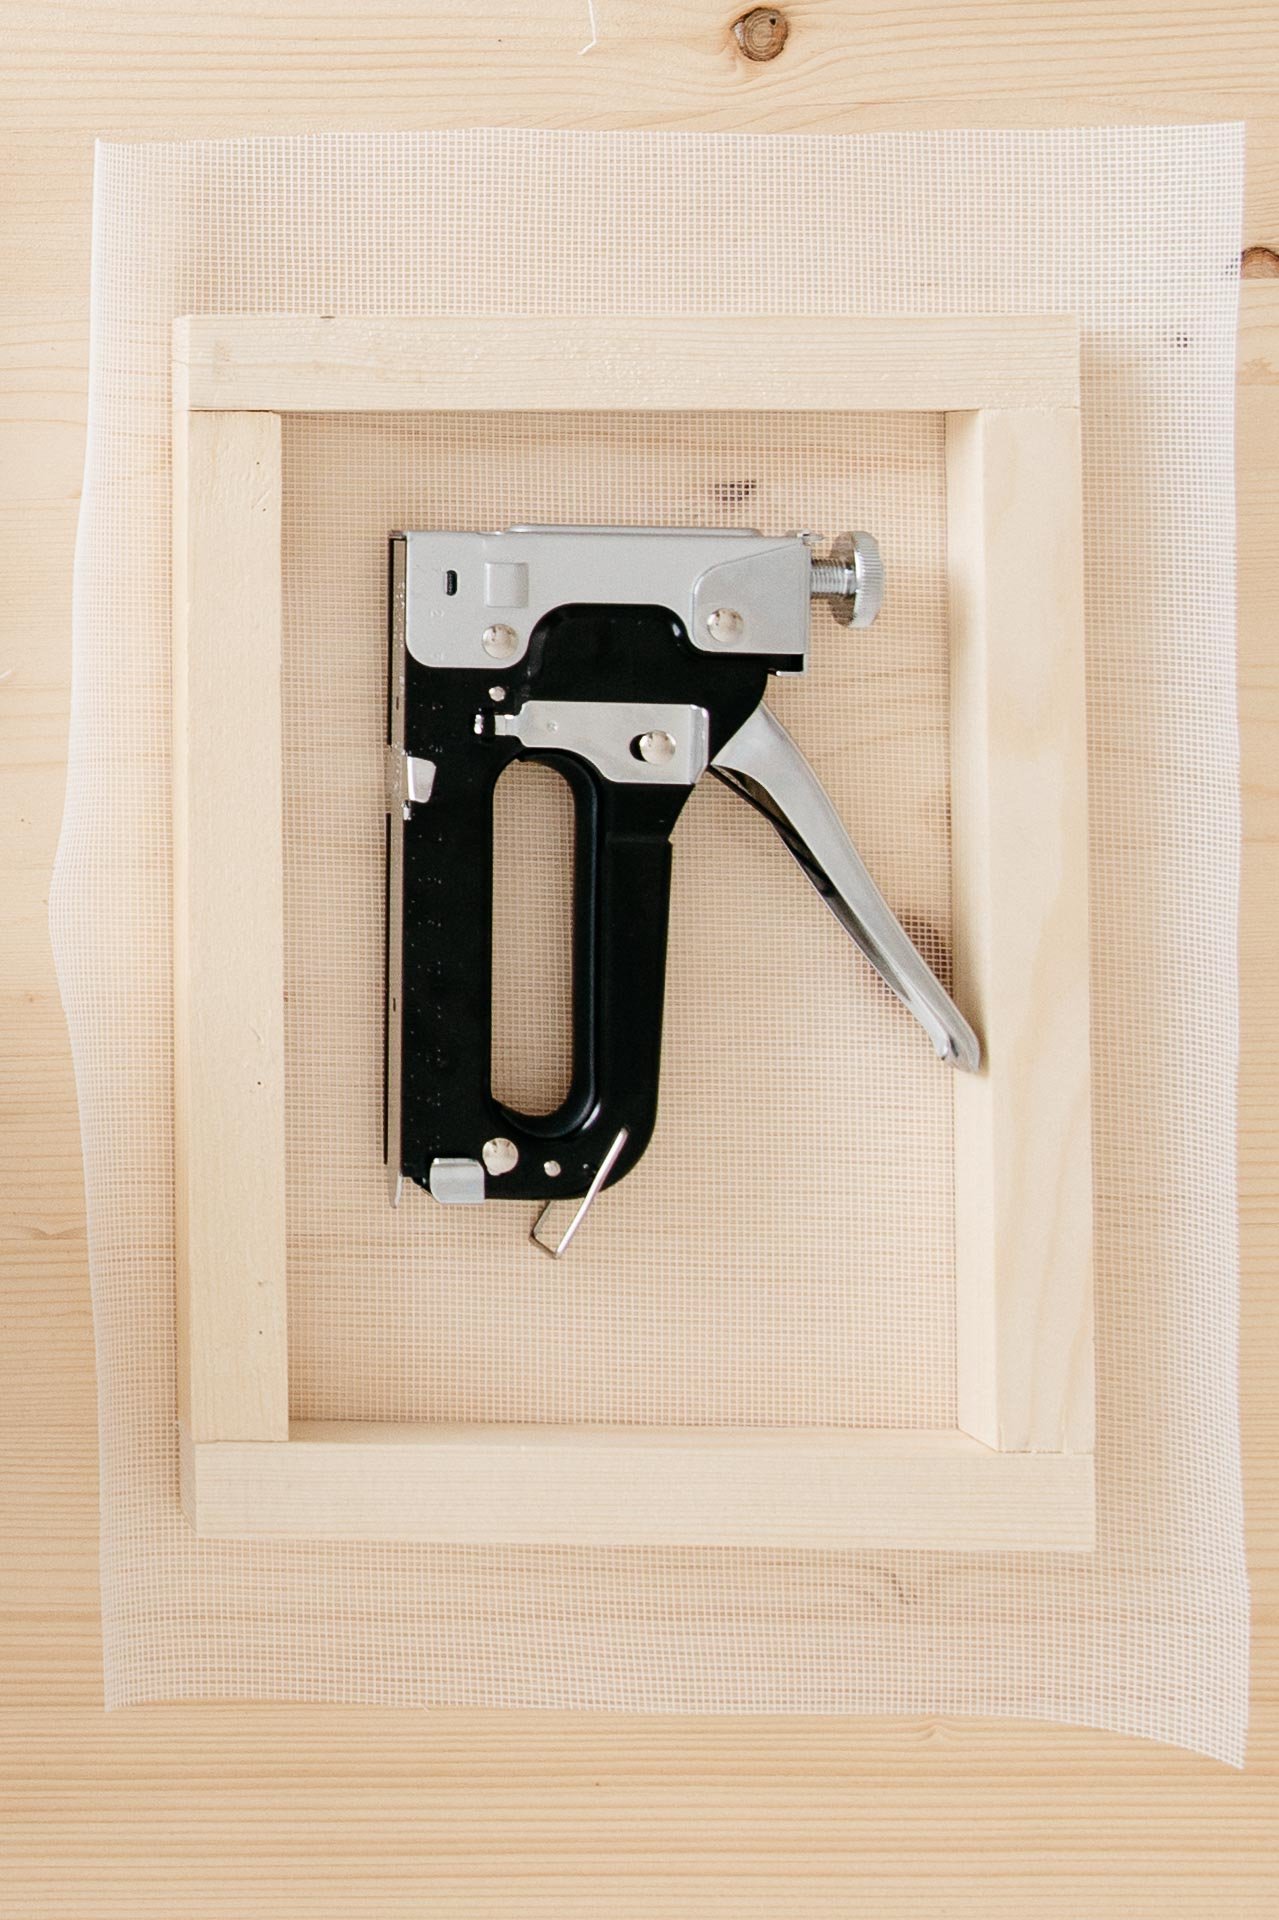
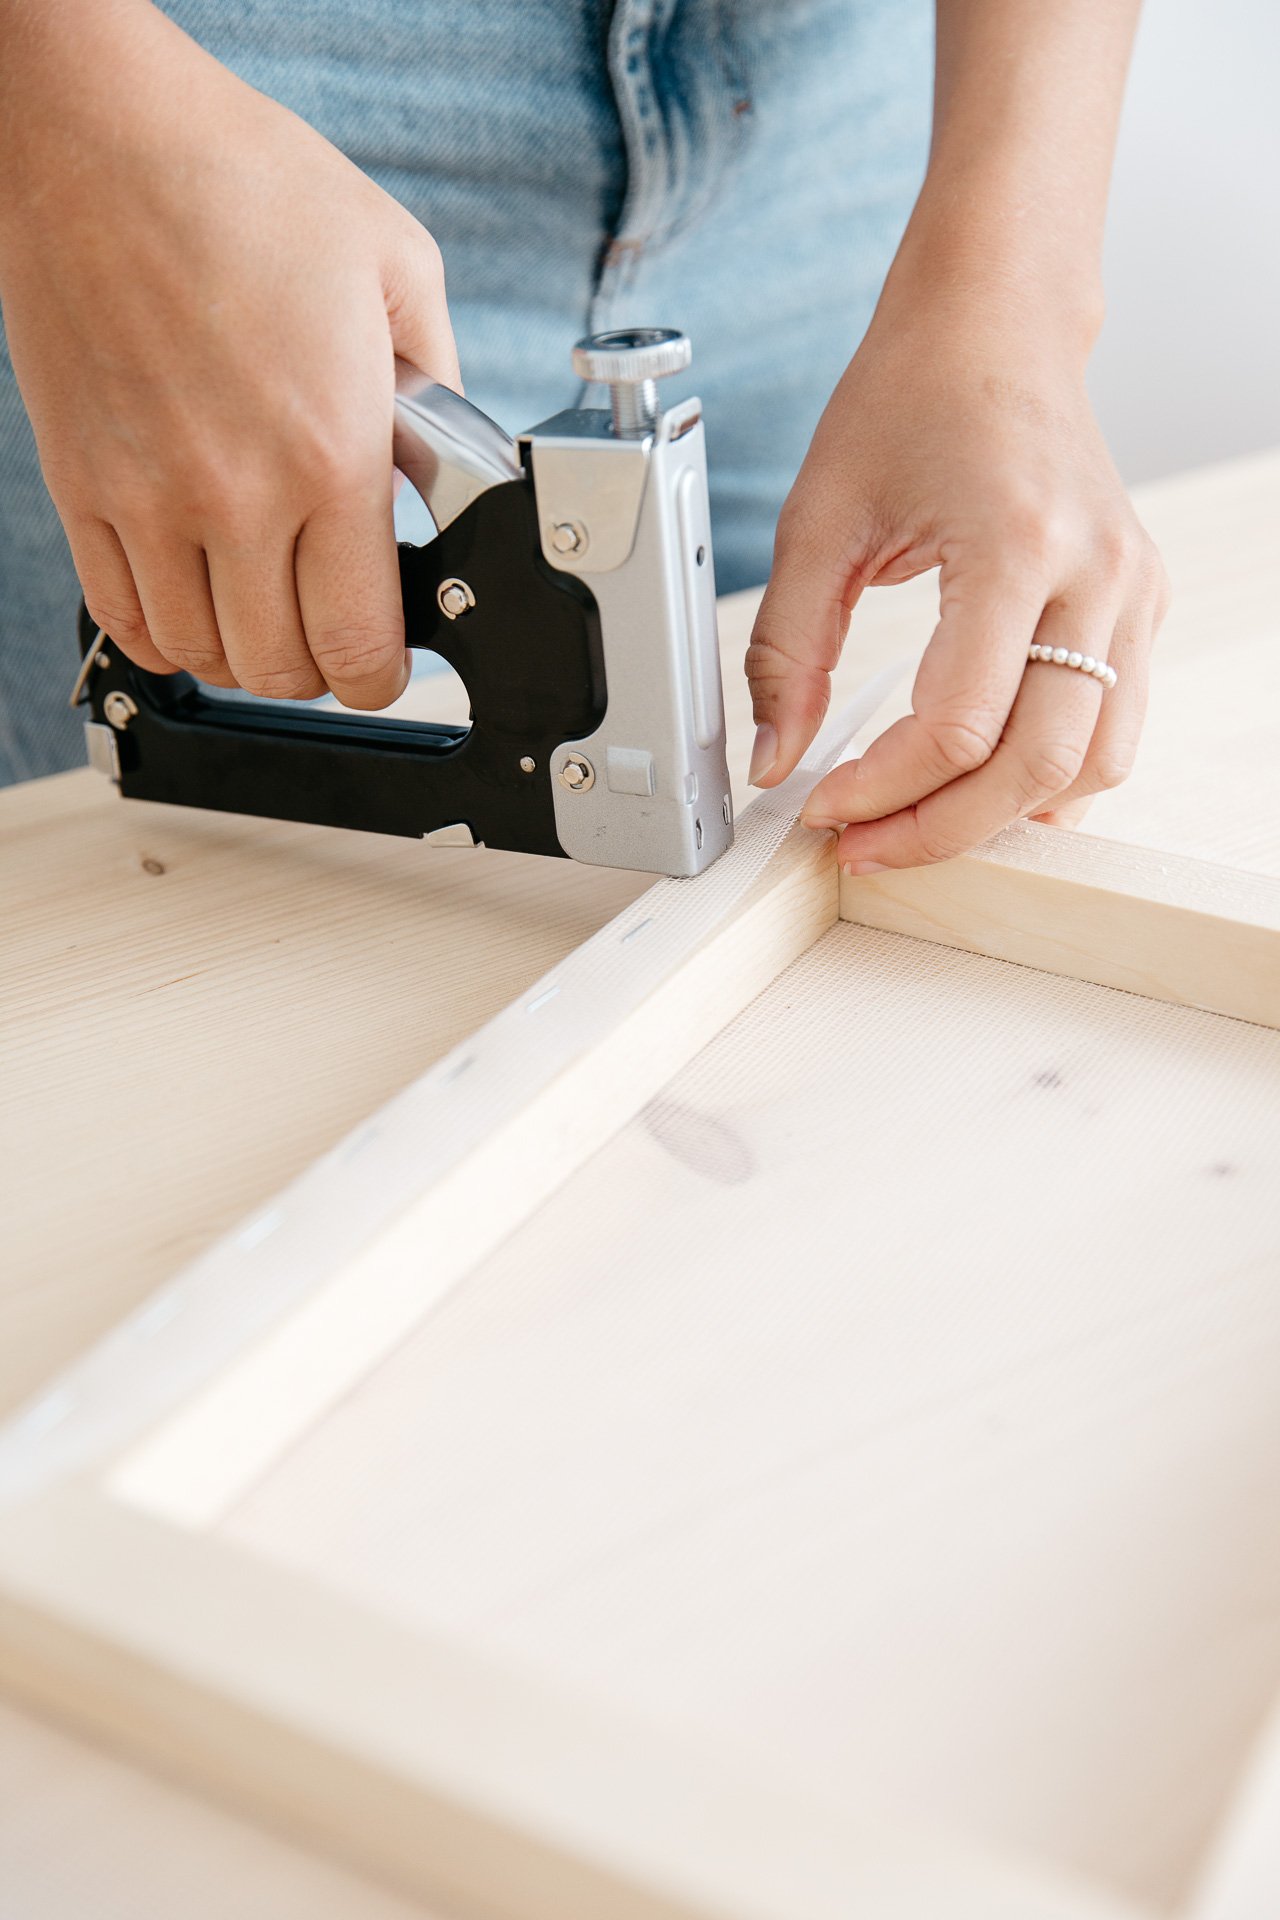
Step 2: Use the staple gun to staple the netting around the frame pulling it tight around each side.
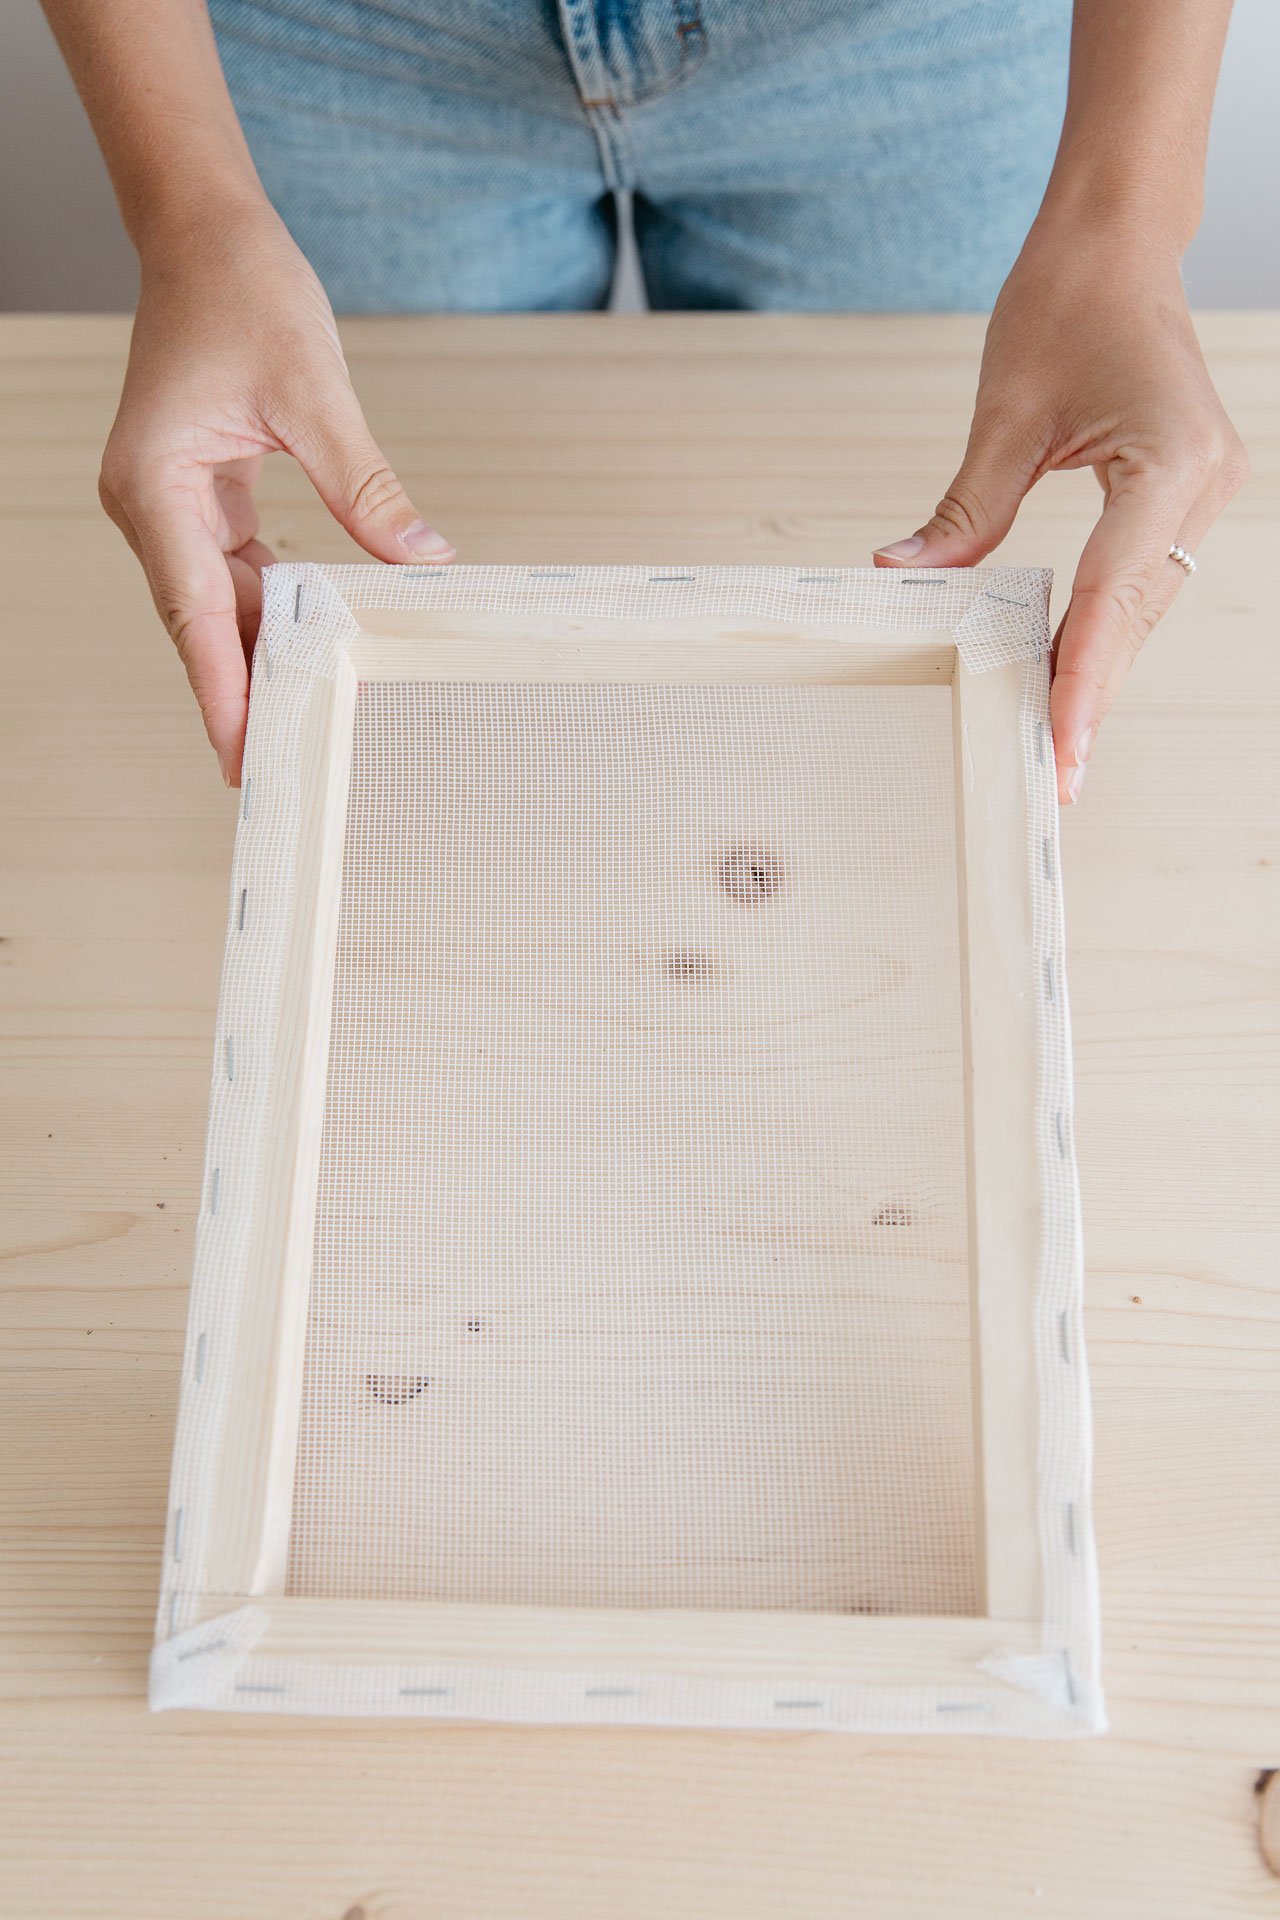
Once complete, it should look like this:
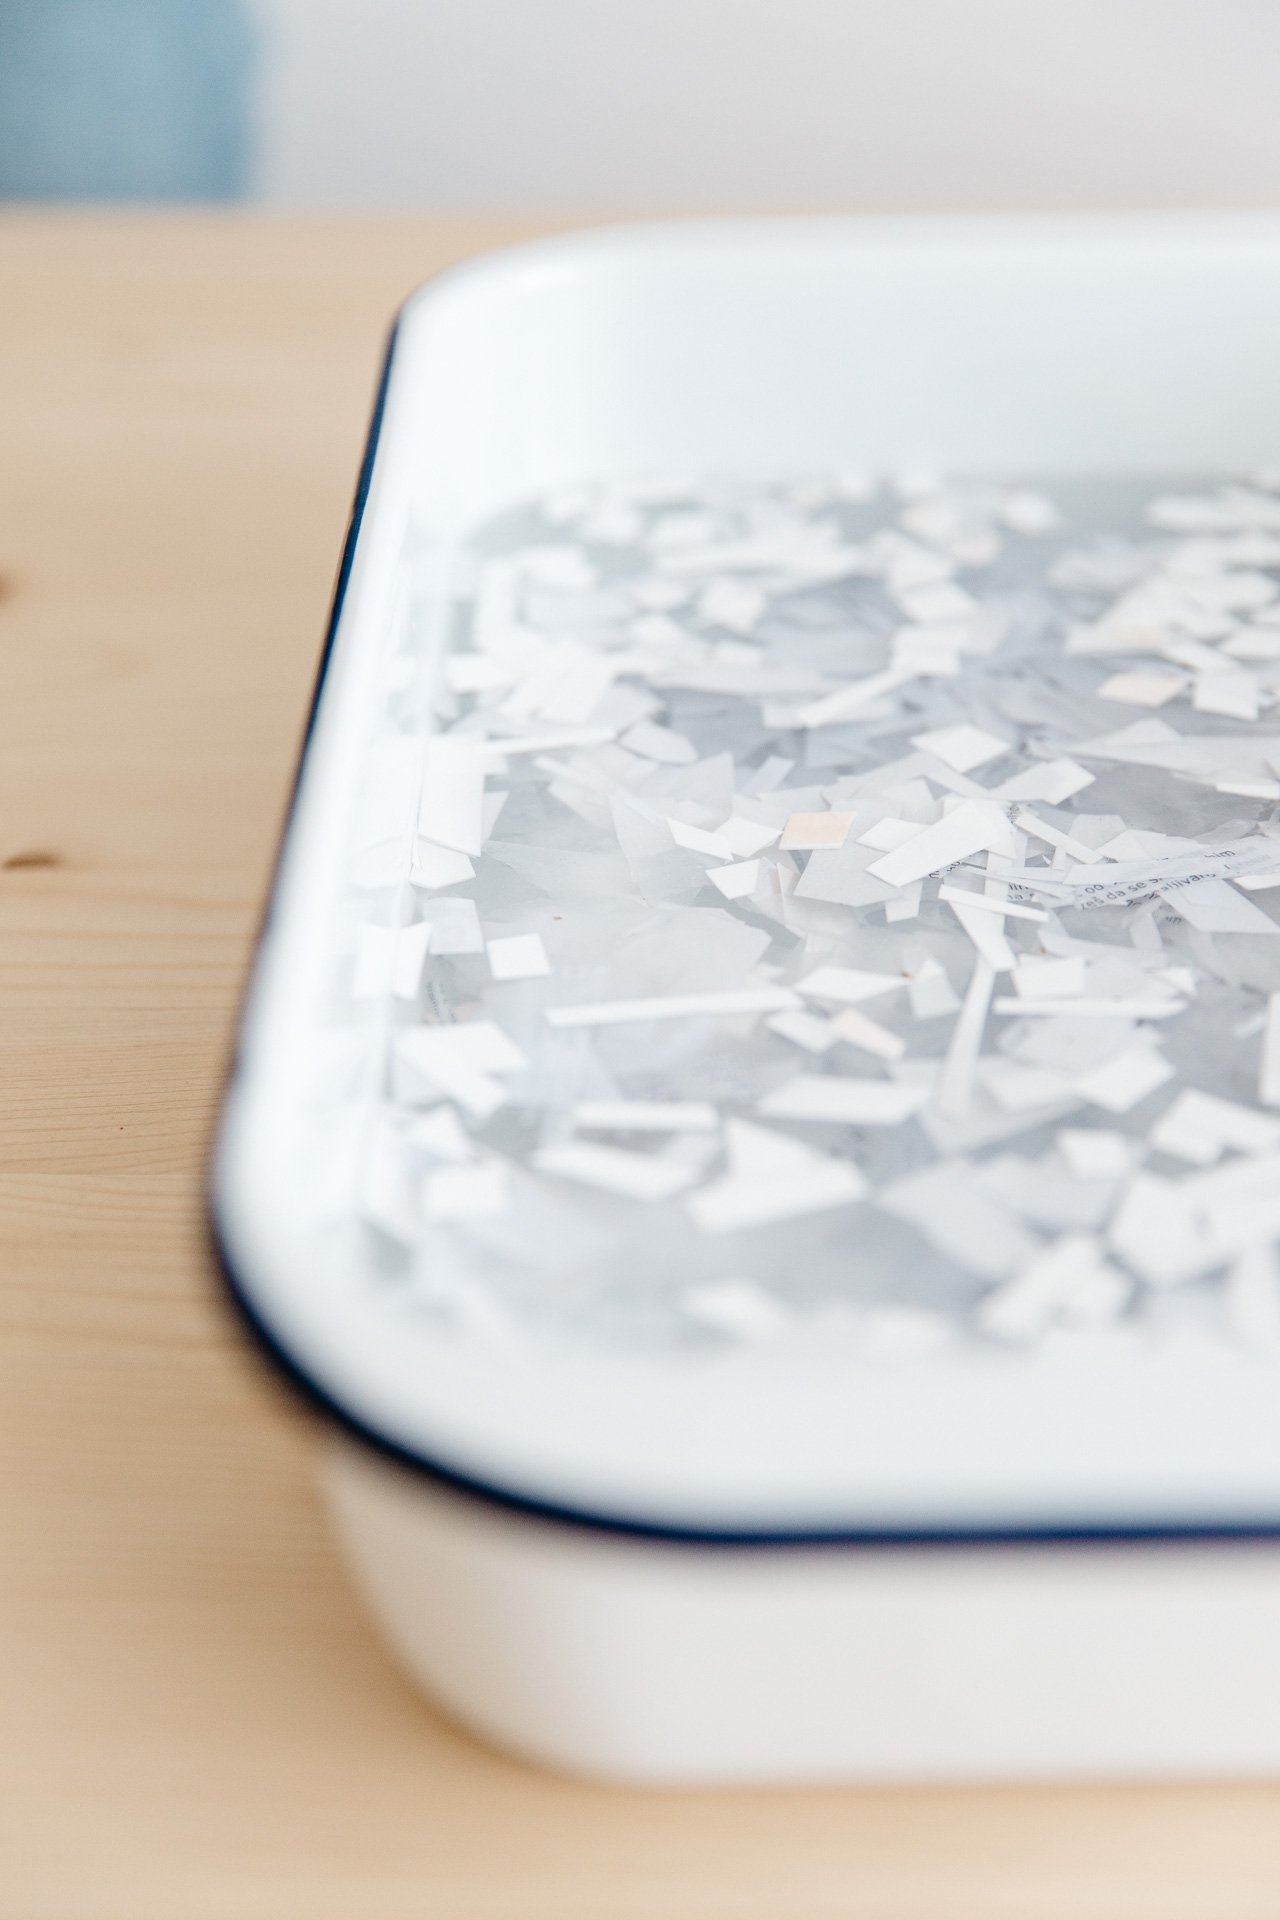
Step 3: Shred or cut up your paper.

Step 4: Soak your paper in a large tray of water overnight if possible.
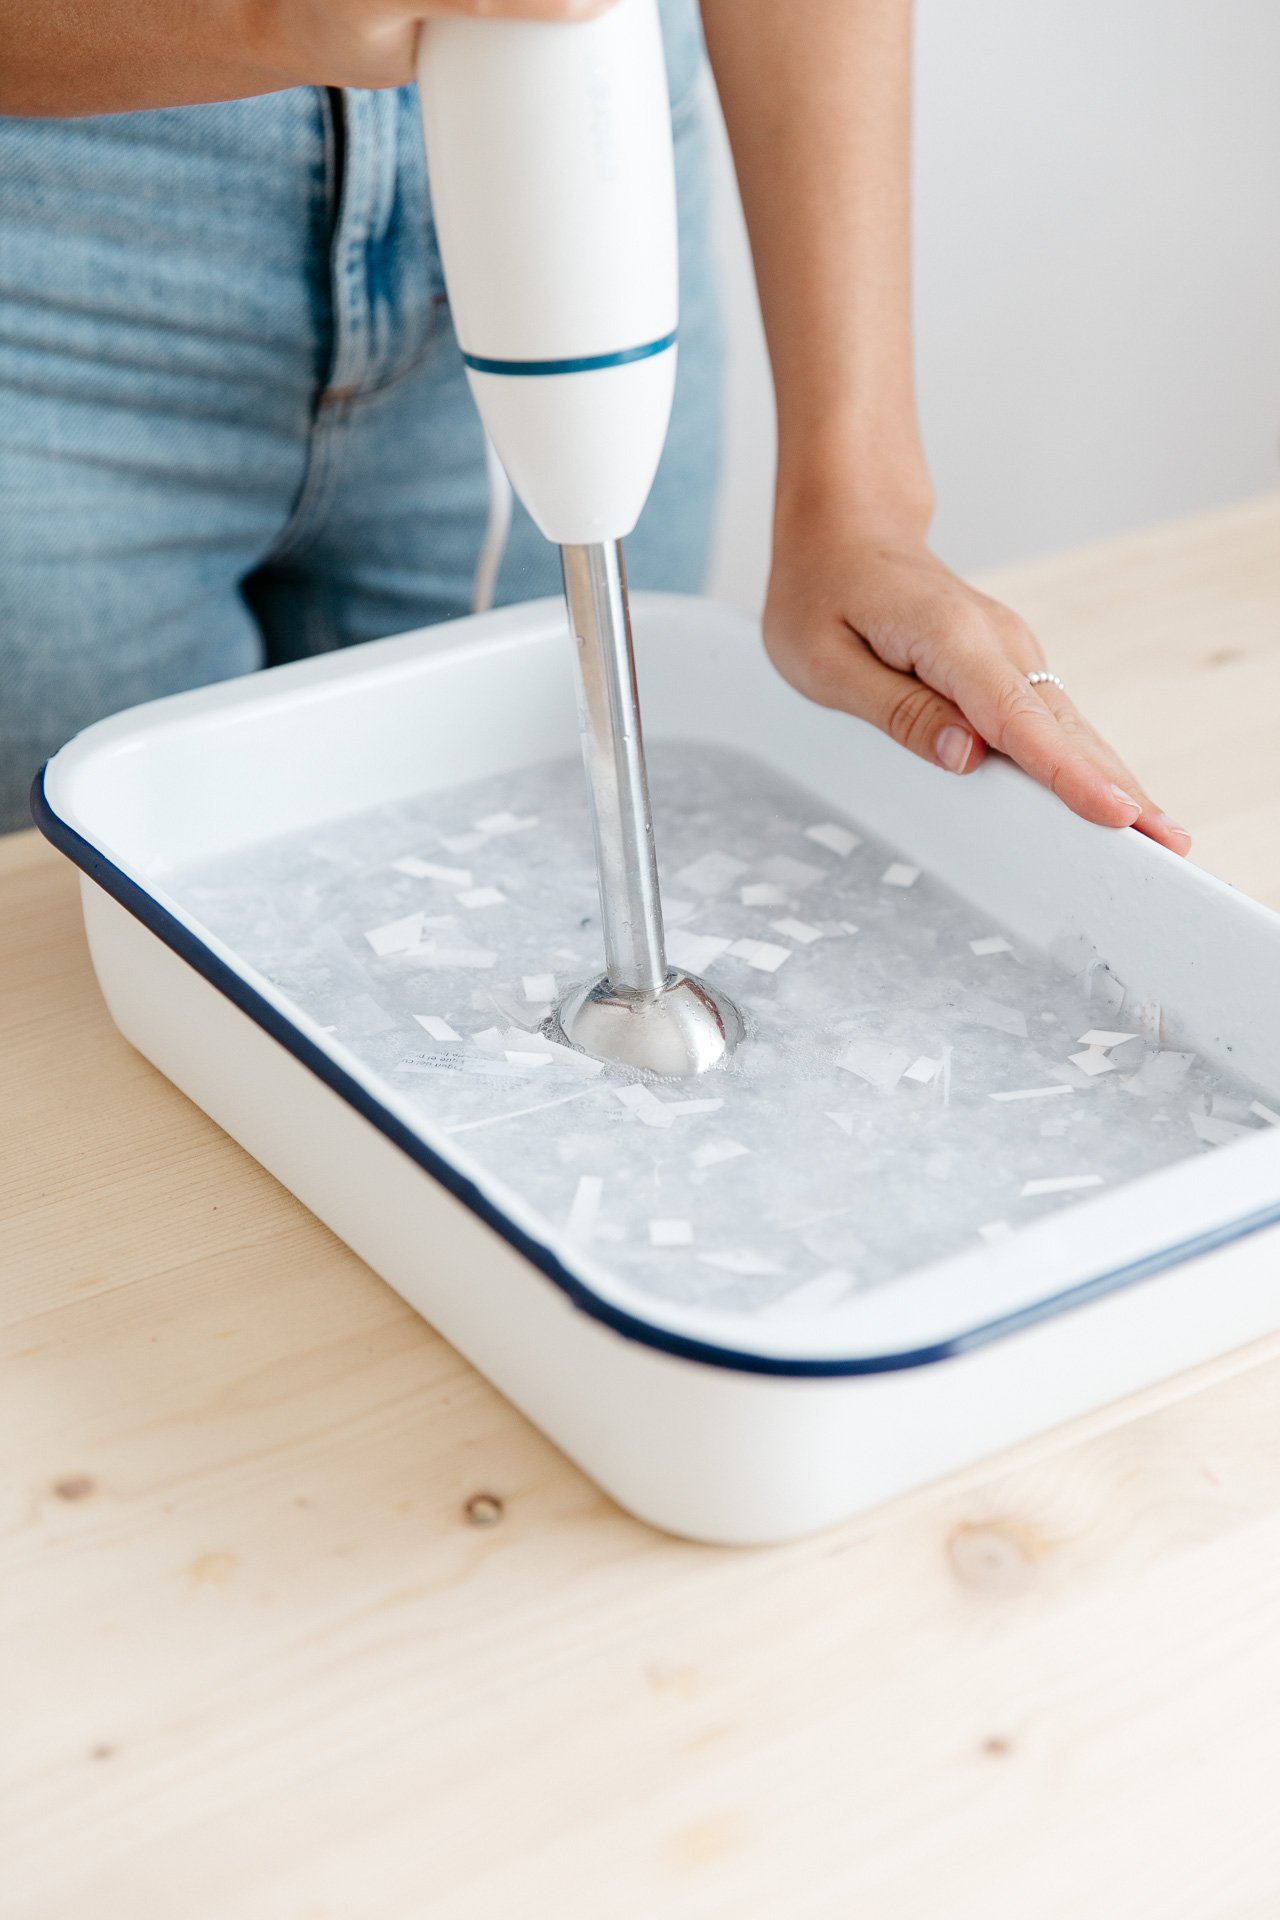
Step 5: Use a hand blender to blend the paper to a thin pulp.
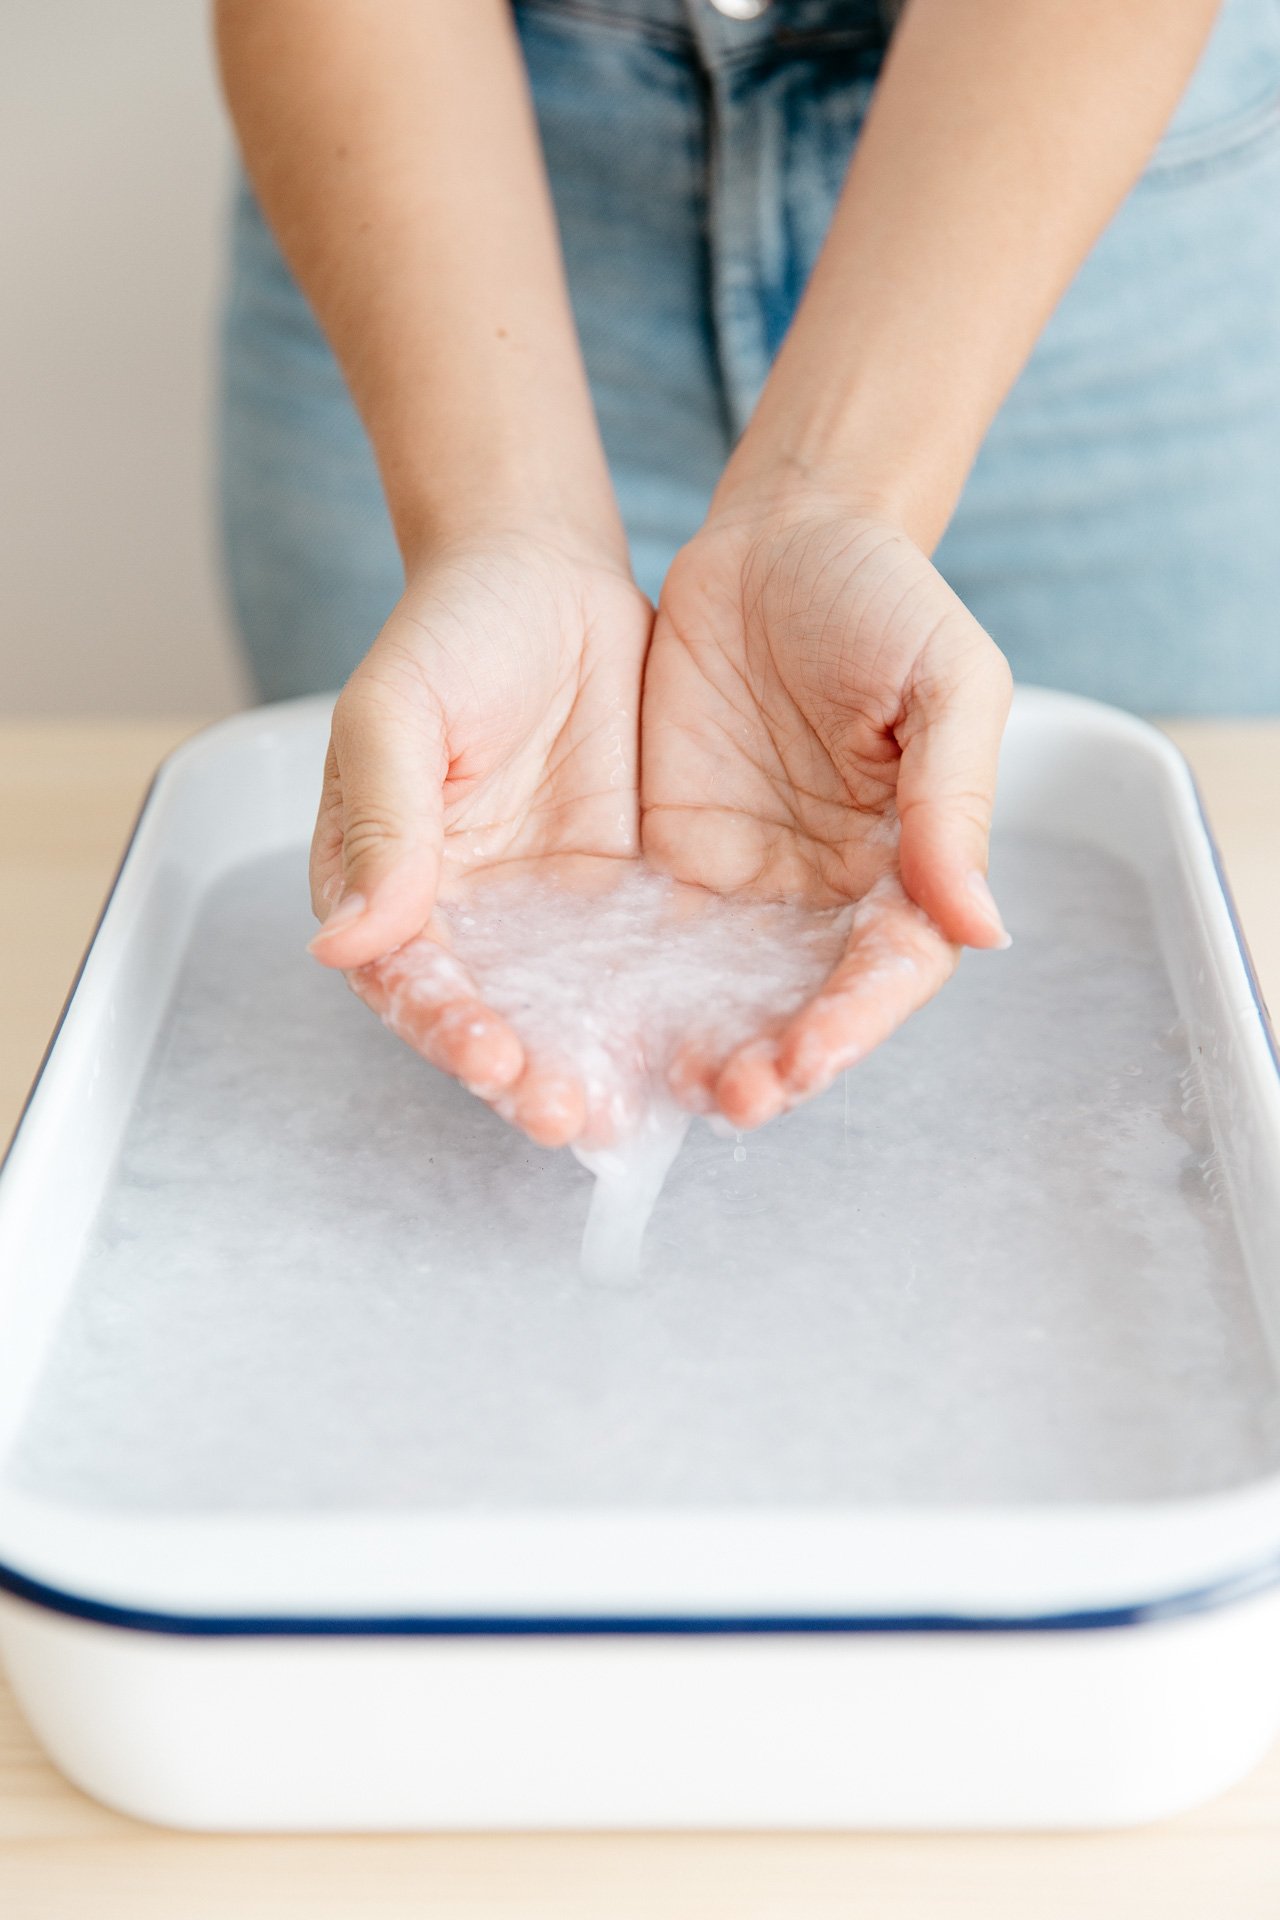
Step 6: Add water so the pulp moves freely. You’ll need more water than you think.
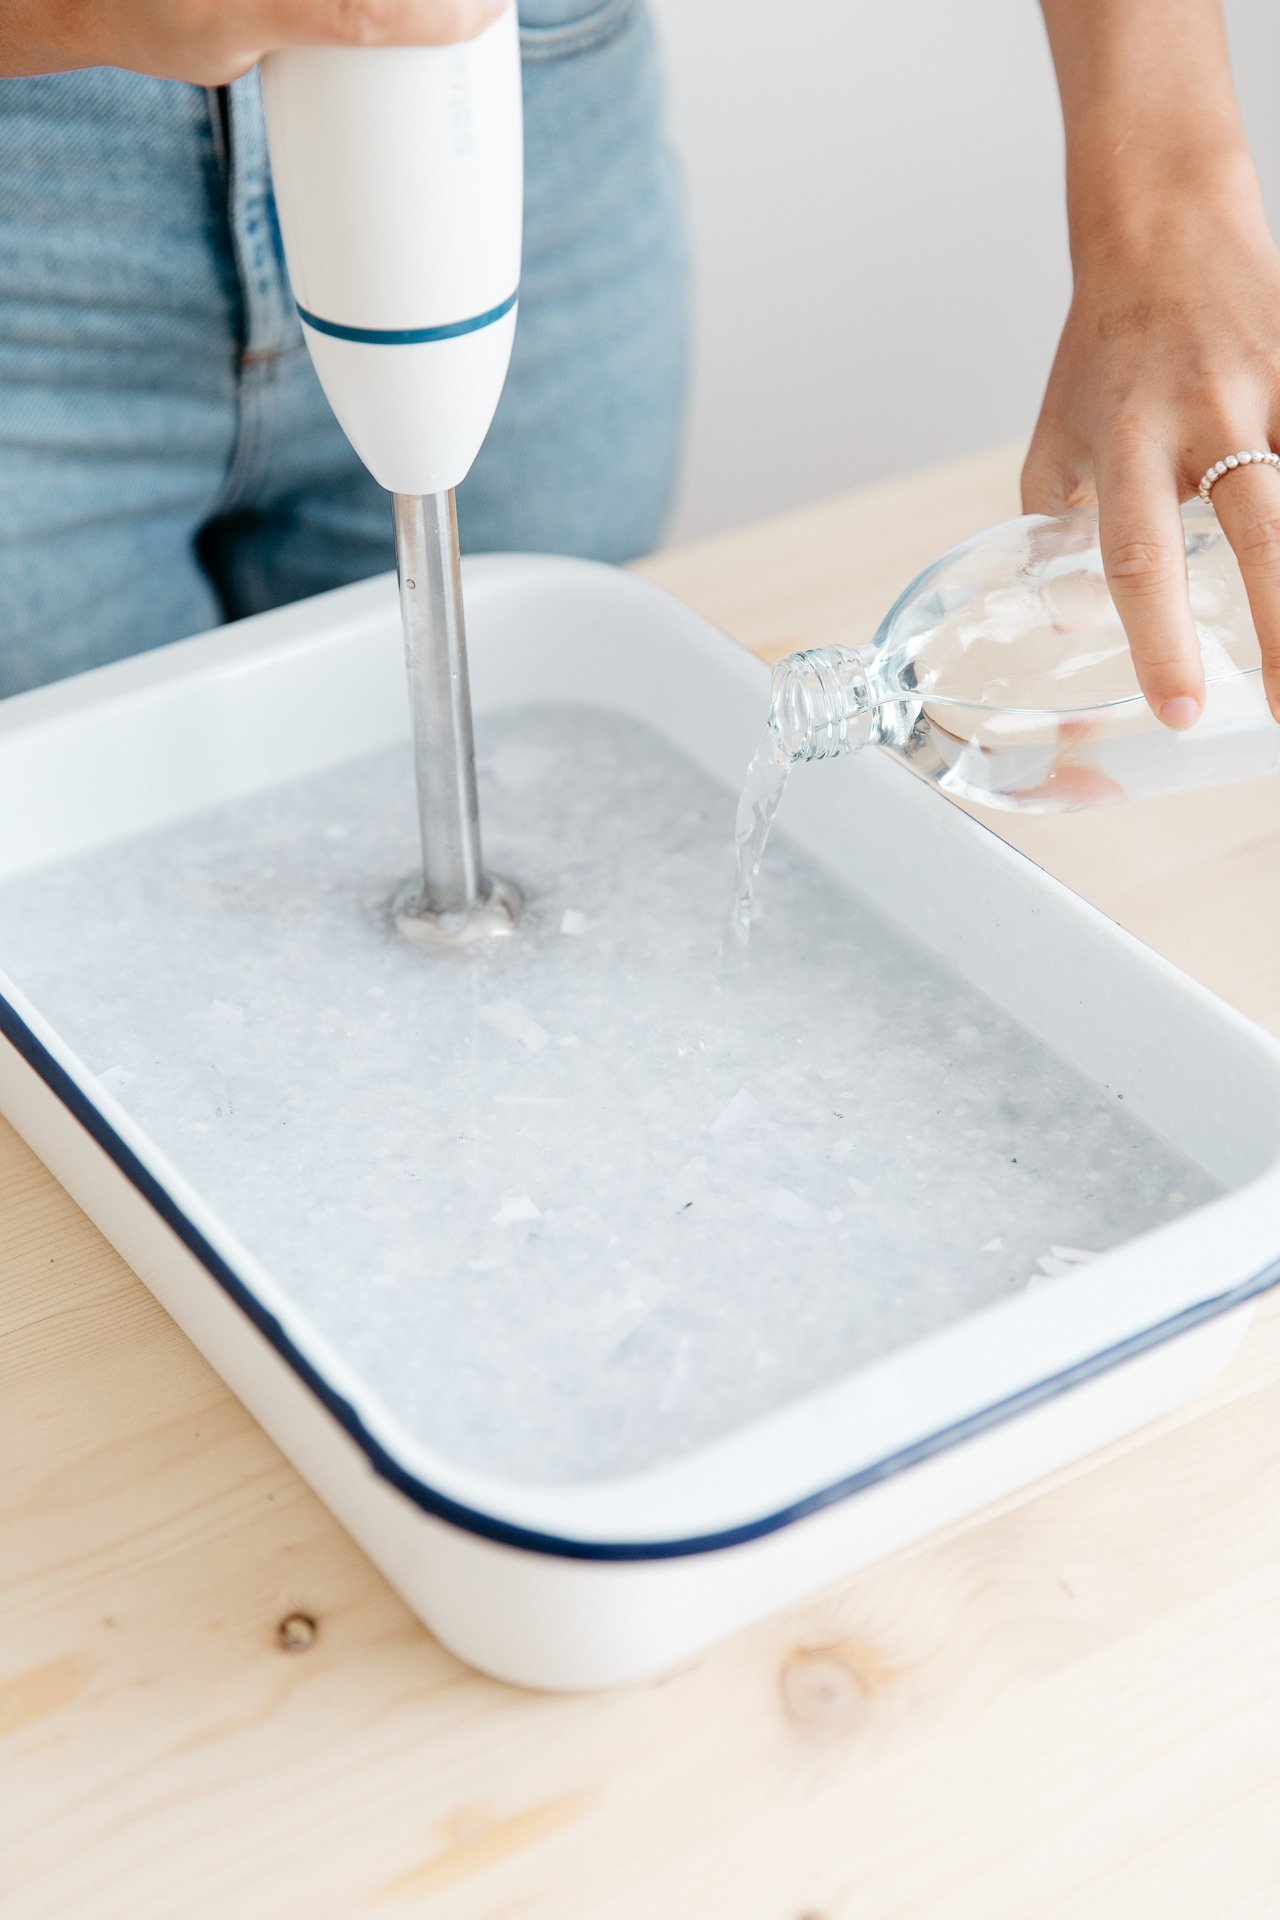
Your pulp should be fairly thin and not too gloopy. This is what ours looked like:
Step 7: Prepare your table top by layering scrap towels and tea towels.
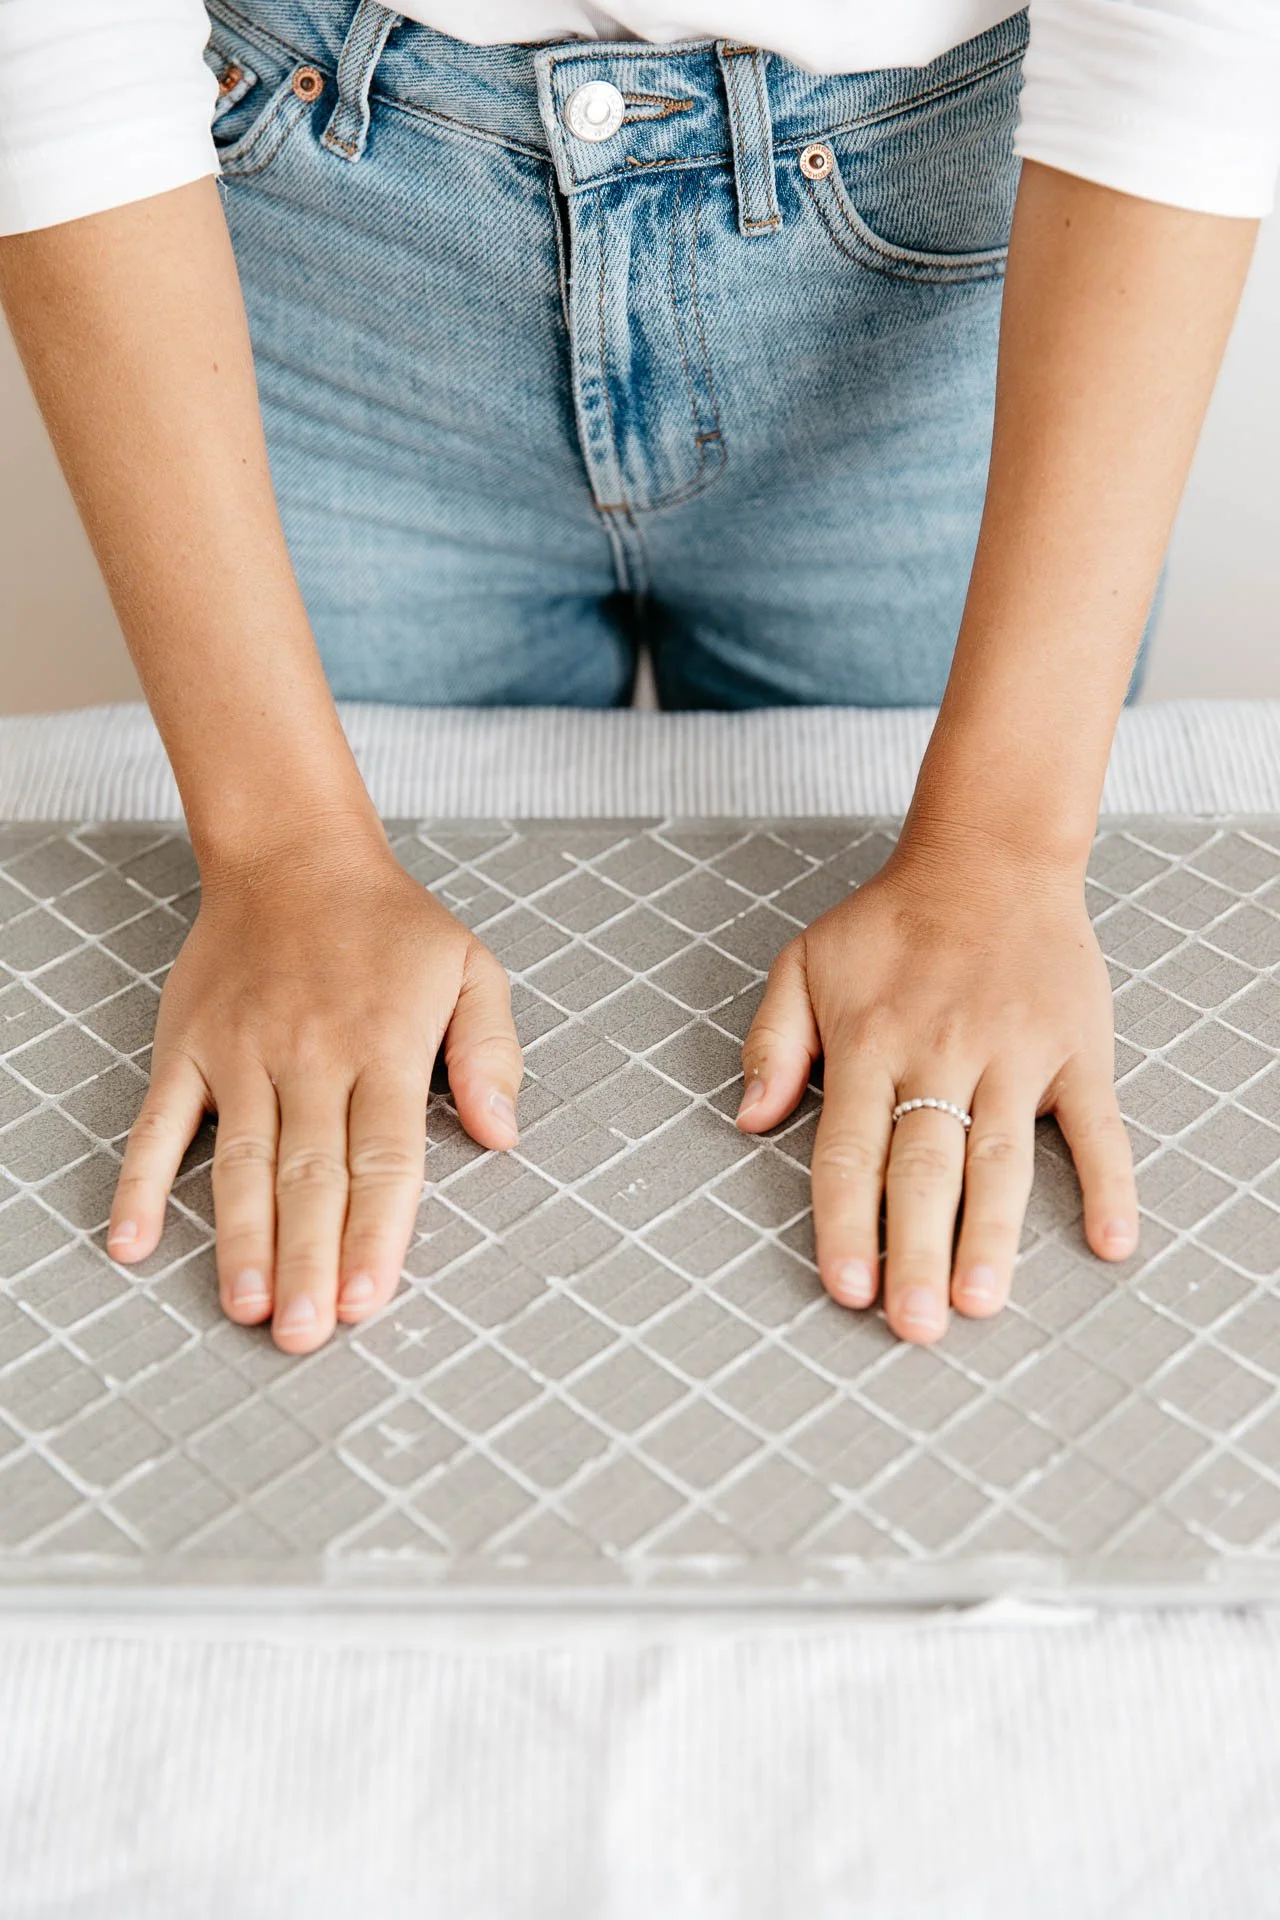
Step 8: Place your frame into the water along a long edge and push down until fully immersed.

Step 9: Once you’ve got an even covering of the pulp, lift up slowly.
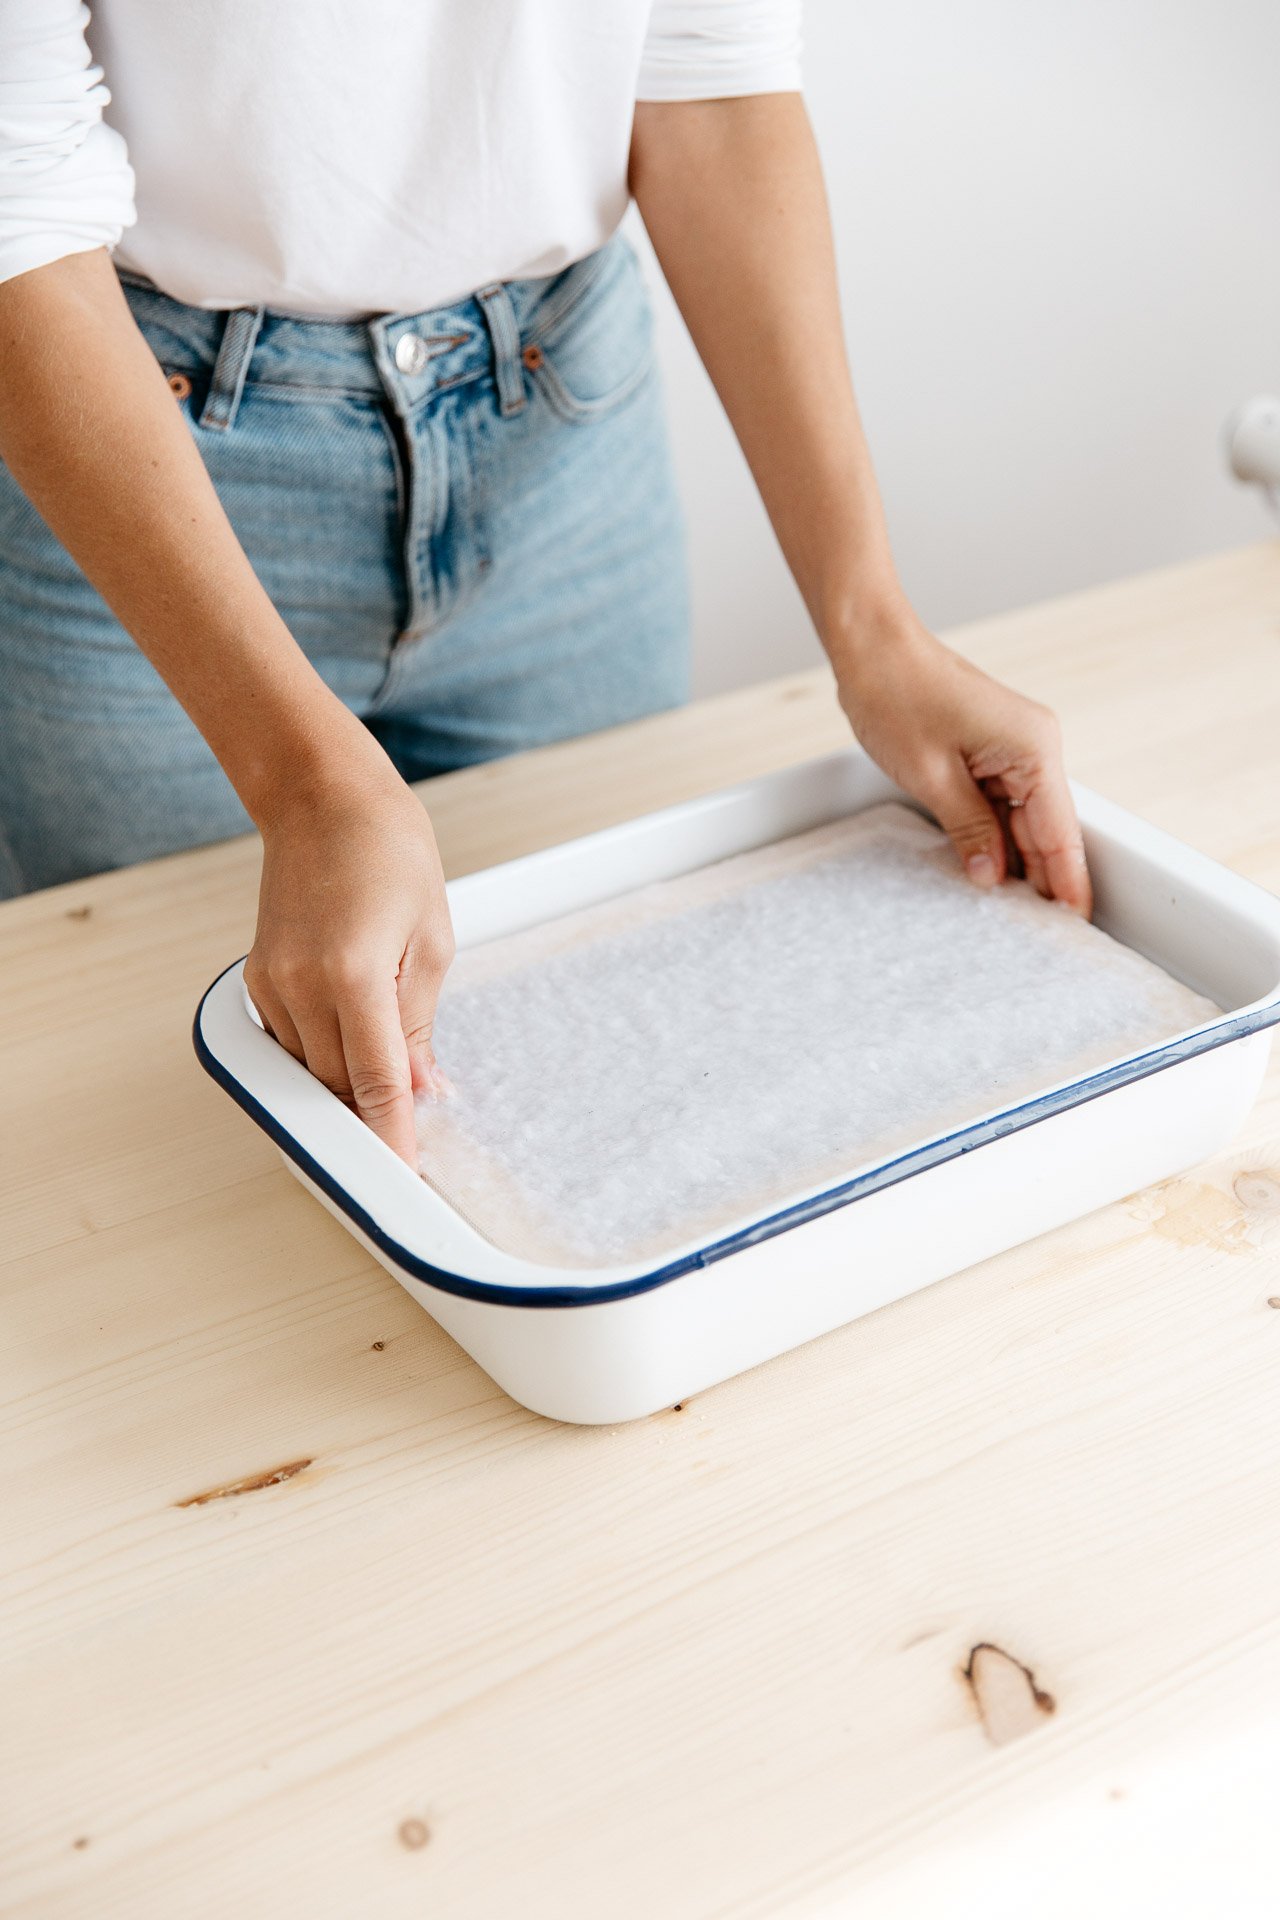
Step 10: Drain off the excess water by resting it on your tray for a minute or two.
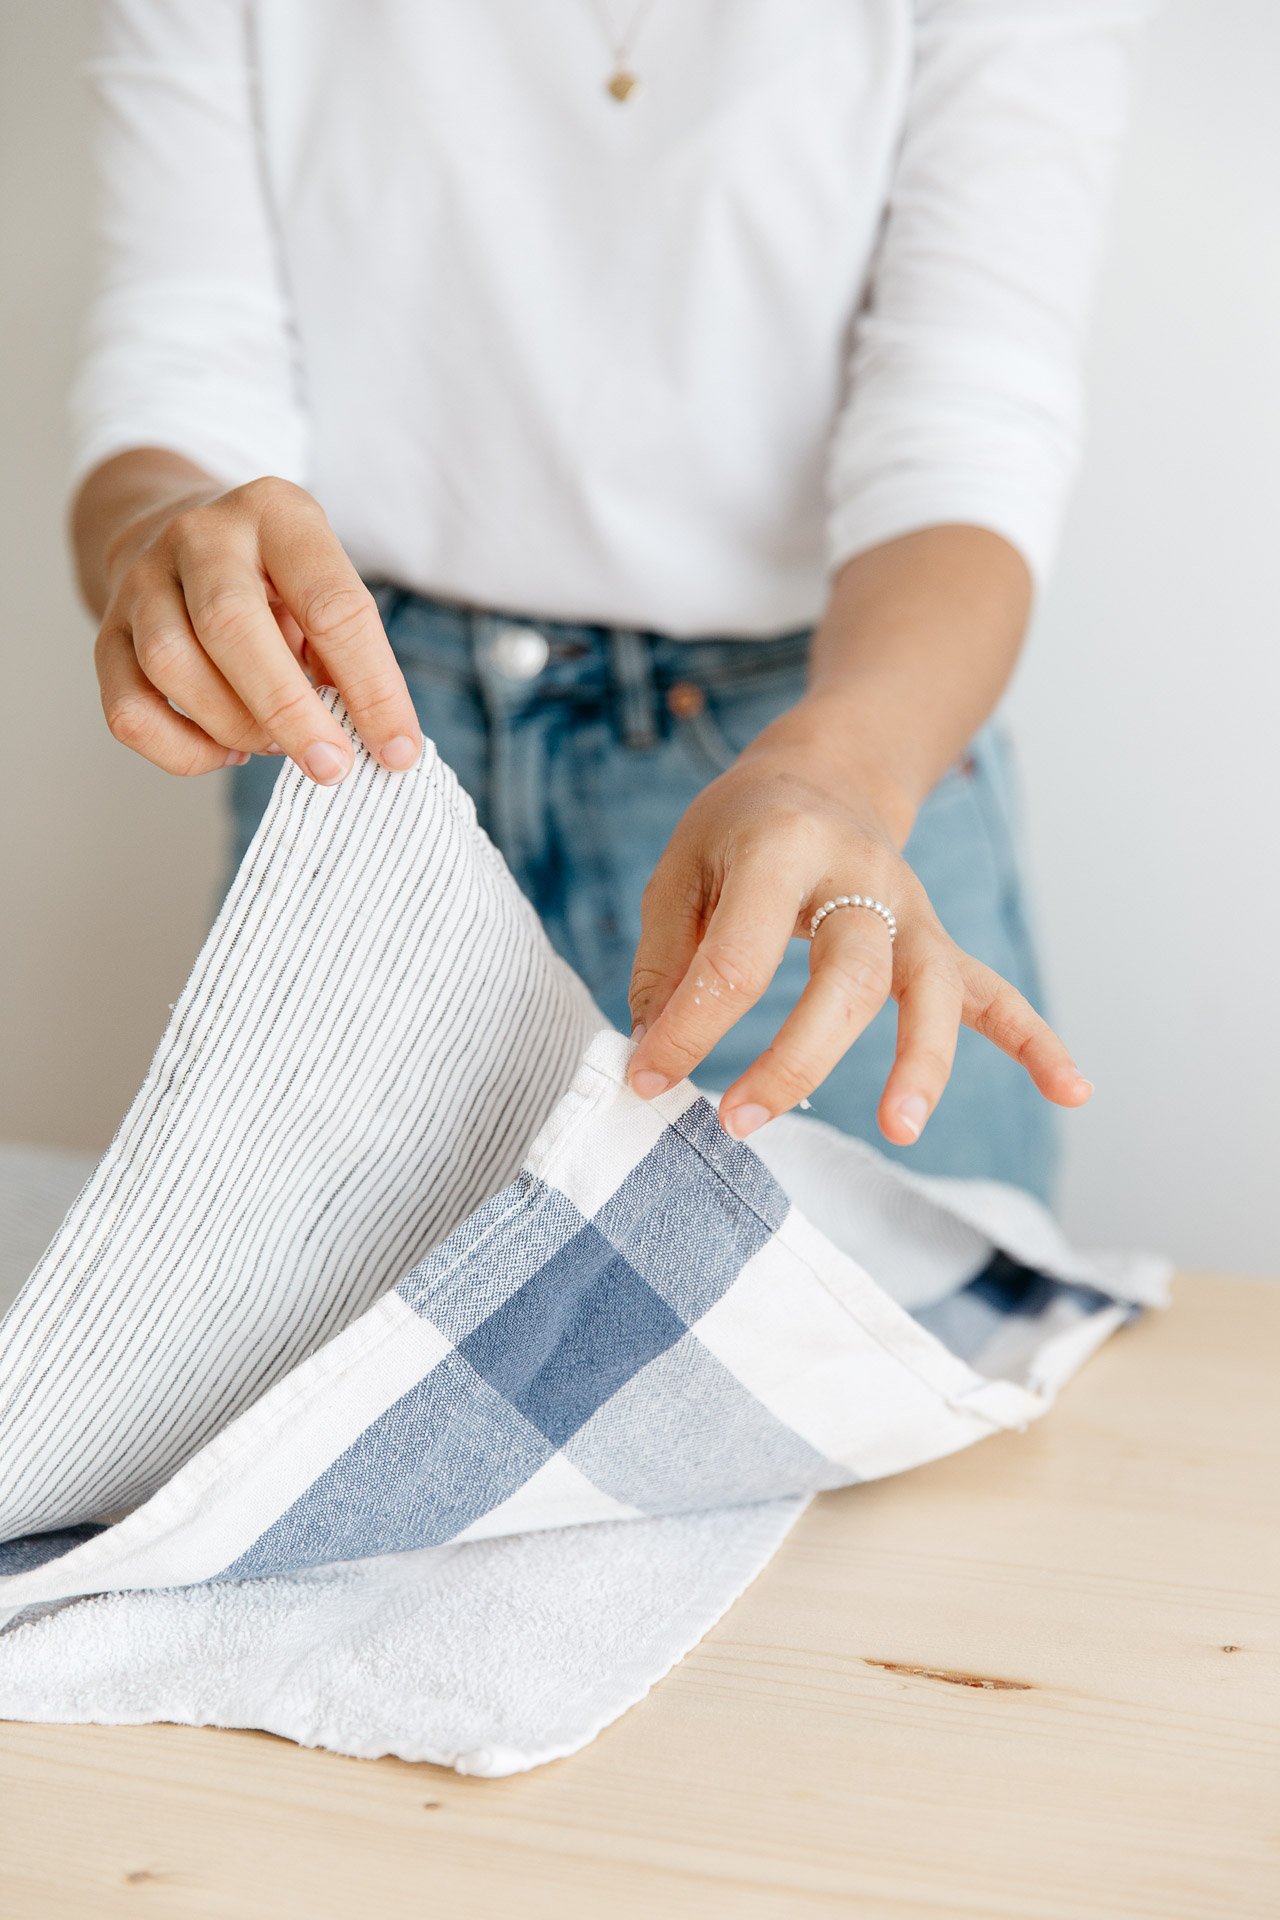
Step 11: Place a piece of finely woven cotton fabric on your layered tea towels.
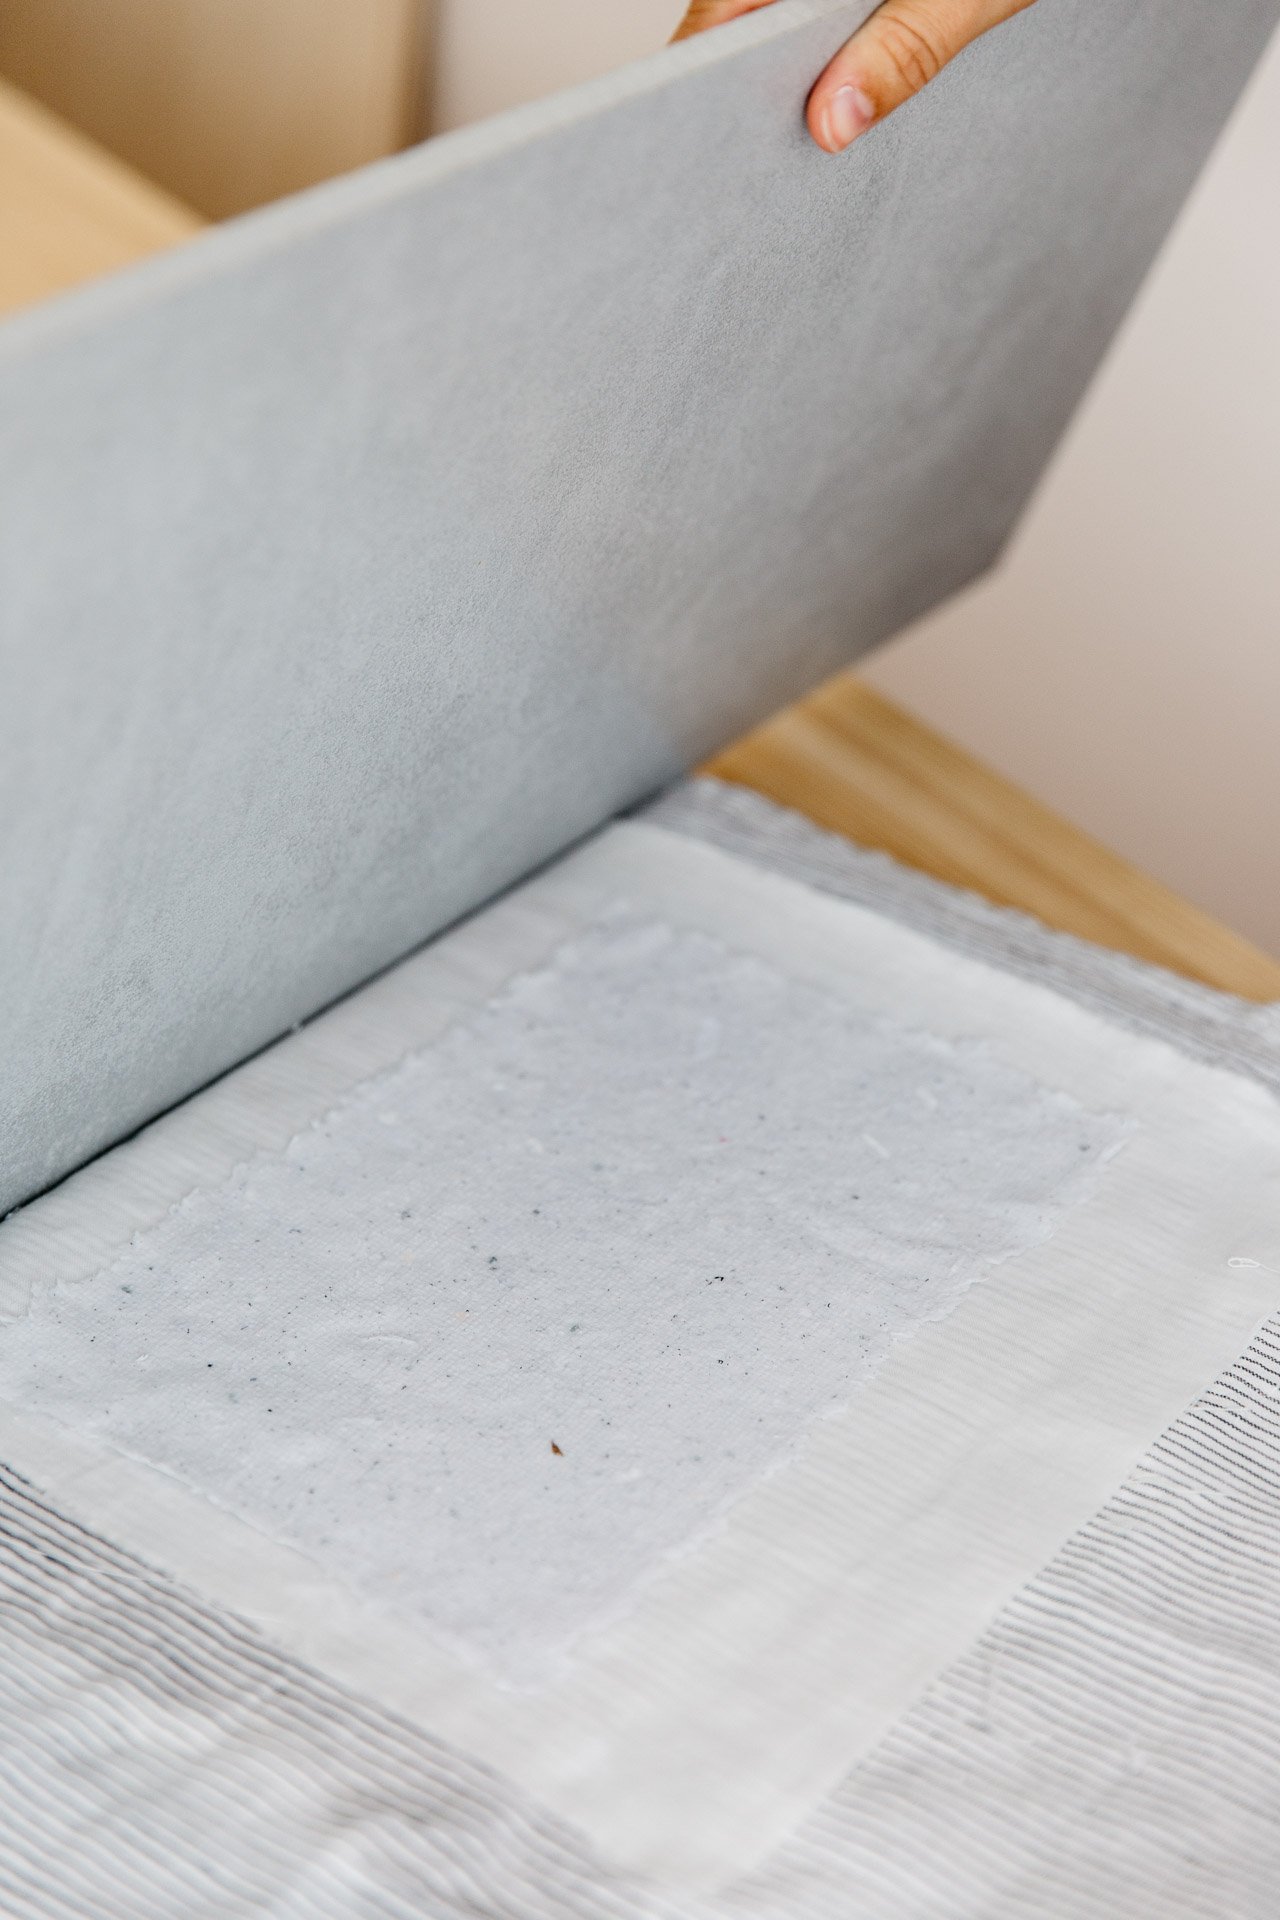
Step 12: Carefully flip the frame onto the fine cotton fabric pulp-down.
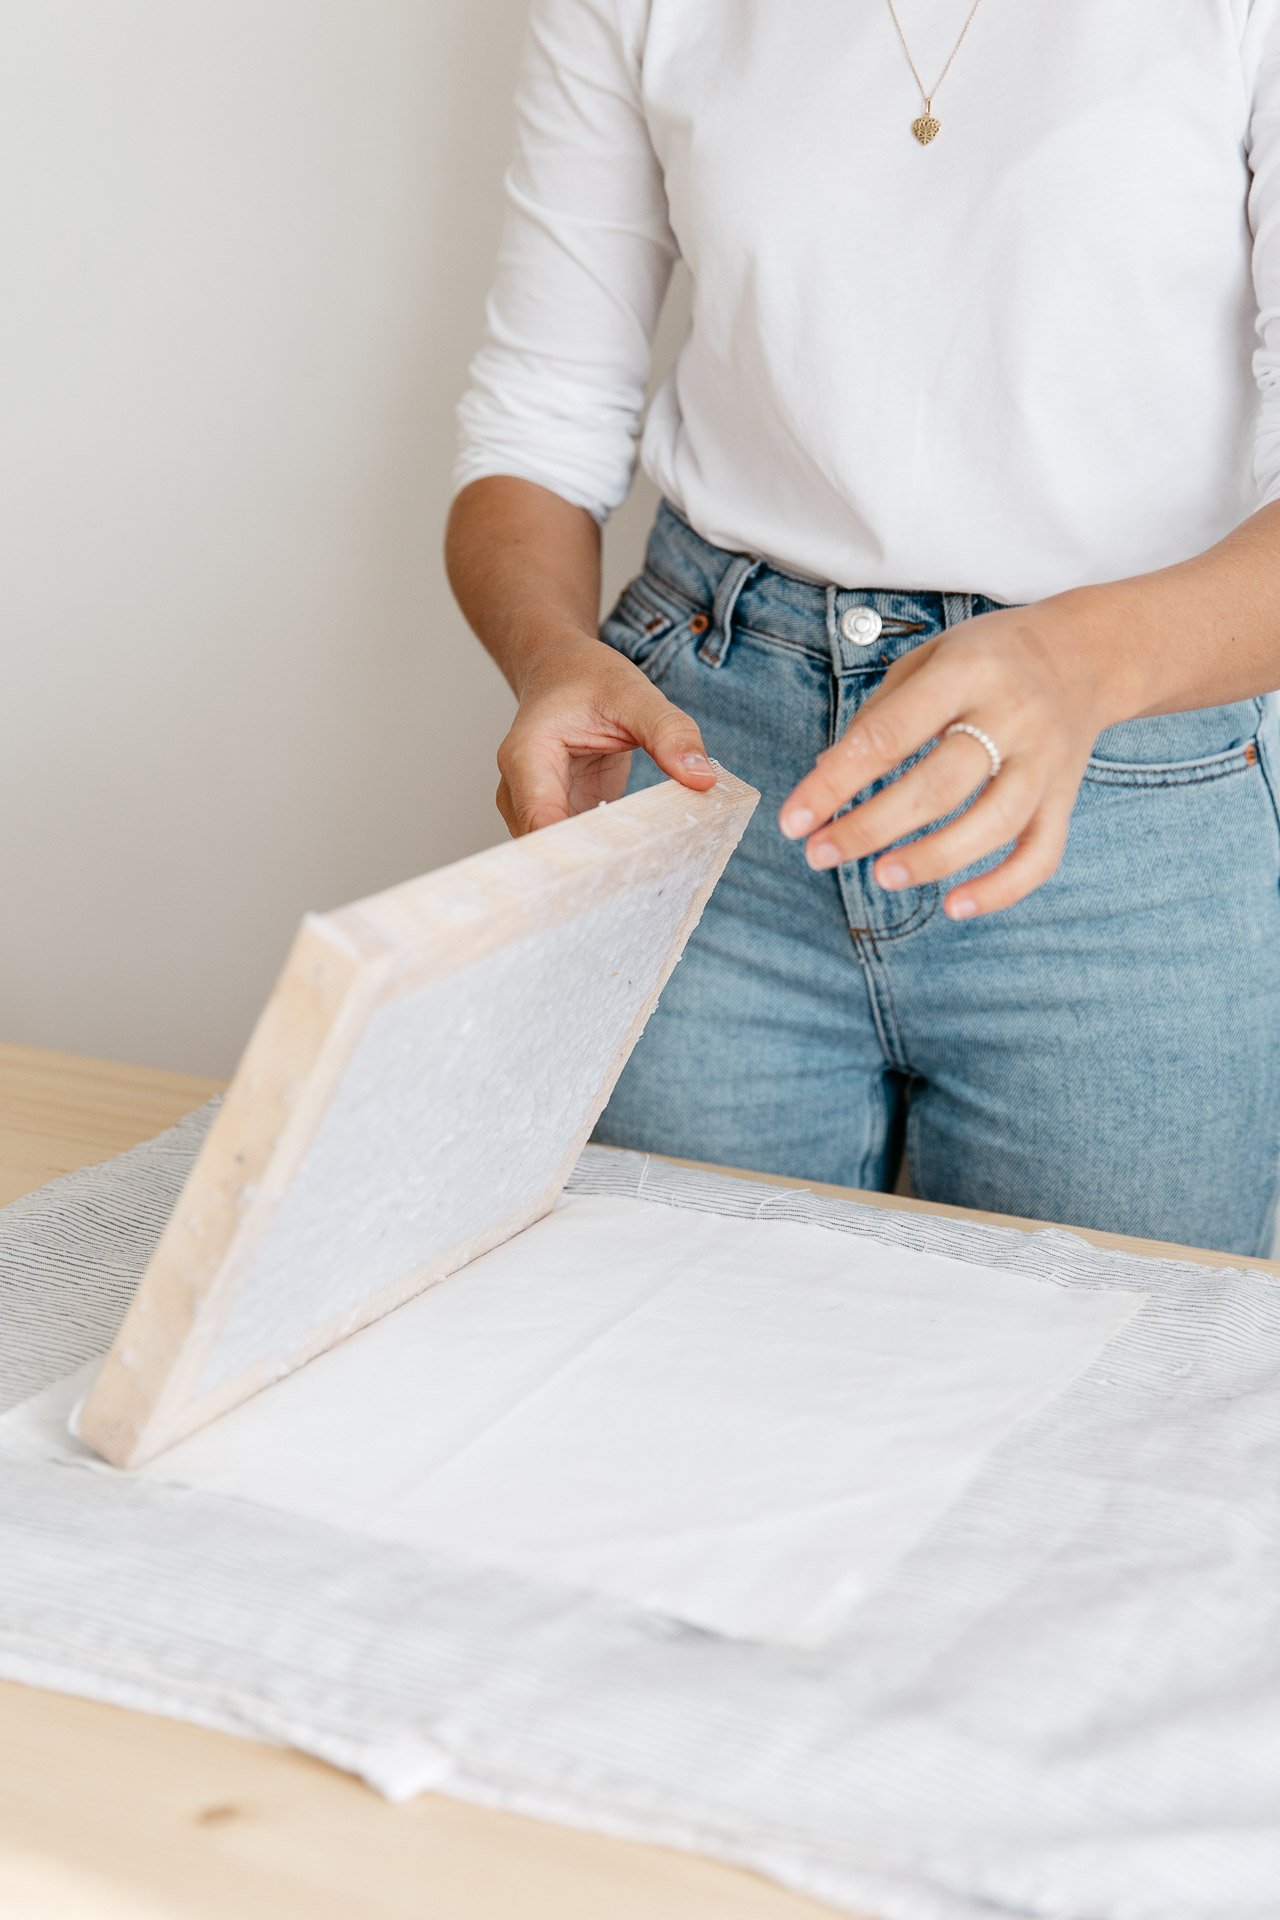
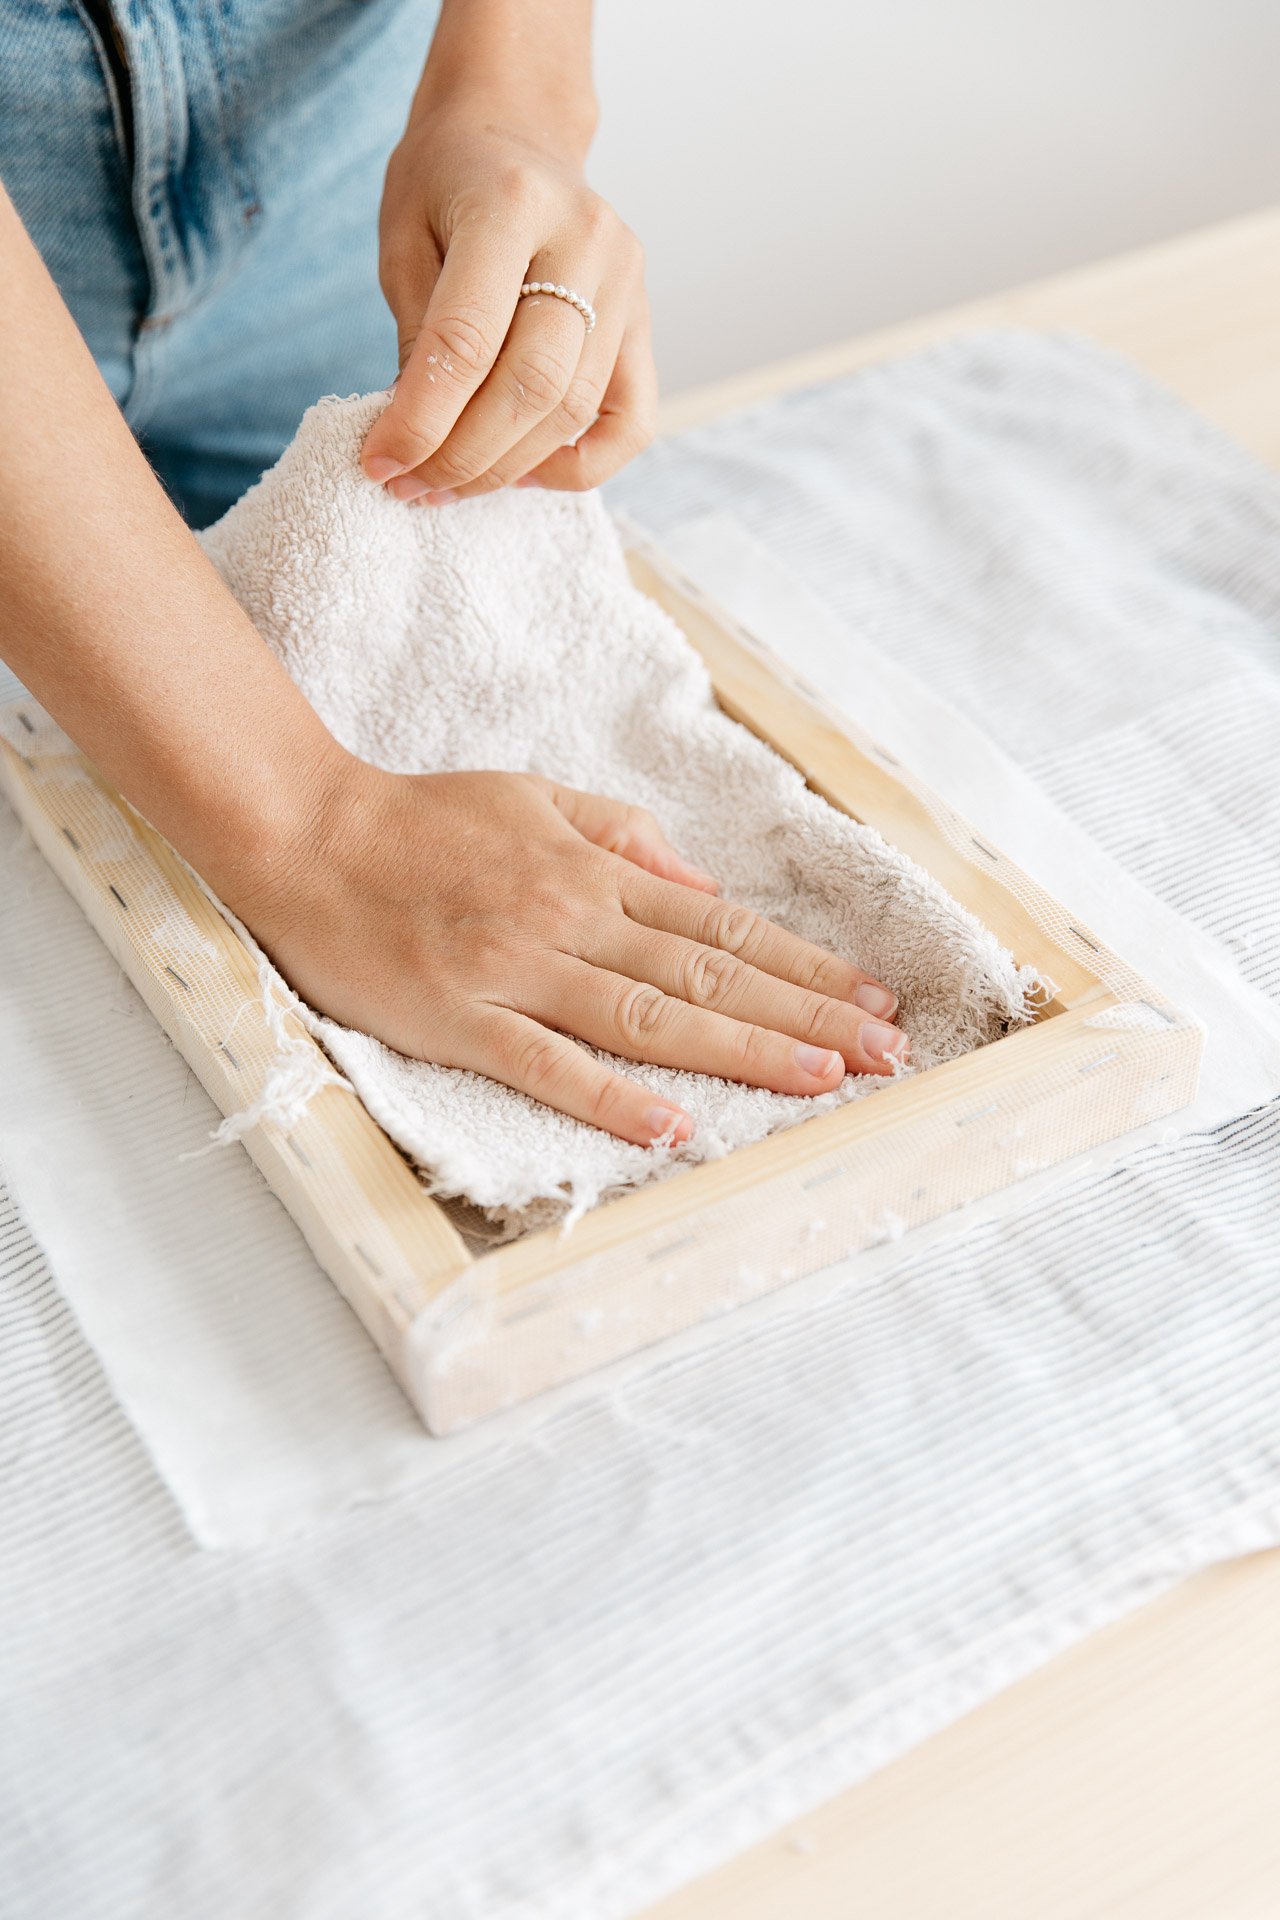
Step 13: Press out as much of the excess water using a towel. You should be pressing inside the frame.
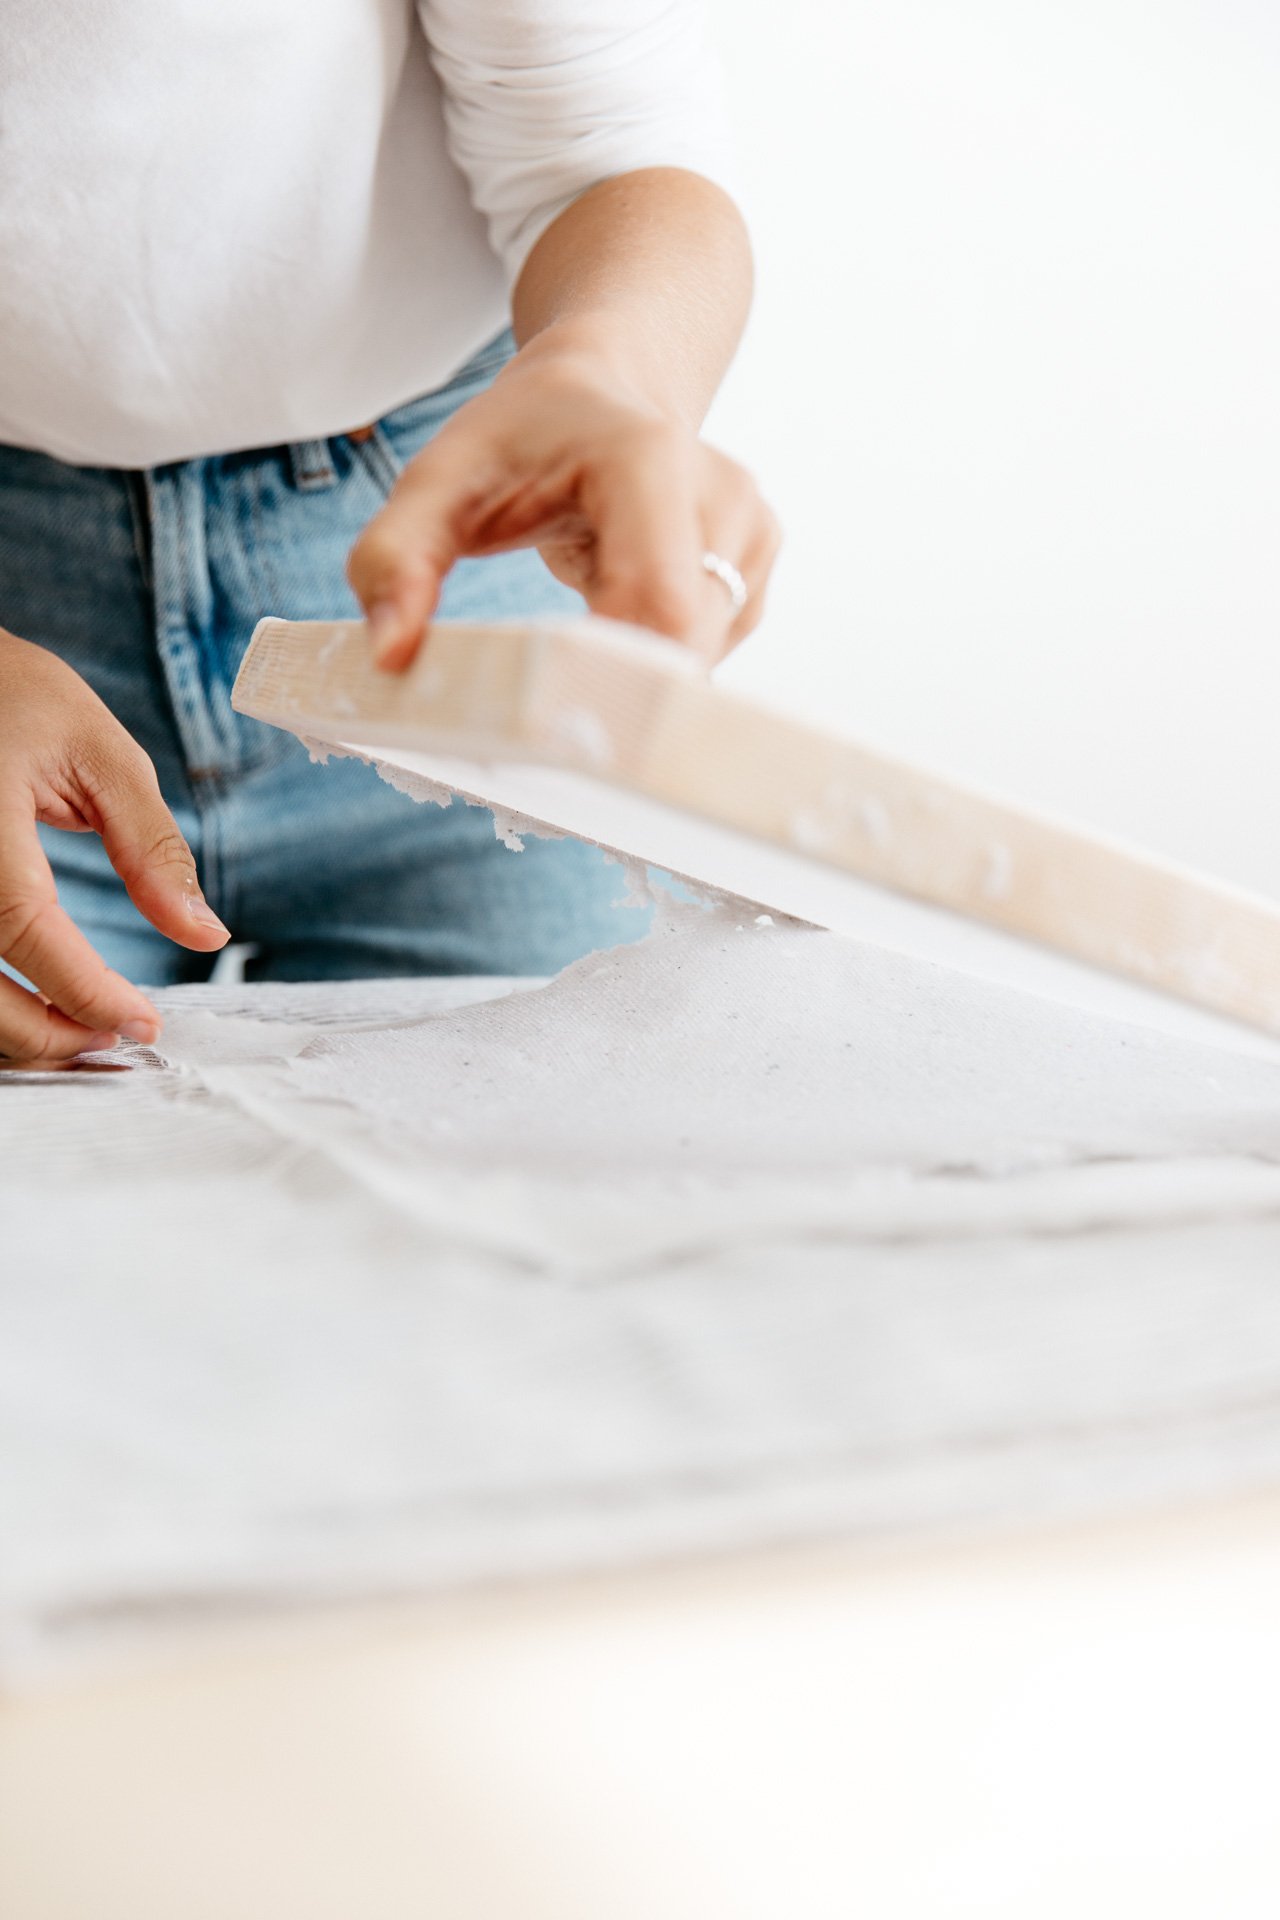
Step 14: Gently lift the frame leaving the paper pulp on the cotton. You may need to use a small spatula to help ease it off.
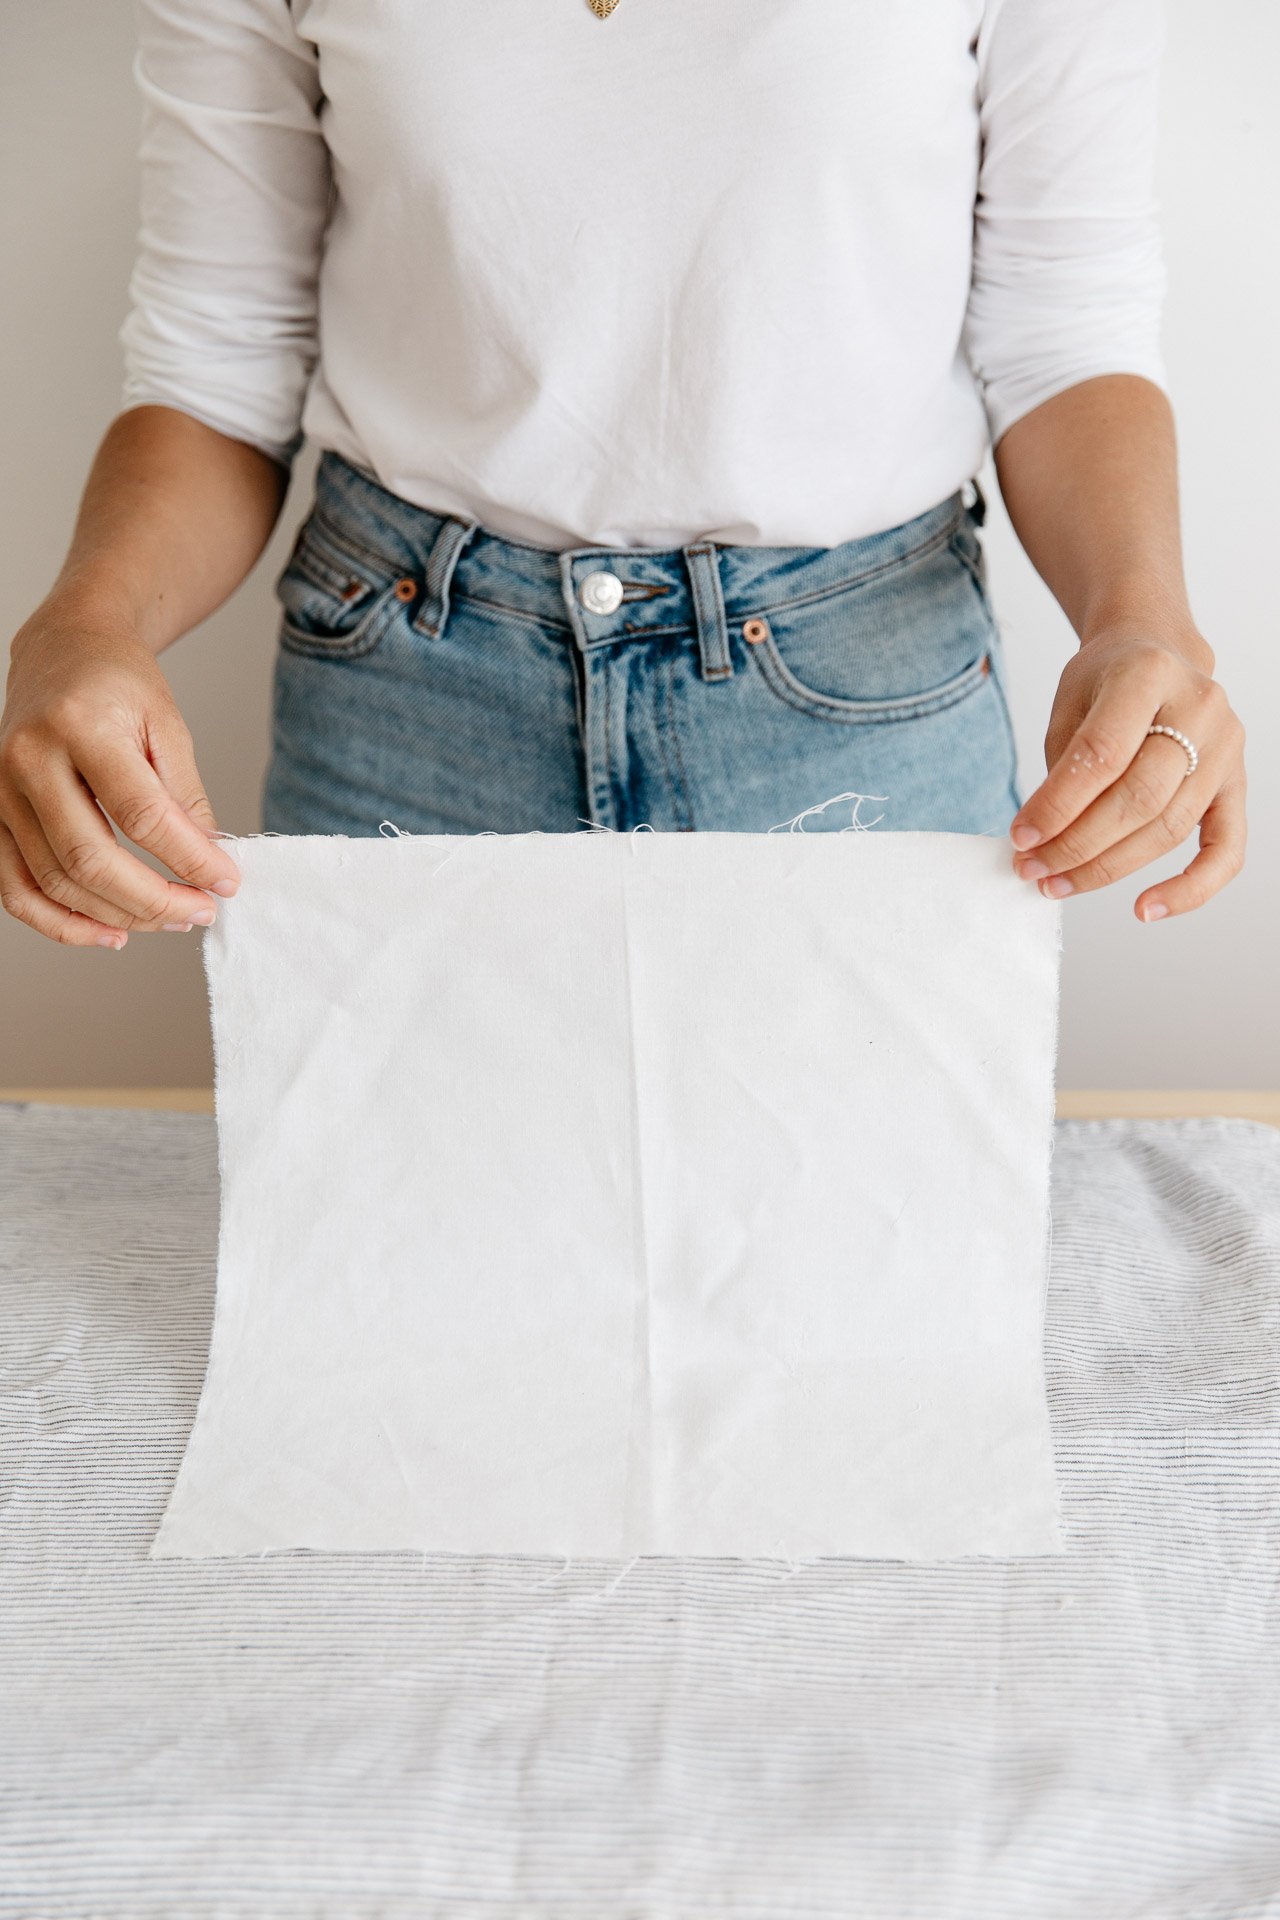
Step 15: Use a ruler to tidy the ends of the paper.
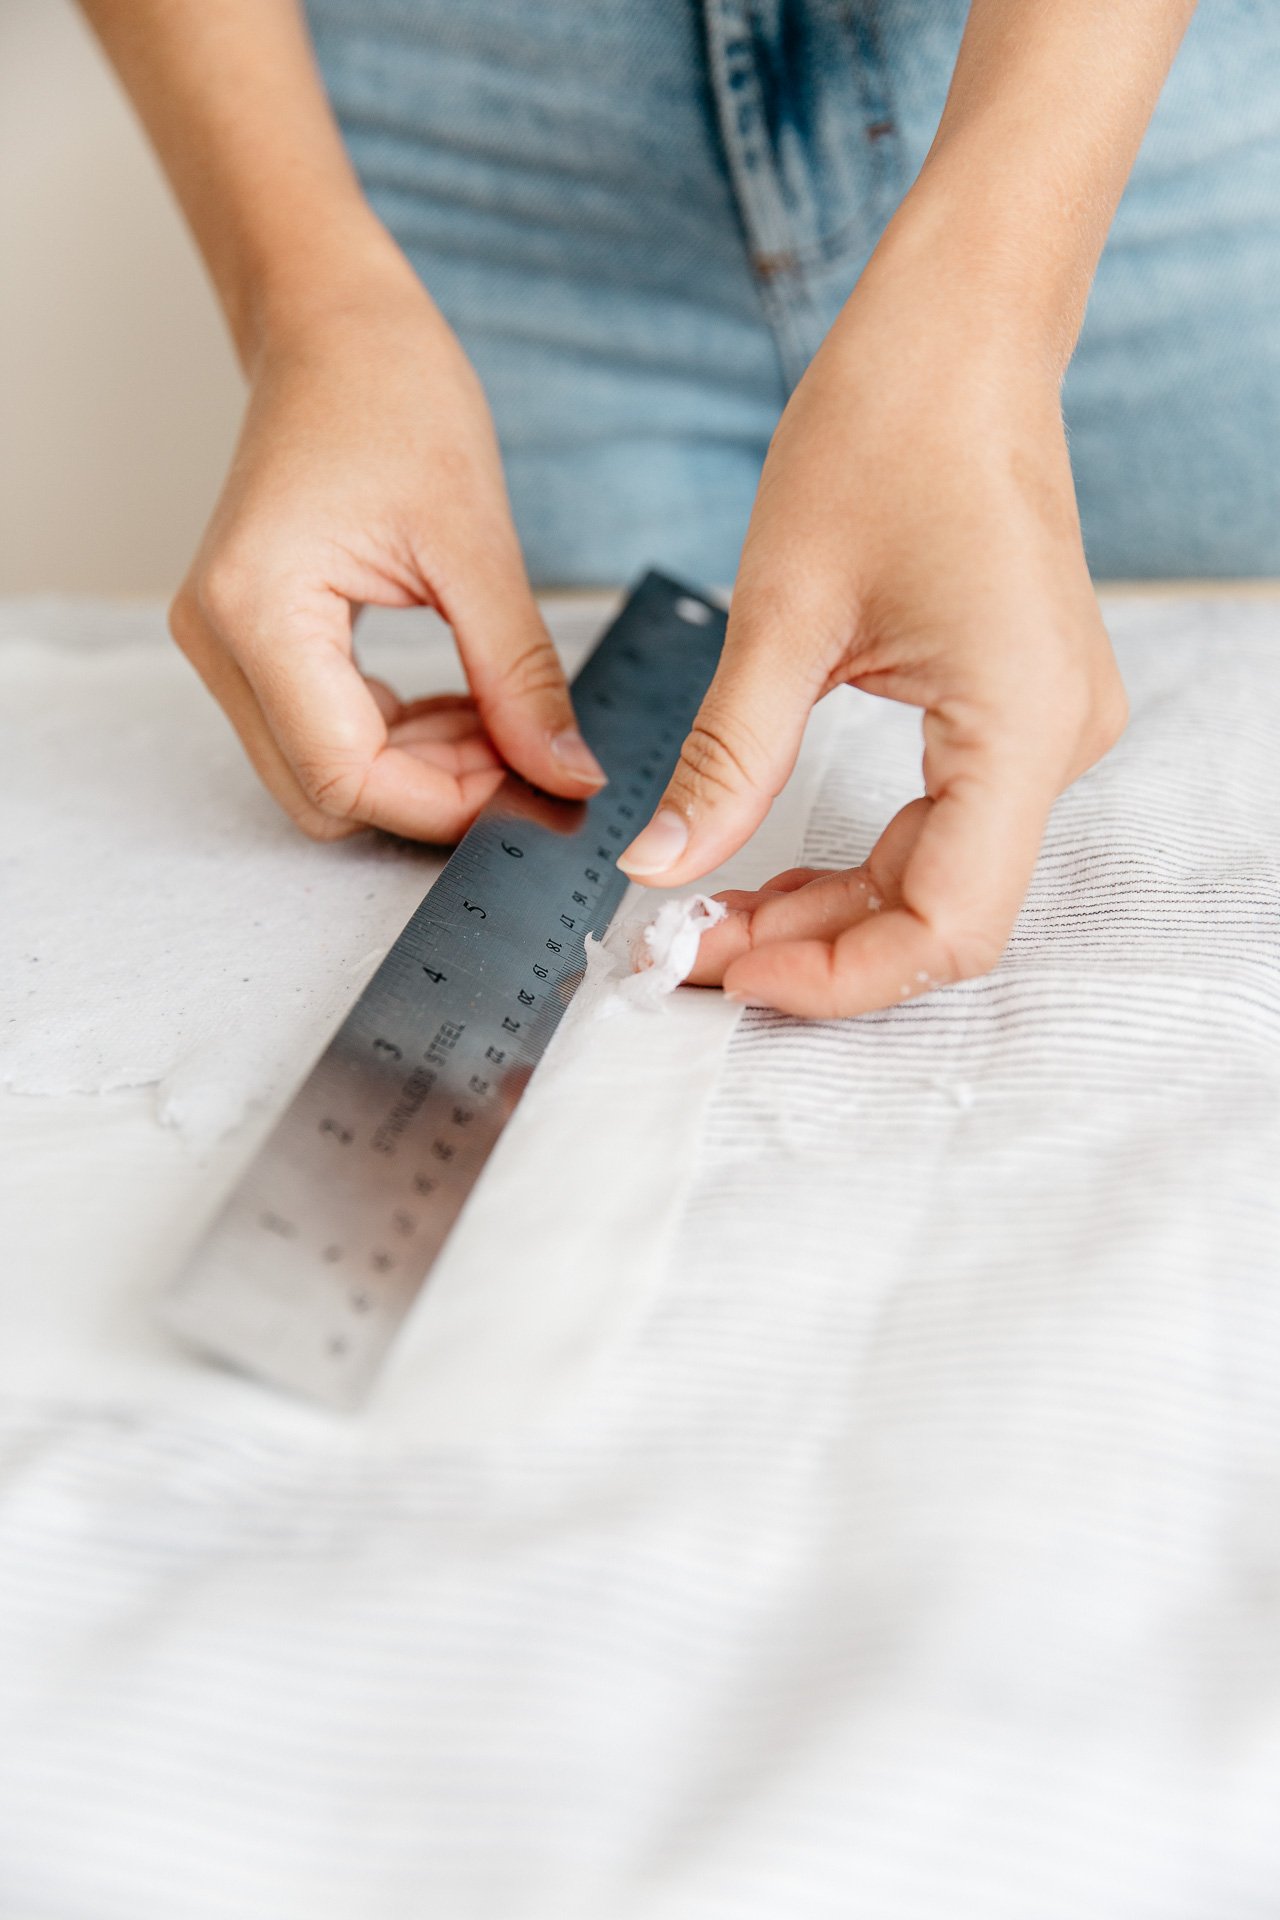
This is what it should look like:

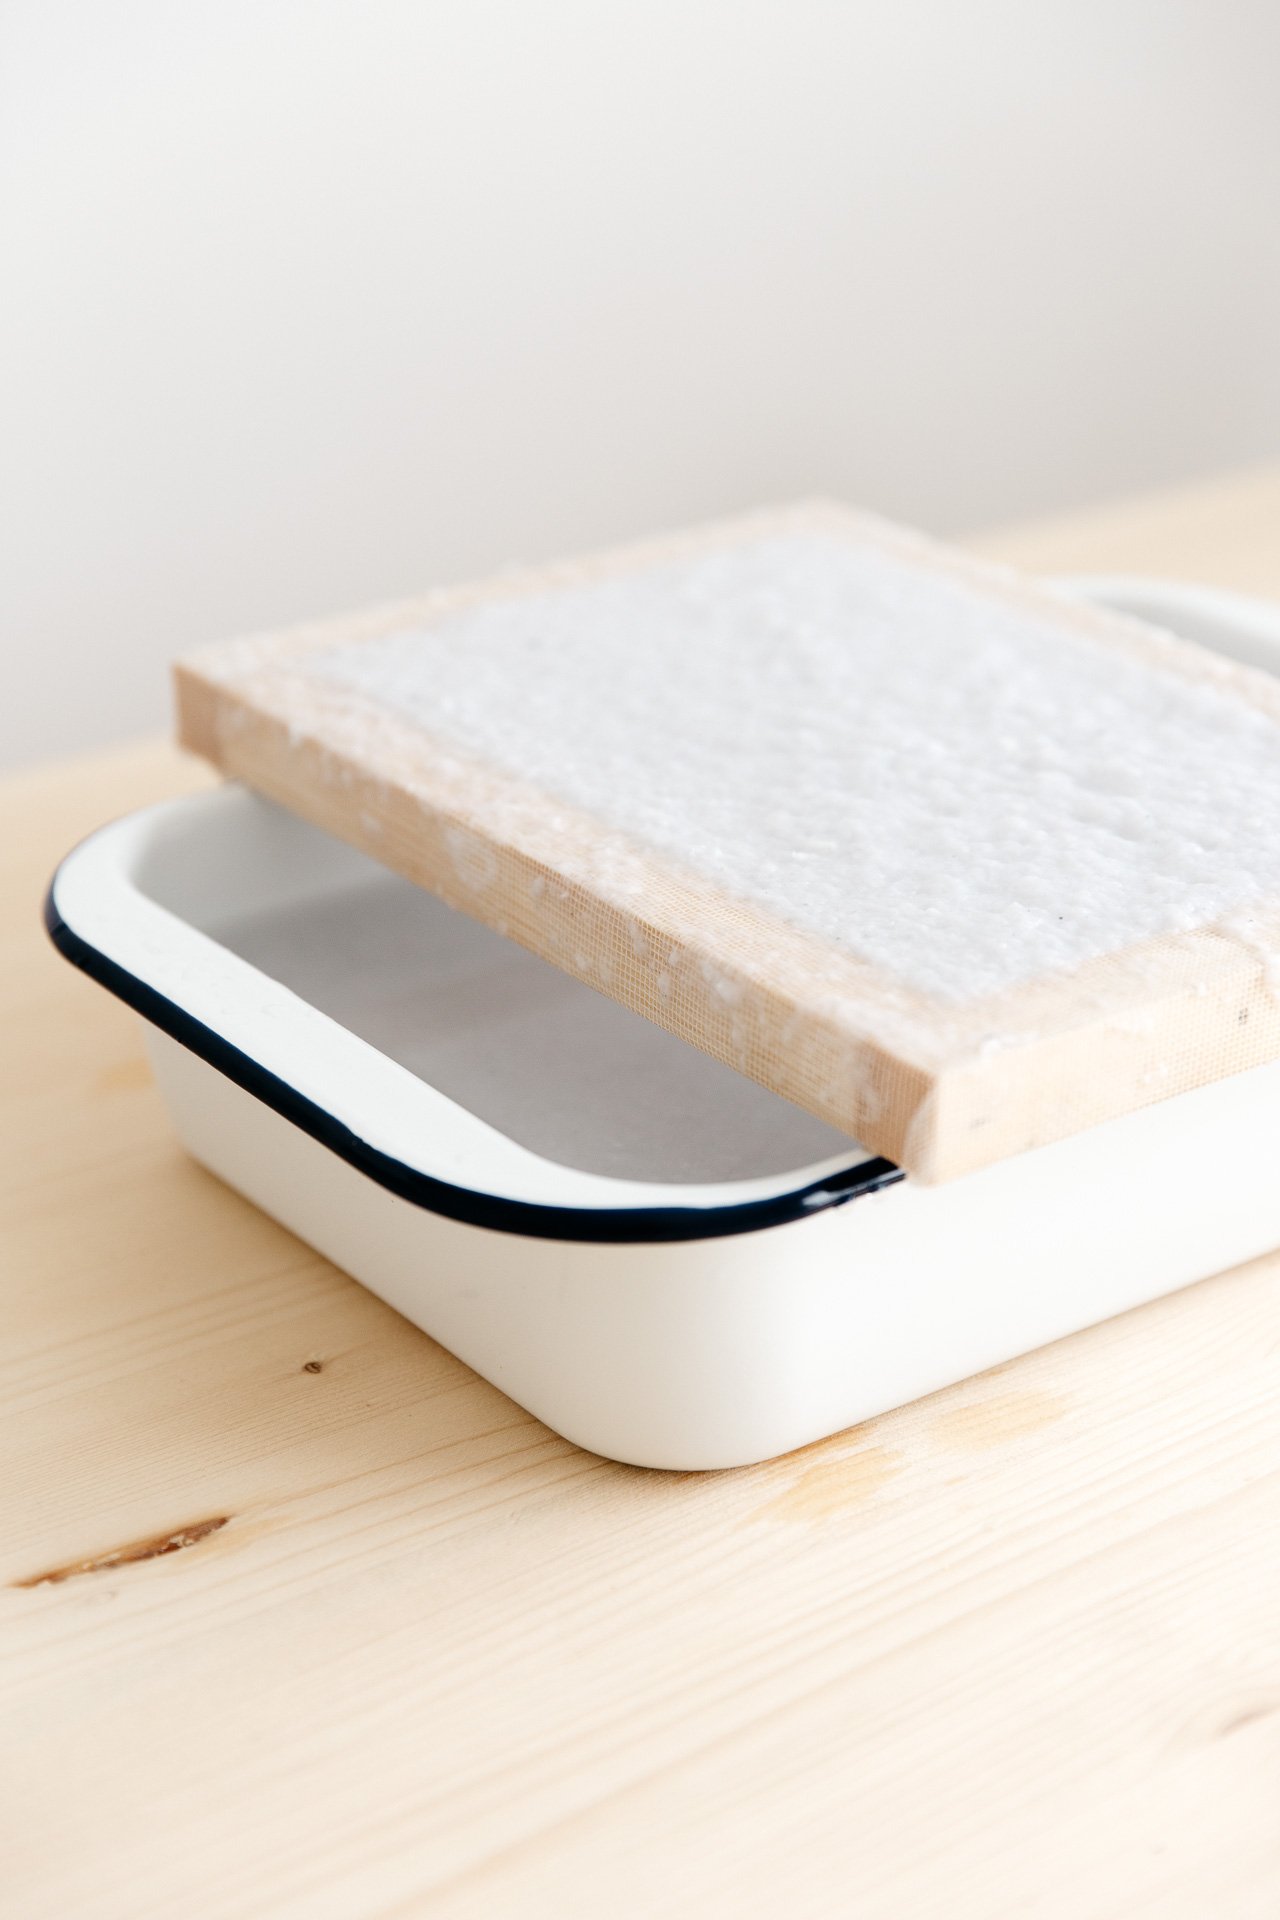
Step 16: Leave the paper to dry under a heavy object such as a tile or a plastic chopping board.
Step 17: Press down firmly and leave to dry for a few hours.
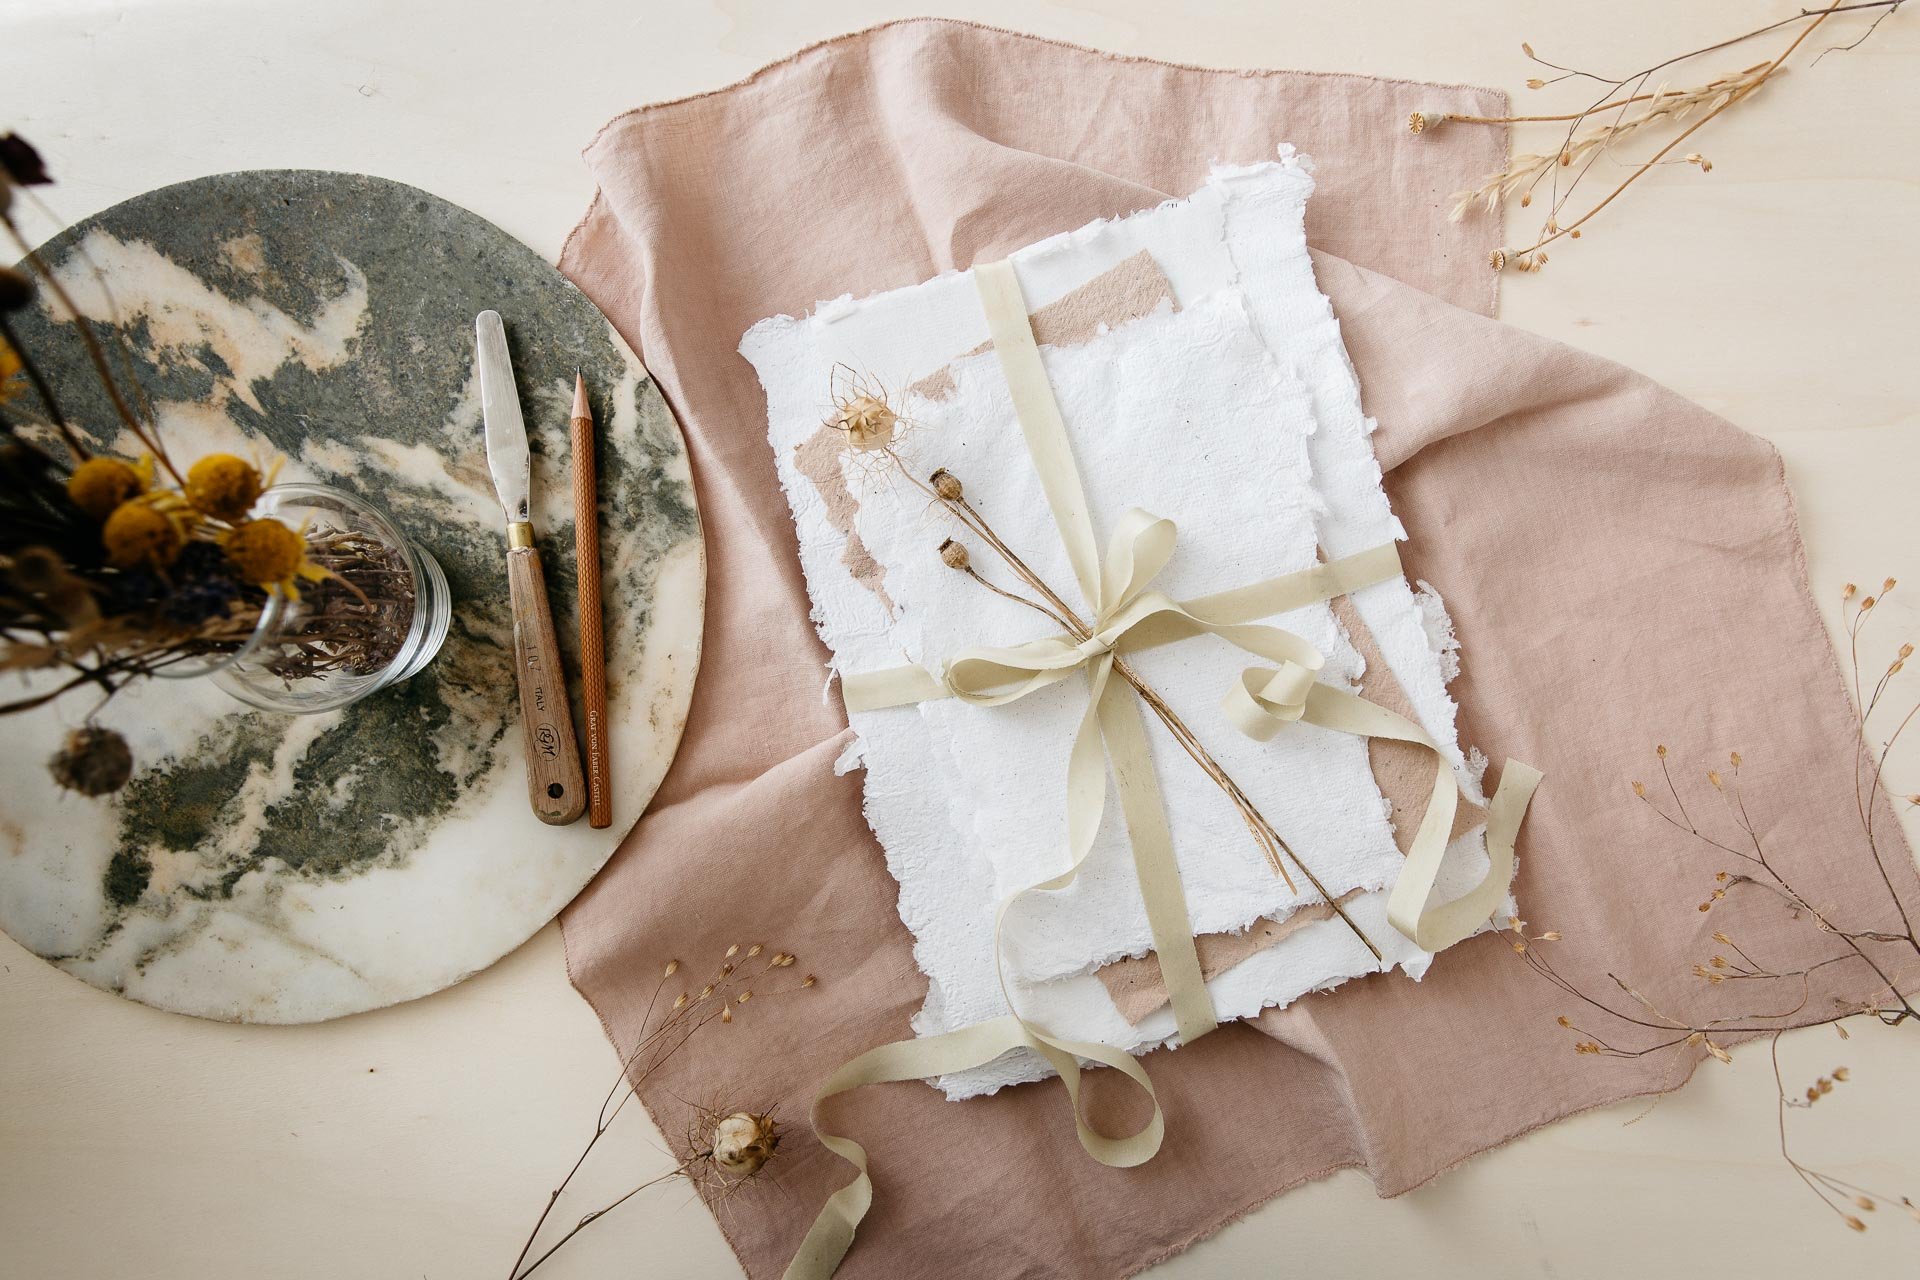
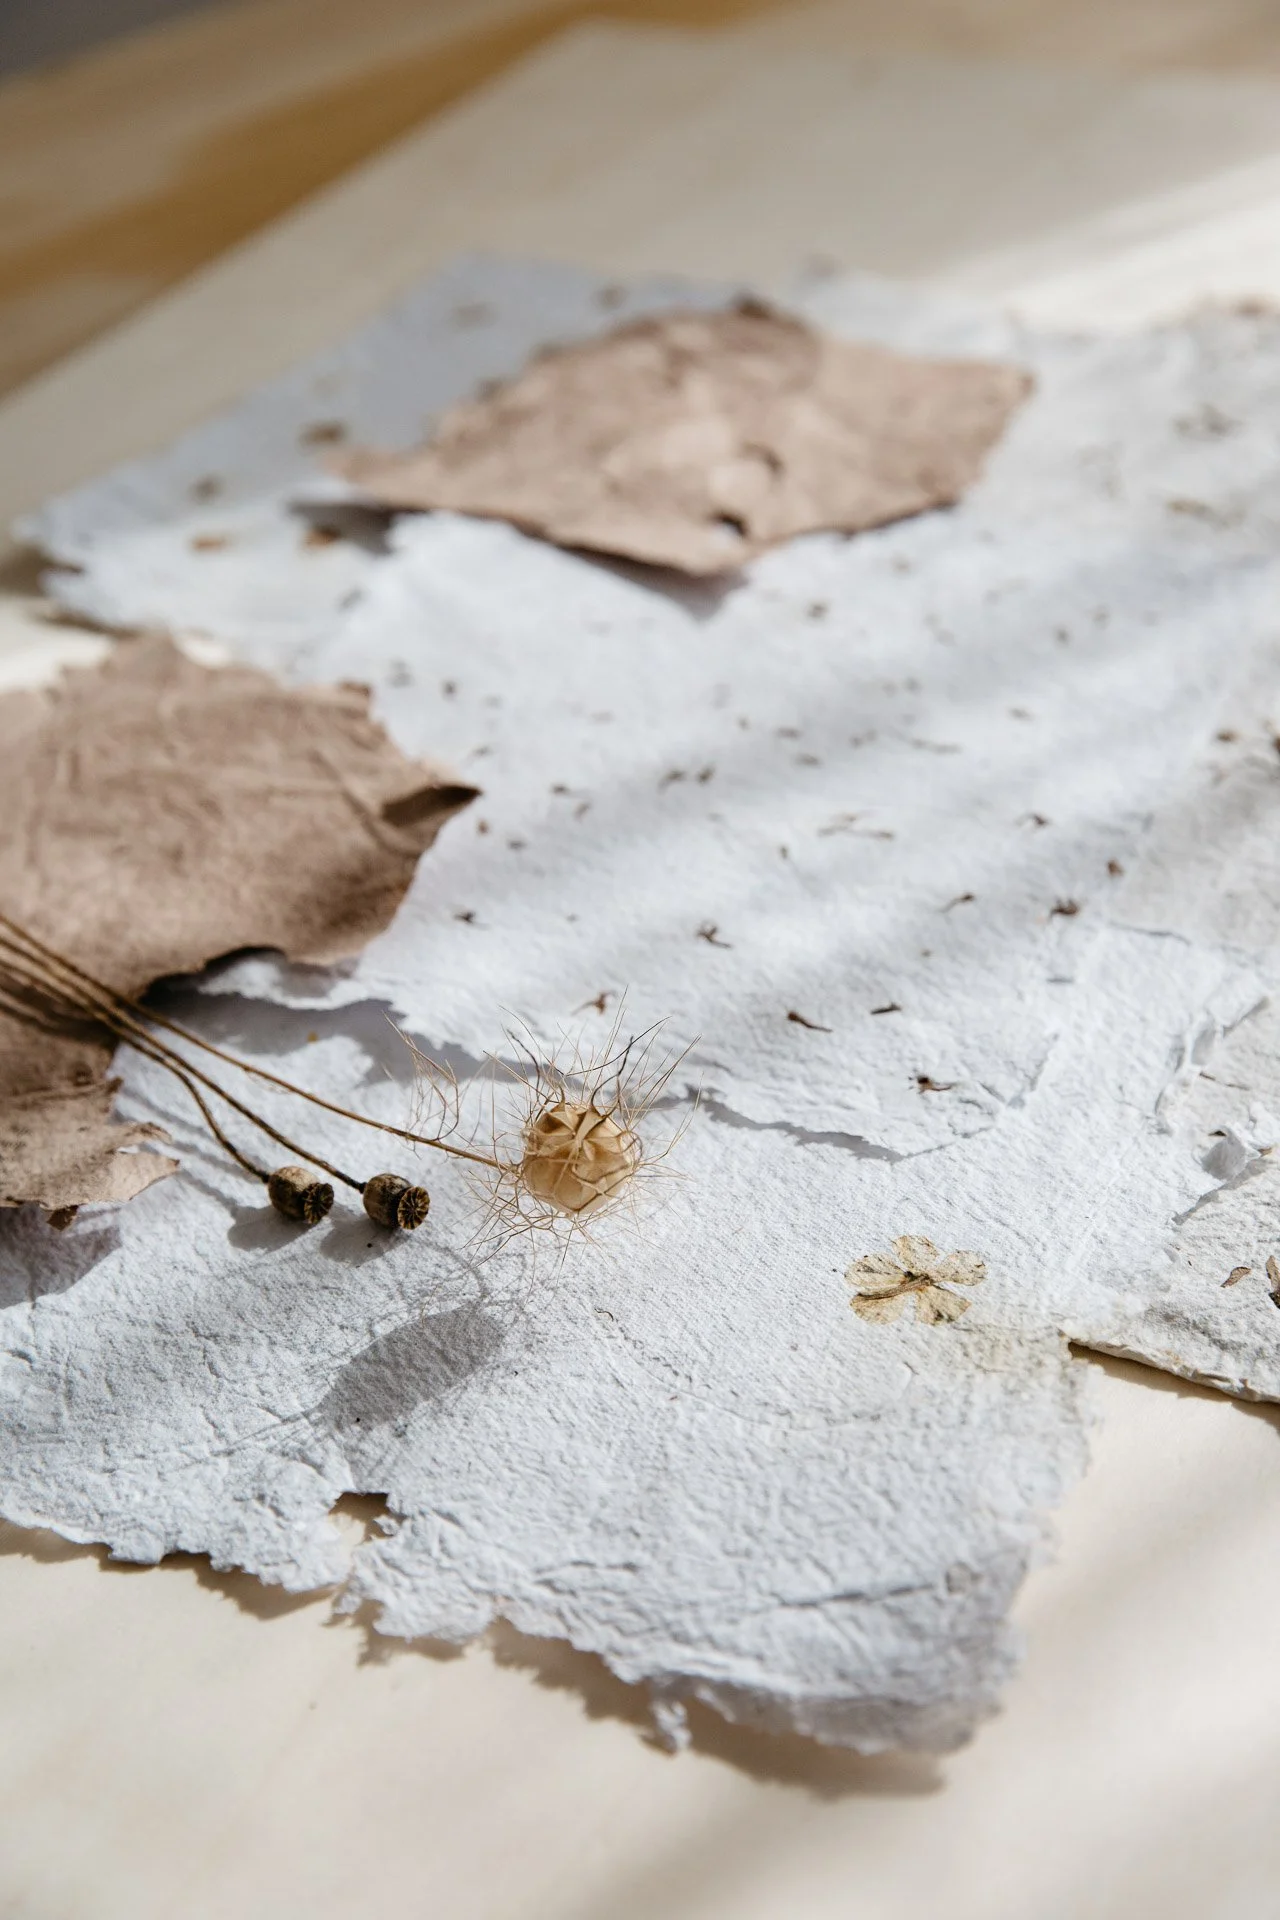
Once dry, it should look like this:

Play around adding dried flowers or seeds.
Tips, tricks and thoughts:
You can use any scrap paper. We found that it was kind of nice having the black speckles from old print.
Shredding and soaking your paper overnight will make it a lot easier to blend.
You can dye your paper whilst it is soaking if you would like to change the colour. You could have a play around with avocado dye – that’s how we got the pink coloured paper in the photos above.
Make your paper as thin or as thick as you like. It will all depend on how much pulp you collect in your frame-sieve.

I can’t quite believe how easy it is to make such beautiful paper. I feel like this would be such a lovely thing to do for card inserts, really special handwritten letters, scrapbooks or even client moodboards. I’ve got a few of the samples pinned up on my pinboard at home that add a lot of texture.
I can’t wait to have a play around with different colours and we’re even thinking of trying to make our own recycled Christmas wrapping paper with dried flower petals! We’ll keep you posted with how that turns out.
Big bisous xS

Photos by Nicole Hertel